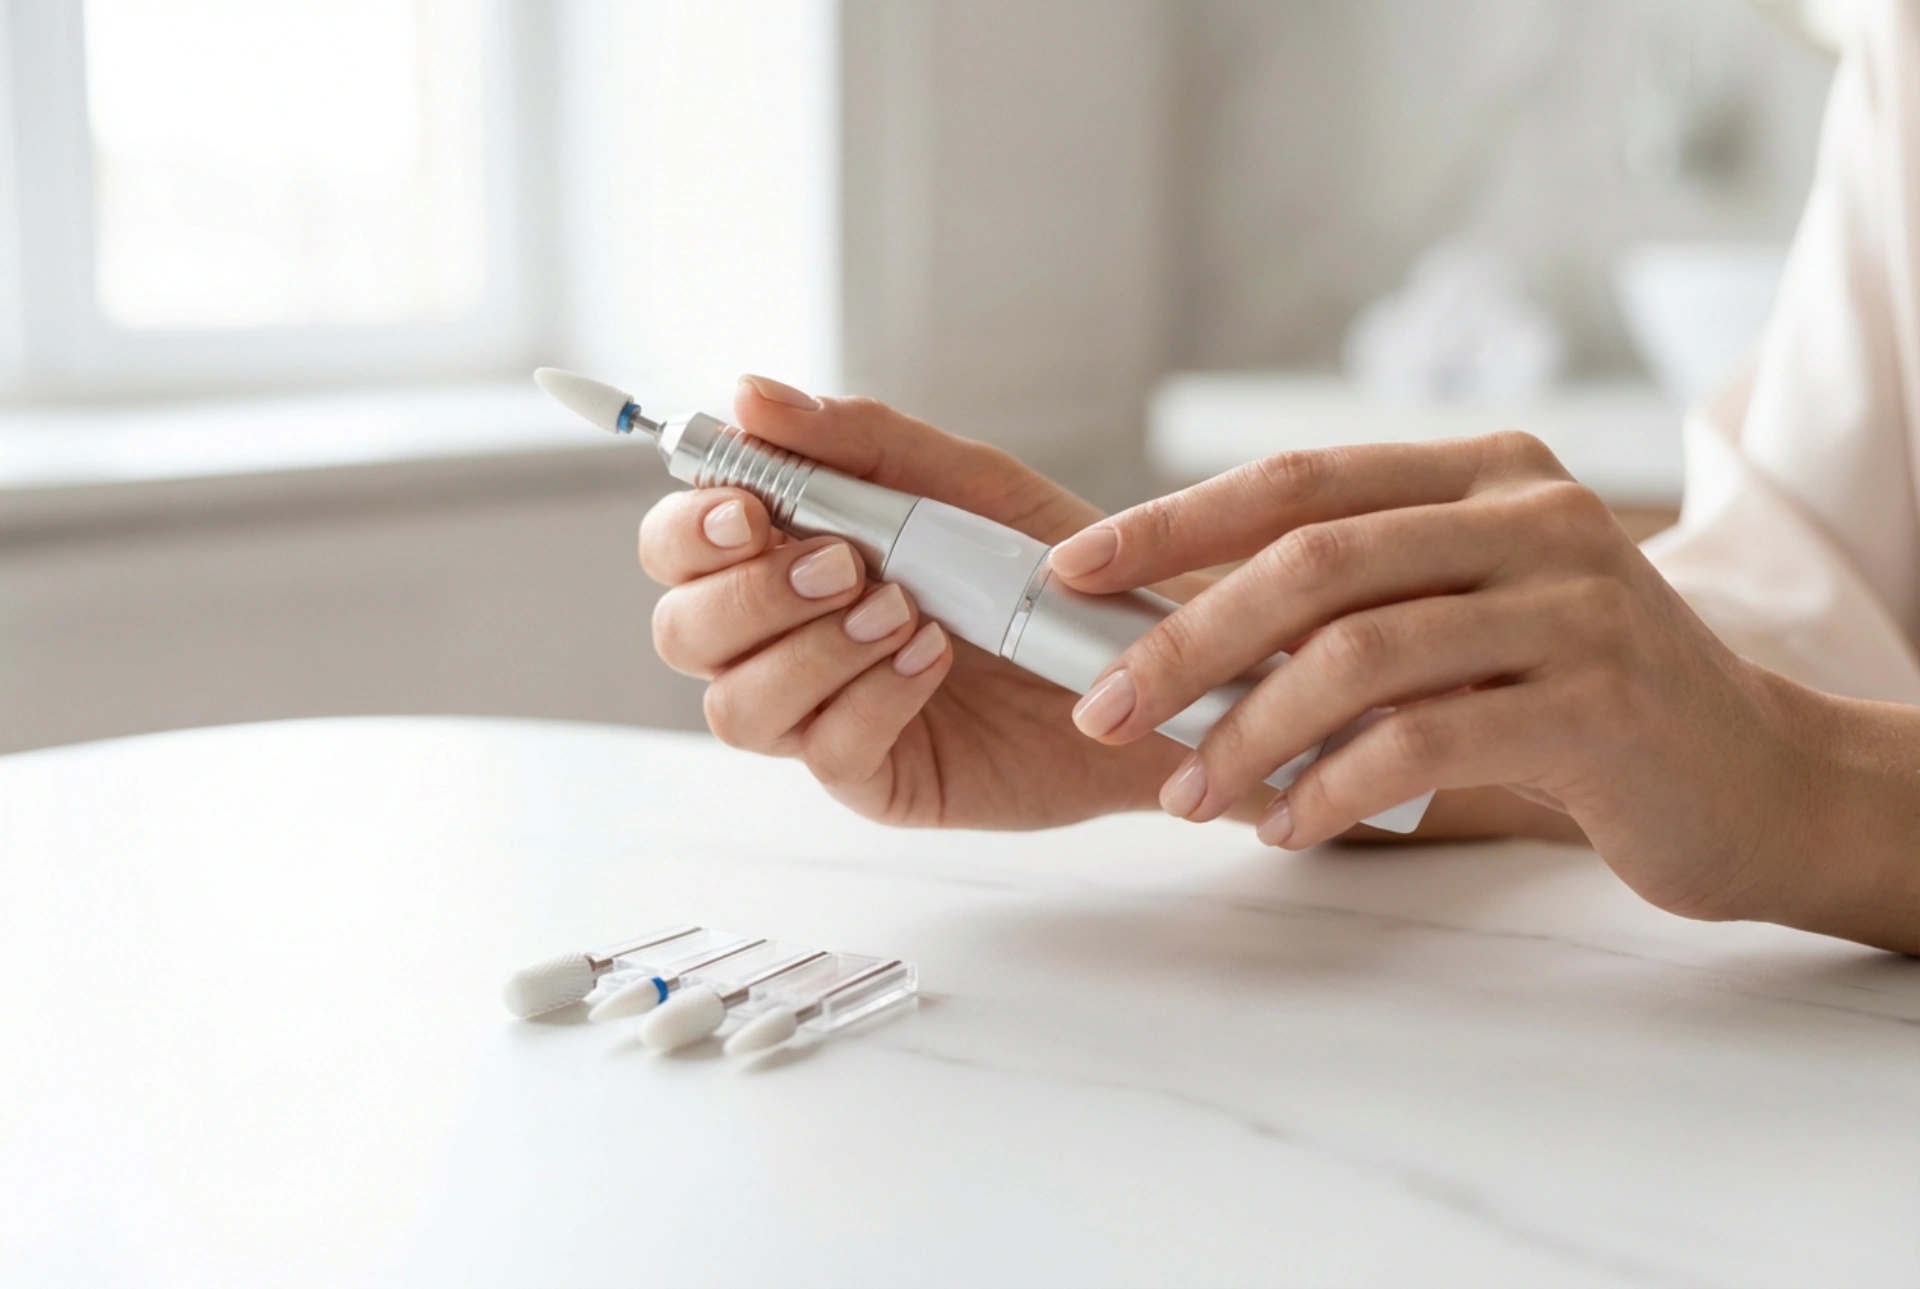


Taking care of our hands and nails has become a fundamental part of daily beauty rituals. Achieving a flawless, long-lasting manicure is easier than ever, but the moment eventually comes when the product must be removed safely. While salon visits are standard, many beauty enthusiasts choose to handle this step in the comfort of their own homes. Using a nail drill for removing gel polish is an exceptionally efficient method that saves time, but it requires a solid understanding of the tools and techniques involved to protect the natural nail plate from damage. Elegant hands start with healthy, strong nails, and the key to maintaining them lies in safe, deliberate removal practices.
Understanding the nail drill and its role in home nail care
A nail drill is a versatile device that can significantly simplify your manicure routine when used correctly. Instead of soaking the nails in harsh chemicals for extended periods, which can dry out the surrounding skin and the nail plate itself, a nail drill gently files away the gel layers. However, the device should not be viewed as a tool for quick shortcuts, but rather as a precise instrument that demands patience, a steady hand, and proper knowledge. Understanding the speed settings and the direction of rotation is crucial before you begin your very first session.
Selecting the right speed and rotation
When removing gel polish at home, controlling the speed of the device is your first line of defense. High speeds can cause the bit to skip or generate excess heat, which leads to discomfort and potential nail damage. For beginners, it is highly recommended to start at a lower speed setting, typically between 10,000 and 15,000 RPM. This range provides sufficient power to remove the top coat and colour layers without losing control of the handpiece. Additionally, ensure the rotation direction matches your dominant hand: forward rotation for right-handed use and reverse for left-handed use to ensure the bit moves smoothly across the surface.
The importance of choosing the correct nail drill bits
Not all drill bits are created equal, and using the wrong type can quickly ruin your natural nails. When performing a safe, at-home removal, the material and shape of the bits are of utmost importance. Having a dedicated selection of high-quality bits laid out neatly on your workspace ensures a smooth and interruption-free process.
Ceramic bits: the gentle choice for gel removal
Ceramic bits are widely considered the gold standard for removing gel polish at home. Their unique material composition means they do not heat up as quickly as metal bits, significantly reducing the uncomfortable burning sensation that beginners often experience. Furthermore, ceramic bits feature precise cutting teeth that shave off the gel product rather than grinding it into a fine, airborne dust. They are easy to clean, highly durable, and offer a gentle touch that is perfect for protecting the delicate layers of the natural nail plate underneath.
Carbide and diamond bits for specific tasks
While ceramic bits are ideal for the main bulk of the gel removal, other materials serve specific purposes in a complete routine. Carbide bits, made from strong tungsten carbide steel, are incredibly efficient for removing thick layers but require an experienced hand due to their sharpness. On the other hand, fine diamond bits are not meant for removing gel polish layers; instead, they are designed for delicate cuticle work and smoothing the skin around the nail frame. Mixing up these tools can lead to thinning of the natural nail, so keeping them clearly categorized is essential.
Step-by-step guide to safe at-home gel removal
To achieve professional and damage-free results at home, following a structured process is key. Preparation, technique, and post-care are the three pillars of a successful home nail care session.
- Preparation: Clean your hands thoroughly and set up a well-lit, minimalist workspace. Ensure all your ceramic and diamond bits are clean and disinfected.
- Debulking the product: Insert your chosen ceramic bit into the handpiece. Starting at a moderate speed, glide the bit gently over the nail surface in fluid, one-directional strokes. Avoid holding the bit in one spot to prevent heat build-up.
- Leaving a thin base layer: Do not try to remove 100% of the product with the drill. It is much safer to leave a paper-thin layer of the base coat on the nail to avoid touching the natural nail plate with the spinning bit. This remaining thin layer can be gently buffed away with a manual buffer block.
- Dust management: Keep your workspace clean. Nail dust can be troublesome, so working over a small dust collector or regularly wiping the area with a damp microfiber cloth is highly beneficial.
Post-removal care for strong, healthy nails
Once the gel polish is safely removed, your natural nails require some well-deserved nourishment. The removal process, even when executed perfectly, can leave the nails feeling slightly dry. Applying a rich, nourishing cuticle oil containing natural plant extracts is the perfect way to finish your routine. Massage the oil into the nail bed and surrounding skin to restore moisture and flexibility. Pairing this with a hydrating hand cream ensures your hands remain elegant, soft, and ready for your next beautiful manicure style.




