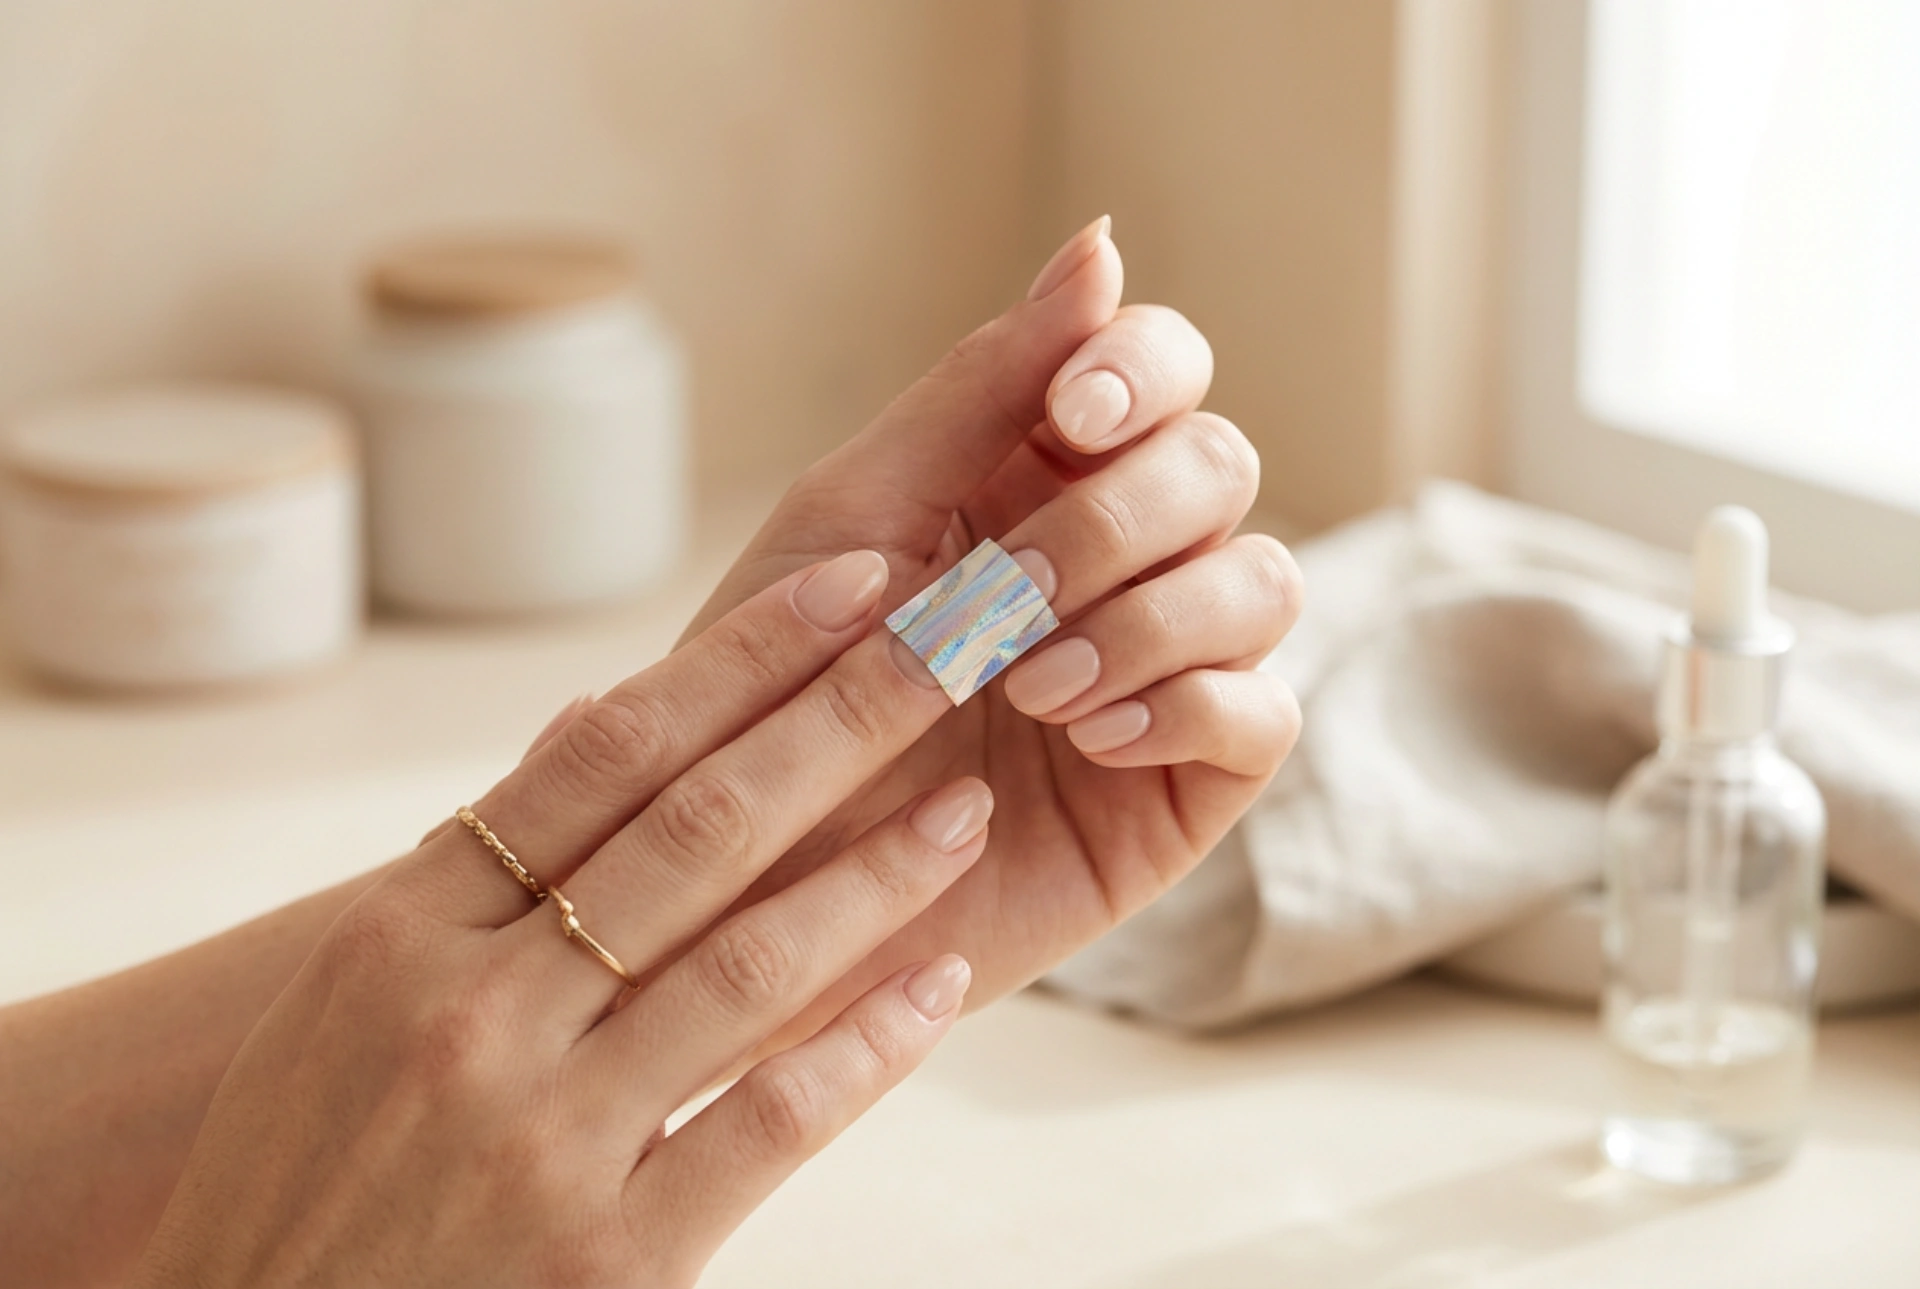


Transfer foil is one of the most versatile and visually striking tools in the world of nail art. It allows for the creation of intricate, metallic, holographic, or abstract designs without the need for advanced drawing skills. The process relies on transferring a thin, decorative layer from a carrier film onto the nail surface using a specialized sticky base. Achieving a flawless, long-lasting finish requires precise preparation and a solid understanding of the materials involved.
Understanding transfer foil and its types
Transfer foil is an ultra-thin decorative material coated on one side with a metallic, multi-coloured, or patterned layer. In modern nail styling, you can find various types of foils to suit different aesthetic preferences:
- Metallic foils: Classic gold, silver, copper, and rose gold that provide a high-shine, mirror-like effect.
- Holographic foils: These reflect light in multiple colours, creating a stunning three-dimensional rainbow spectrum on the nail.
- Patterned foils: Featuring pre-printed designs such as floral motifs, animal prints, lace, or geometric shapes.
- Opal and chameleon foils: Offering subtle, translucent shifts in colour depending on the angle of light, perfect for minimalist and elegant styles.
Preparing the perfect base for foil application
The key to a successful foil transfer lies in the preparation of the nail plate and the base layer. Without a smooth, clean surface, the foil may transfer unevenly or peel off quickly. First, the nails must be shaped, the cuticles neatly pushed back, and the nail plate thoroughly cleansed. A high-quality base coat must be applied and cured to create a strong foundation.
Once the background colour is applied and cured, the choice of adhesive layer becomes crucial. Foil can be transferred onto the natural sticky layer (dispersion layer) of cured gel polish, but for precise and full-coverage designs, a dedicated transfer foil gel or glue is highly recommended. If you are using a special foil gel, apply a thin, even layer over the nail and cure it according to the manufacturer's instructions. A layer that is too thick may slide or fail to cure properly, leading to an incomplete transfer.
Step-by-step guide to transferring nail designs
Once your sticky base is ready, the application process can begin. It is essential to handle the foil with care, ensuring that grease from your fingertips does not touch the matte backing of the foil, as this can prevent adhesion.
Step 1: Cutting the foil
Cut a small, manageable piece of foil from the roll. Having a smaller piece allows for better control and prevents wasting the material.
Step 2: Positioning and pressing
Place the foil onto the nail with the design or coloured side facing up (the matte, silver, or grey side should face down onto the sticky nail surface). Gently press the foil onto the centre of the nail, then smooth it out towards the edges. You can use your finger, a soft silicone tool, or a dry lint-free wipe to press firmly, ensuring there are no air bubbles.
Step 3: Peeling the foil
In one swift, decisive motion, pull the foil backing away from the nail. If the adhesive layer was prepared correctly, the decorative pattern will remain bonded to the nail surface, leaving the clear backing film empty.
Securing the design for long-lasting wear
Because transfer foil is incredibly thin, it is susceptible to wear and chipping if not properly sealed. To protect your beautiful design, you must apply a suitable top coat. For the best durability, a dual-layer sealing technique is recommended. First, apply a thin layer of a flexible, building base coat or a dedicated clear gel over the foil and cure it. This locks the metallic layer in place. Finally, apply a high-shine, scratch-resistant top coat, paying close attention to sealing the free edge of the nail, and cure thoroughly.




