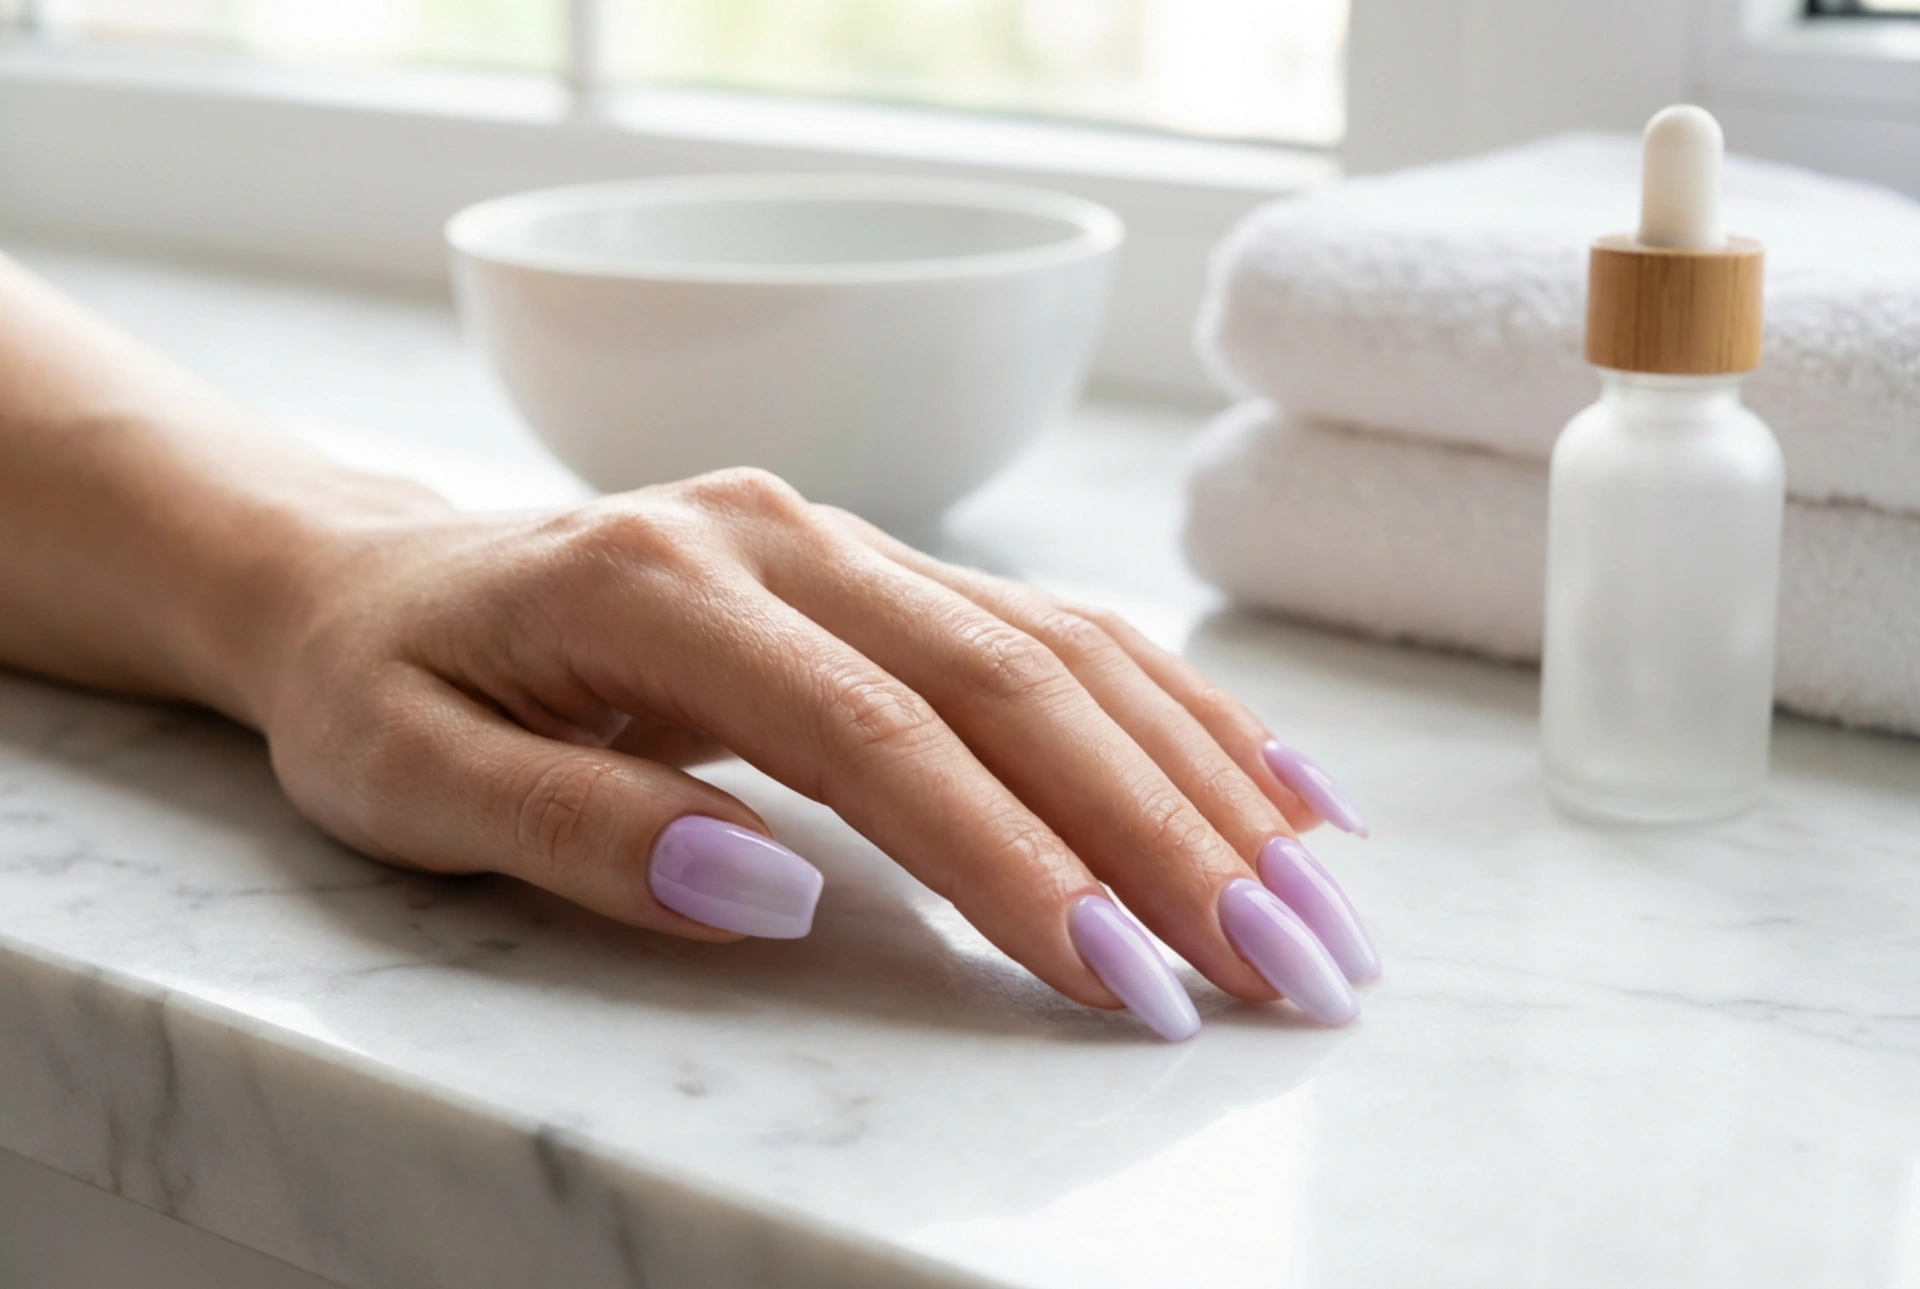


Achieving a seamless pastel gradient is one of the most elegant ways to elevate a simple manicure. The delicate transition from a soft, milky base to a fresh, lavender hue mimics the natural beauty of spring blossoms. When looking at a perfectly manicured hand featuring a smooth, streak-free lilac-to-pale-lavender ombre, the key to its beauty lies in the precision of the application. Pastel polishes are notoriously tricky to work with because of their high white pigment content, which can often lead to a chalky or uneven finish. However, with the right preparation and technique, you can easily create a flawless, soft-focus transition right at home.
The Secret to a Streaks-Free Pastel Base
The foundation of any successful ombre manicure is the base coat and the initial colour layer. To prevent pastel shades from looking patchy, it is essential to start with a meticulously prepped nail plate. Begin by gently pushing back the cuticles and buffing the surface of the nail to remove any natural oils. Applying a high-quality, smoothing base coat is crucial as it fills in any ridges, creating an even canvas for the polish.
When working with lilac and pale lavender shades, applying a single layer of a sheer, milky white or soft nude polish as your background colour can make a significant difference. This neutral undertone neutralises the natural pink of your nail bed, allowing the pastel purple shades to appear more vibrant and uniform without requiring multiple thick, heavy layers of polish that are prone to bubbling.
The Sponge Technique for Perfect Blending
The most reliable method for creating a smooth gradient at home is the makeup sponge technique. Instead of applying the polish directly from the bottle onto the nail, a latex-free wedge sponge acts as an airbrush tool, dispersing the pigments evenly. To achieve the best results, follow these steps:
- Dampen the sponge: Lightly moisten your cosmetic sponge with water and squeeze out the excess. This prevents the sponge from absorbing too much polish, ensuring more product ends up on your nails.
- Apply the colours in stripes: Paint parallel, slightly overlapping stripes of your pale lavender and lilac polishes directly onto the edge of the sponge.
- Dab gently: Softly tap the sponge onto the nail, moving it slightly up and down to blend the line where the two colours meet. It is better to apply three thin, tapped layers rather than one thick one.
- Allow drying time: Let each layer dry for a minute before tapping the next one to avoid peeling up the previous layer of polish.
Refining the Gradient and Protecting the Cuticles
Because the sponging method can be slightly messy, protecting the skin around your nails beforehand saves a lot of cleanup time. You can apply a liquid peel-off barrier or a rich skin cream around your cuticles using a small brush before you begin. Once your gradient is complete, simply peel away the barrier or wipe the excess polish off the skin with a clean brush dipped in gentle remover.
If you notice tiny air bubbles on the surface immediately after sponging, do not panic. This is a common characteristic of the sponge texture. The magic happens in the next step, where a generous layer of top coat will melt the pigments together, smoothing out the texture entirely.
The Power of the Top Coat
The ultimate secret to a professional-looking ombre is the final sealing step. A thick, plumping top coat acts as a self-levelling agent that fuses the different shades of purple into one continuous, streak-free gradient. For a delicate, dreamy aesthetic, a high-shine glossy top coat is ideal as it reflects soft natural light beautifully. Alternatively, you can opt for a matte top coat to give your lilac ombre a modern, velvety, and sophisticated finish. Apply the top coat with a light hand, gliding the brush over the nail without pressing too hard, to ensure you do not smear the blended gradient beneath.




