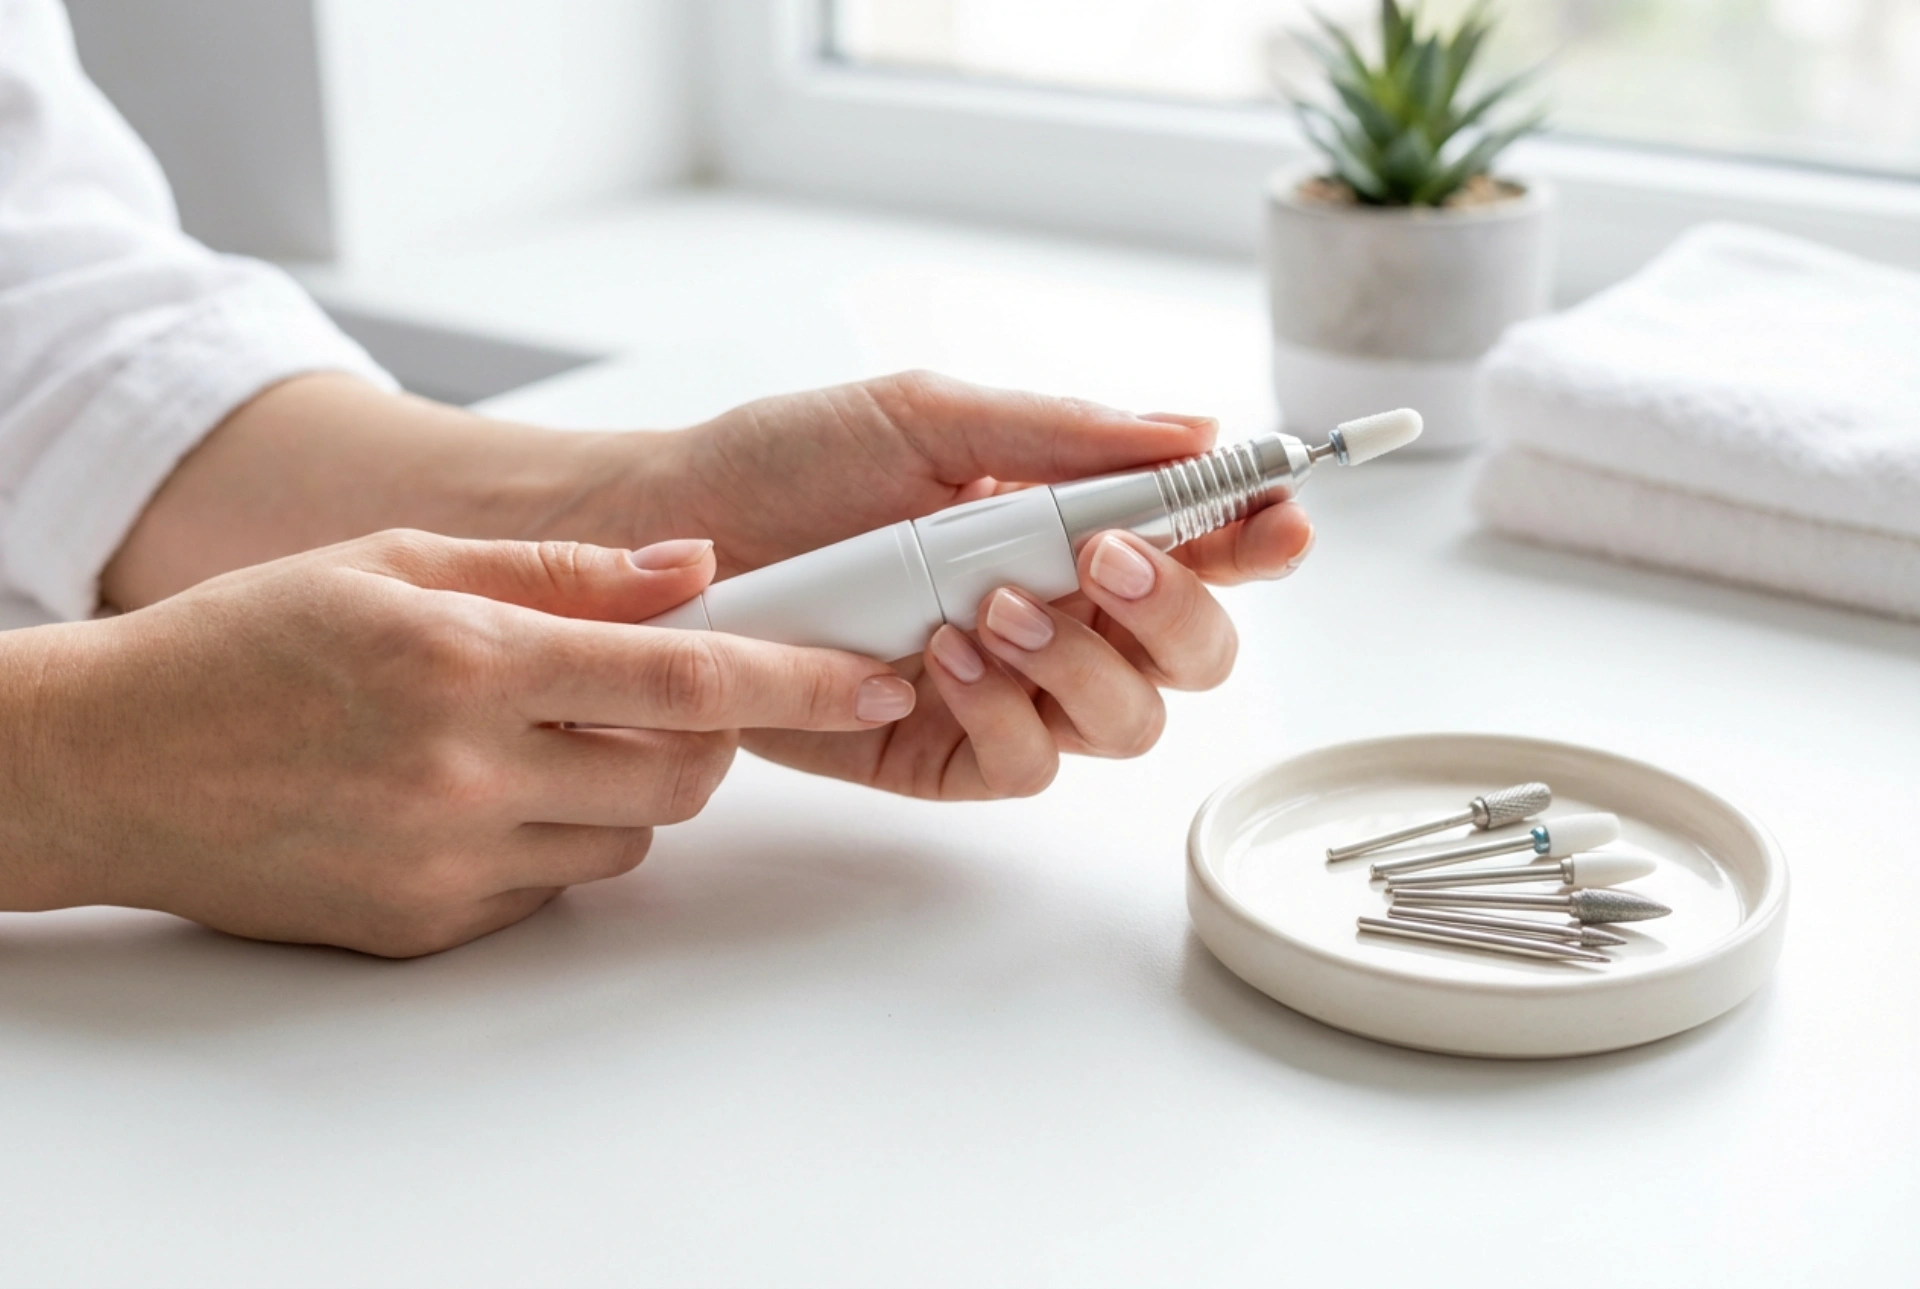


An elegant home manicure starts with the right tools, and a sleek electric nail drill can elevate your routine to a professional standard. Transforming your personal workspace with minimalist, clean accessories allows you to focus on the precision and gentle care required for beautiful hands. To achieve salon-like results safely at home, it is essential to understand how this powerful tool operates, which interchangeable attachments to select, and how to control the rotation speeds for different tasks without compromising the health of your natural nails.
Understanding your home nail drill and choosing the right speed
Operating a home electric nail drill requires patience and a basic understanding of rotation speeds, measured in rotations per minute (RPM). For beginners, maintaining control is the highest priority, which means starting at the lowest possible settings is always recommended.
- Low speed (3,000 to 5,000 RPM): Best suited for natural nails, cuticle work, and delicate filing near the skin. Using low speeds prevents friction heat and minimises the risk of over-filing.
- Medium speed (5,000 to 10,000 RPM): Ideal for shaping, smoothing out irregularities, and preparing the nail plate for modern overlays. This range provides enough power to work efficiently without losing control of the handpiece.
- High speed (above 10,000 RPM): Generally reserved for removing tough gel or acrylic overlays. Beginners should approach these speeds with extreme caution, as high rotation can quickly damage the natural nail structure if the tool is held in one spot for too long.
A guide to essential interchangeable bits
A minimalist tray of interchangeable bits is not just aesthetically pleasing; each shape and material serves a specific purpose in your nail care routine. Selecting the correct bit ensures a smooth, non-abrasive process.
Ceramic and carbide bits
These bits are designed for the efficient removal of old product, such as gel polish or overlays. Ceramic bits are particularly popular for home use because they dissipate heat excellently, reducing the warm, burning sensation that can sometimes occur during filing. Carbide bits, made of structured metal, cut away product quickly and require a steady hand.
Diamond and stone bits
For working directly on the natural nail plate and the surrounding skin, diamond and stone bits are the safest options. Small flame-shaped or ball-shaped diamond bits gently lift and clear dry cuticles, creating a neat, clean outline. Stone bits are softer and can be used to smooth out rough skin around the nail folds without causing irritation.
Step-by-step guide for safe home use
To keep your home manicure routine completely safe and enjoyable, always follow a structured method. Preparing your hands and working systematically prevents damage to both the nail matrix and the surrounding skin.
First, ensure your hands and all your tools are thoroughly cleaned and dry. Moisture can make the nail plate soft and more susceptible to damage. Choose a comfortable, well-lit workspace where you can rest your elbows on a flat surface to stabilise your hands. When operating the drill, keep the handpiece moving constantly in gentle, sweeping motions. Never press the bit down onto the nail plate; let the rotation of the tool do the work for you. Work in the opposite direction of the bit's rotation to prevent the drill from skipping across the nail surface.
Maintenance and hygienic storage
To preserve the precision of your home nail drill, proper maintenance is key. After every session, brush away all fine dust from the handpiece and the individual bits. Clean the bits using a dedicated brush and suitable cosmetic disinfectant, then let them dry completely before storing them in a neat, dry tray. Keeping your workspace organised not only protects your investment in quality beauty tools but also ensures your next home manicure is a safe, serene, and beautiful experience.




