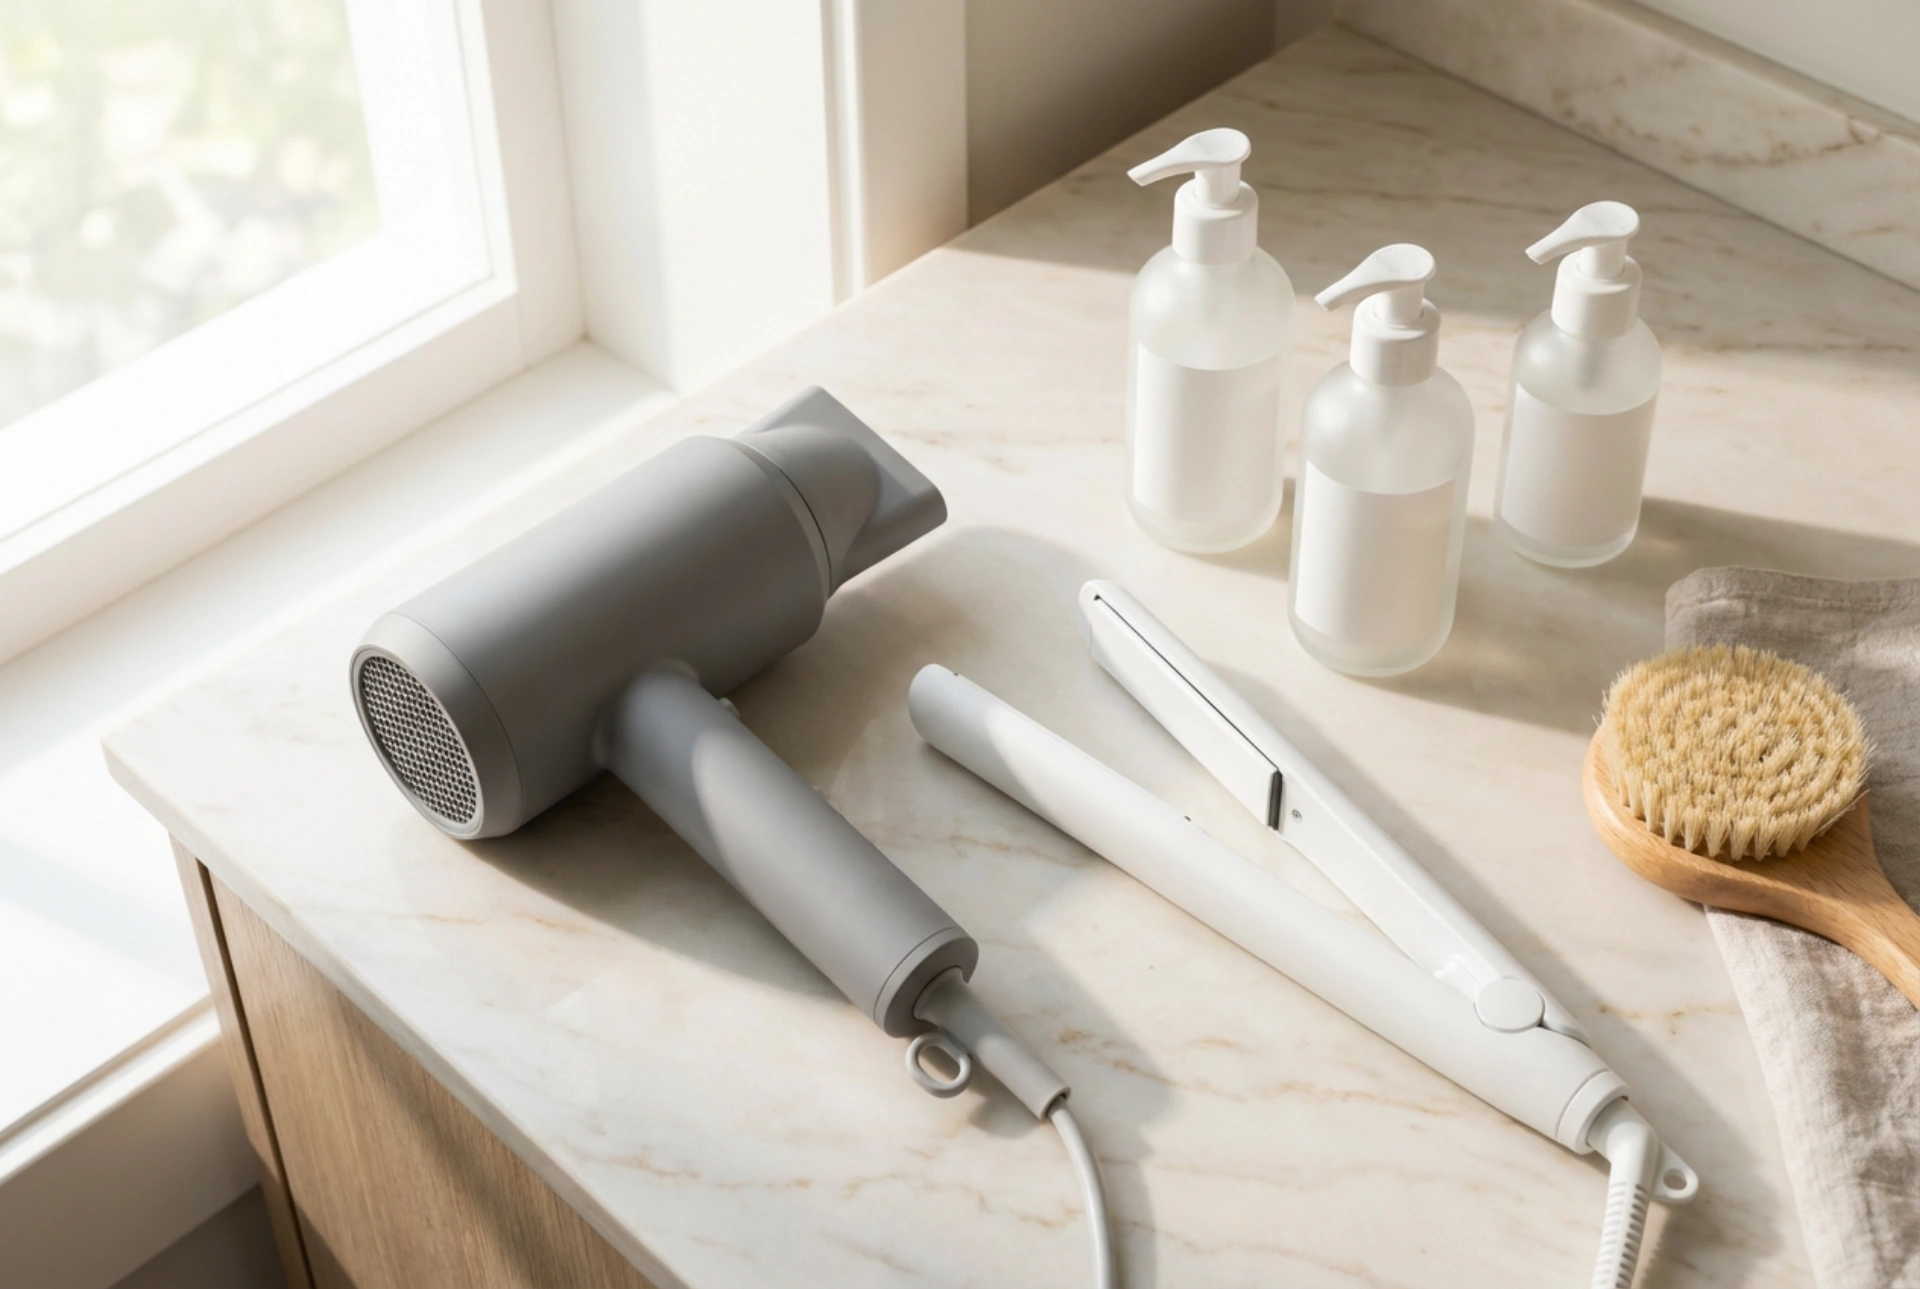


Achieving a salon-quality finish at home requires more than just high-quality styling tools. It is about establishing a systematic routine that respects the structure of your hair. When using a hair dryer and straightener set, the journey to sleek, glossy locks begins long before you plug in your devices. By understanding the role of prep work, heat protection, and correct drying techniques, you can enjoy a beautifully polished look while maintaining the natural shine and softness of your hair. Looking at a neat arrangement of minimalist styling tools and gentle hair care products reminds us that a successful routine is built on order, patience, and the right steps.
Phase 1: Preparation in the Shower
The foundation of any successful heat styling routine begins with cleansing. For a sleek, straight finish, start with a smoothing or hydrating shampoo. Focus the product on your scalp, gently massaging to remove impurities without stripping the hair of its natural oils. When applying conditioner, concentrate on the mid-lengths to the ends. This ensures the oldest, most porous parts of the hair receive adequate moisture without weighing down the roots, which could lead to a flat, lifeless style.
Rinsing is just as crucial. Ensure all product is thoroughly washed out with lukewarm water, finishing with a cool splash to help seal the hair cuticles. Once out of the shower, resist the urge to vigorously rub your hair with a towel. Friction can damage the delicate wet hair shaft and cause frizz. Instead, gently blot and squeeze the excess water out using a microfibre towel or a soft cotton t-shirt.
Phase 2: Priming and Heat Protection
Before introducing any heat from your dryer, it is vital to apply a protective barrier. A lightweight heat protectant spray, cream, or serum is non-negotiable. This product works by creating a thin, protective layer over the hair cuticle, distributing heat evenly and preventing moisture loss during the styling process.
- Apply your chosen heat protectant to damp, towel-dried hair.
- Use a wide-tooth comb or a detangling brush to distribute the product evenly from roots to tips.
- If your hair is naturally dry or prone to frizz, consider adding a small amount of leave-in conditioner or smoothing cream to the ends.
Phase 3: The Blow-Drying Technique
Never apply a straightener directly to damp or wet hair, as this can cause moisture inside the hair shaft to boil, leading to severe damage. The hair must be completely dry. Start by rough-drying your hair with your dryer set to a medium heat and high airflow. Use your fingers to lift the roots, which adds natural body and movement.
Once your hair is about eighty percent dry, section it using clips. Attach the concentrator nozzle to your hair dryer. Using a round or flat paddle brush, direct the airflow downwards from the roots to the ends. This technique aligns the hair cuticles, reducing frizz and creating a naturally smooth base that will make the straightening process much quicker and more effective.
Phase 4: Precision Straightening
Now that your hair is entirely dry, it is time to use the straightener. Divide your hair into small, manageable sections, approximately two inches wide. Working with smaller sections ensures that you only need to pass the straightener over each strand once or twice, minimizing heat exposure.
Set your straightener to a temperature suited to your hair texture. Fine or damaged hair requires a lower temperature, while thicker or coarser hair can handle slightly higher heat. Gently glide the straightener down the hair shaft at a steady, slow pace. For a natural finish, curve the straightener slightly inward at the ends rather than pulling it straight down, which can sometimes look too rigid.
Phase 5: The Finishing Touches
Once you have finished straightening all sections, allow your hair to cool down for a couple of minutes. Applying finishing products while the hair is still hot can ruin the shape. To lock in the style and add a luminous shine, warm a few drops of a lightweight hair oil or serum between your palms and smooth it gently over the mid-lengths and ends. This step tames any remaining flyaways and seals in moisture, ensuring your sleek style lasts throughout the day.





