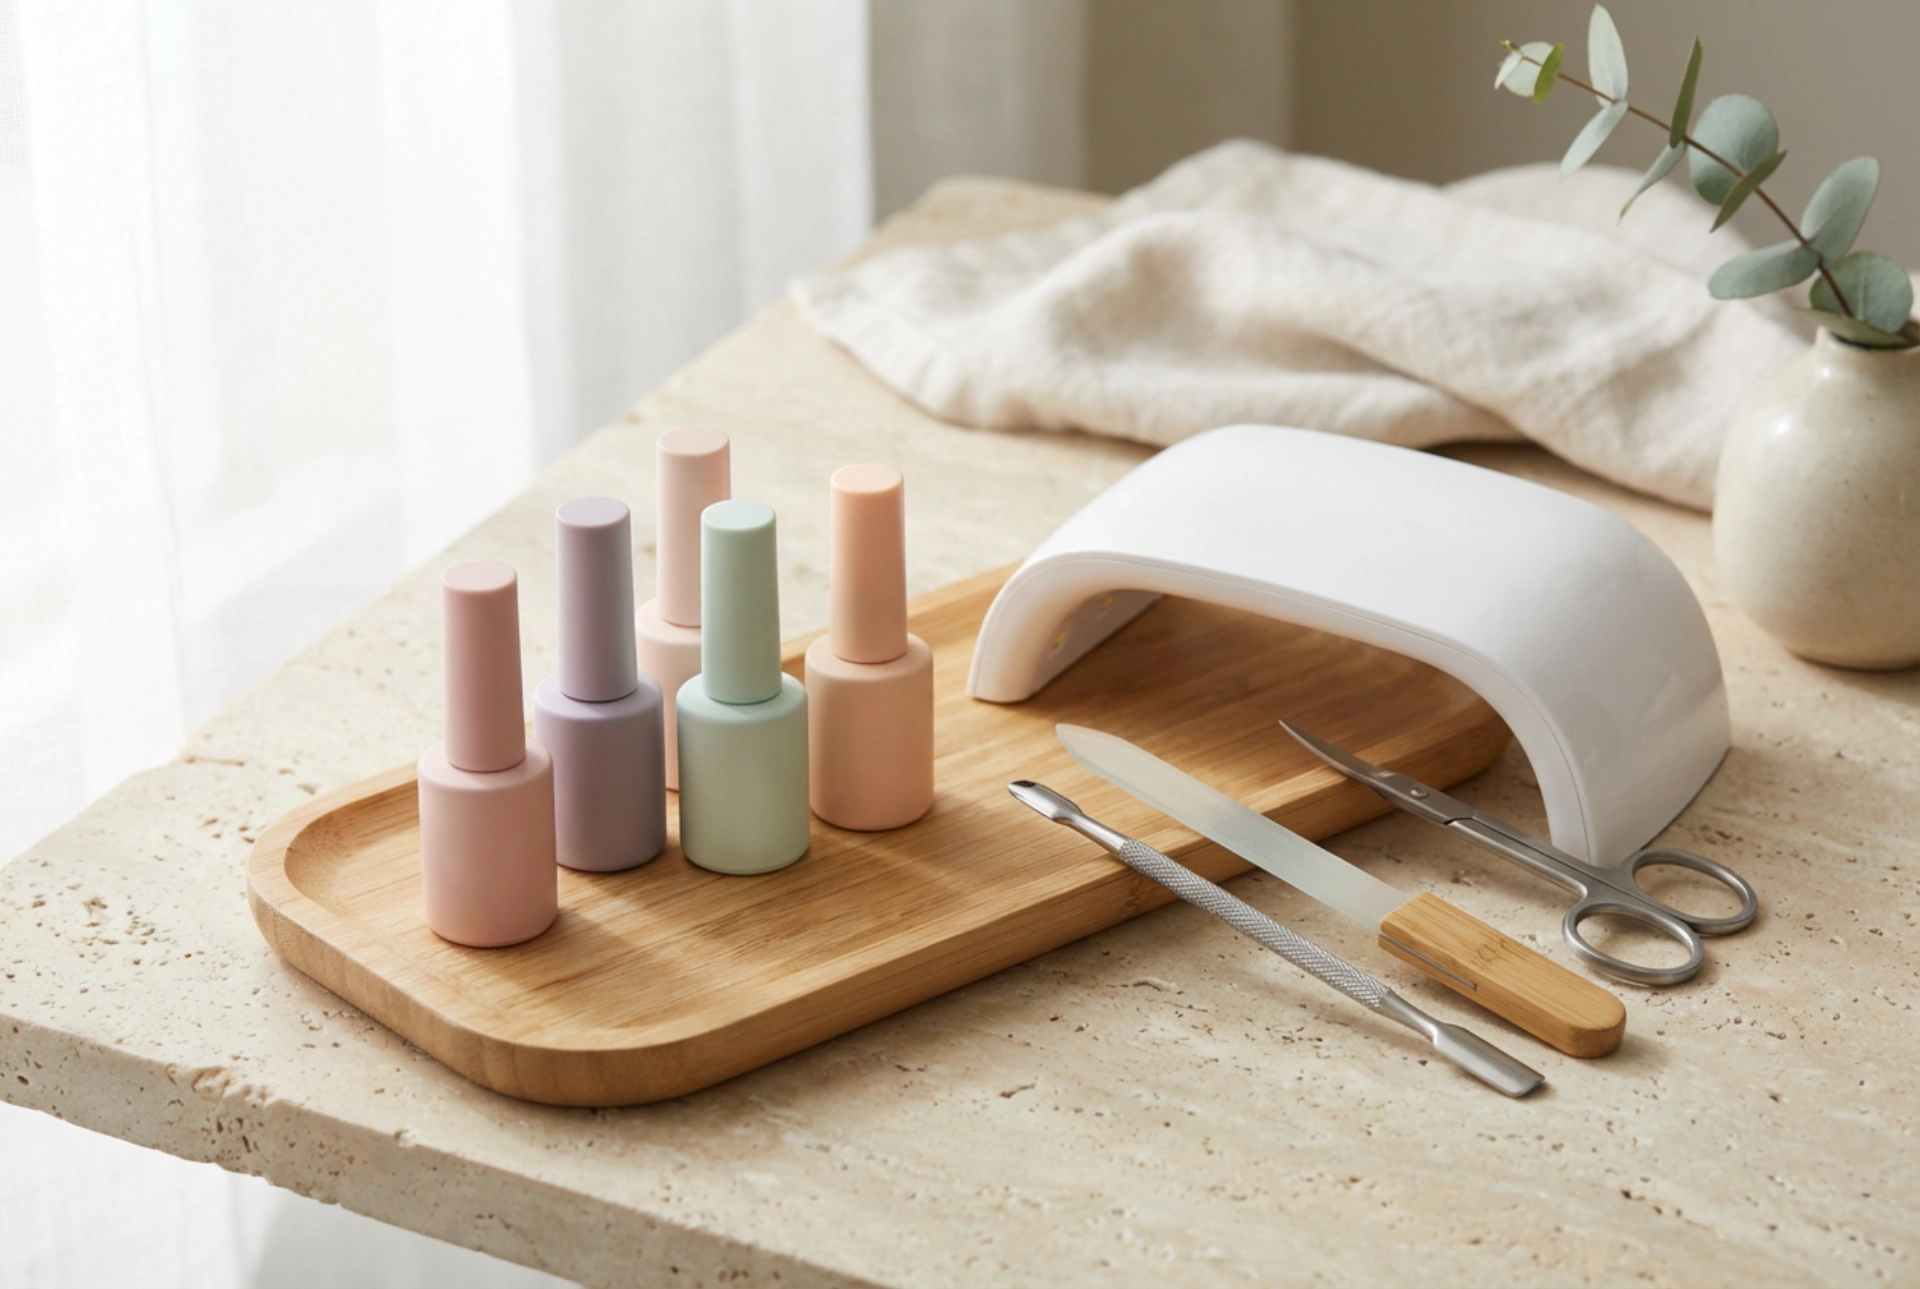


Creating a professional-looking manicure in the comfort of your own home has become a popular and relaxing beauty ritual. A serene flat lay showcasing generic gel nail polish bottles in soft pastel hues, a sleek, minimalist LED nail lamp, and various essential manicure tools perfectly illustrates the modern, clean aesthetic of a home-care routine. With the right tools and a bit of patience, achieving a durable, high-gloss finish is entirely possible without visiting a salon. Below is a comprehensive guide to building your perfect at-home gel kit and mastering the application process.
The essential components of an at-home gel kit
Before beginning your home manicure journey, assembling the correct tools is crucial for achieving a long-lasting finish. Skipping any of the preparation or finishing products can result in lifting or peeling. Here is what your basic set should include:
- Nail file and buffer: A gentle nail file (ideally 180/240 grit) is needed to shape the free edge of the nails, while a buffer block is essential for lightly removing the natural shine from the nail plate.
- Cuticle pusher or orange wood sticks: These tools help push back the cuticles gently, ensuring the gel polish does not adhere to the skin, which is a primary cause of lifting.
- Nail dehydrator and primer: A dehydrator removes residual moisture and oils from the nail plate, while an acid-free primer acts as a double-sided tape, enhancing the bond between the natural nail and the base coat.
- Base coat: This specialised clear layer protects the natural nail from staining and provides a smooth, adhesive surface for the coloured gel.
- Gel polish colours: High-quality, generic gel polishes in your preferred shades. Pastel hues are particularly forgiving for beginners as they show fewer application imperfections.
- Top coat: Available in glossy, satin, or matte finishes, the top coat seals the colour, prevents chipping, and provides that signature gel shine.
- Cleanser (isopropyl alcohol): Essential for wiping away the sticky inhibition layer left on the nails after curing the final top coat.
- Cuticle oil: A nourishing oil to hydrate the skin around the nails after the curing process is complete.
Choosing the right curing lamp
The lamp is the heart of any gel manicure kit, as gel polish cannot dry naturally; it requires specific light wavelengths to polymerise and harden. There are two main types of lamps available for home use: UV lamps and LED lamps. In recent years, LED lamps and hybrid UV/LED lamps have become the preferred choice for home beauty routines.
LED vs. UV lamps
Traditional UV lamps typically take two minutes to cure each layer of gel, whereas modern LED lamps can cure a layer in just 30 to 60 seconds. LED bulbs also last significantly longer, often for the entire lifespan of the device, and are more energy-efficient. When selecting a lamp, look for a model with a power rating of at least 24 to 48 watts to ensure even and thorough curing of all gel formulas.
The step-by-step application process
Achieving a flawless, salon-quality finish at home relies entirely on meticulous preparation and careful application technique. Follow these steps for the best results:
Step 1: Nail preparation
Start by washing and thoroughly drying your hands. Use a cuticle pusher to gently push back the cuticles. Shape your nails with a file, moving in one direction to prevent splitting. Next, take the buffer block and gently buff the surface of each nail to remove the natural shine. Wipe away any dust with a lint-free wipe soaked in nail dehydrator. Apply a thin layer of primer and let it air-dry for about 30 seconds.
Step 2: Base coat application
Apply a very thin layer of base coat to the nails, taking care not to touch the cuticles or the skin surrounding the nail. Be sure to cap the free edge (the very tip of the nail) to seal the product. Cure under your LED lamp for 30 to 60 seconds according to the manufacturer's instructions.
Step 3: Colour application
Apply a thin layer of your chosen gel polish colour. It is always better to apply two or three ultra-thin coats rather than one thick layer, as thick layers may not cure properly and can wrinkle. Seal the free edge with each coat. Cure each layer for 60 seconds under the LED lamp.
Step 4: Top coat and finishing
Apply a layer of top coat over the entire nail, ensuring complete coverage and sealing the free edge once more. Cure under the lamp for 60 seconds. Once cured, if you are using a traditional top coat, wipe away the sticky residue with a lint-free wipe saturated with nail cleanser. Finish the routine by massaging a drop of nourishing cuticle oil into the skin around each nail.
Safe removal of gel polish at home
To maintain the health of your natural nails, never peel or scrape off gel polish, as this strips away the top layers of the nail plate. To remove the polish safely, gently file the shiny top coat layer to break the seal. Soak cotton pads in cosmetic acetone, place them on the nails, and wrap each finger tightly in aluminium foil. Leave the foil on for 10 to 15 minutes, then gently slide off the softened gel using an orange wood stick. Wash your hands and apply a generous amount of hand cream and cuticle oil.




