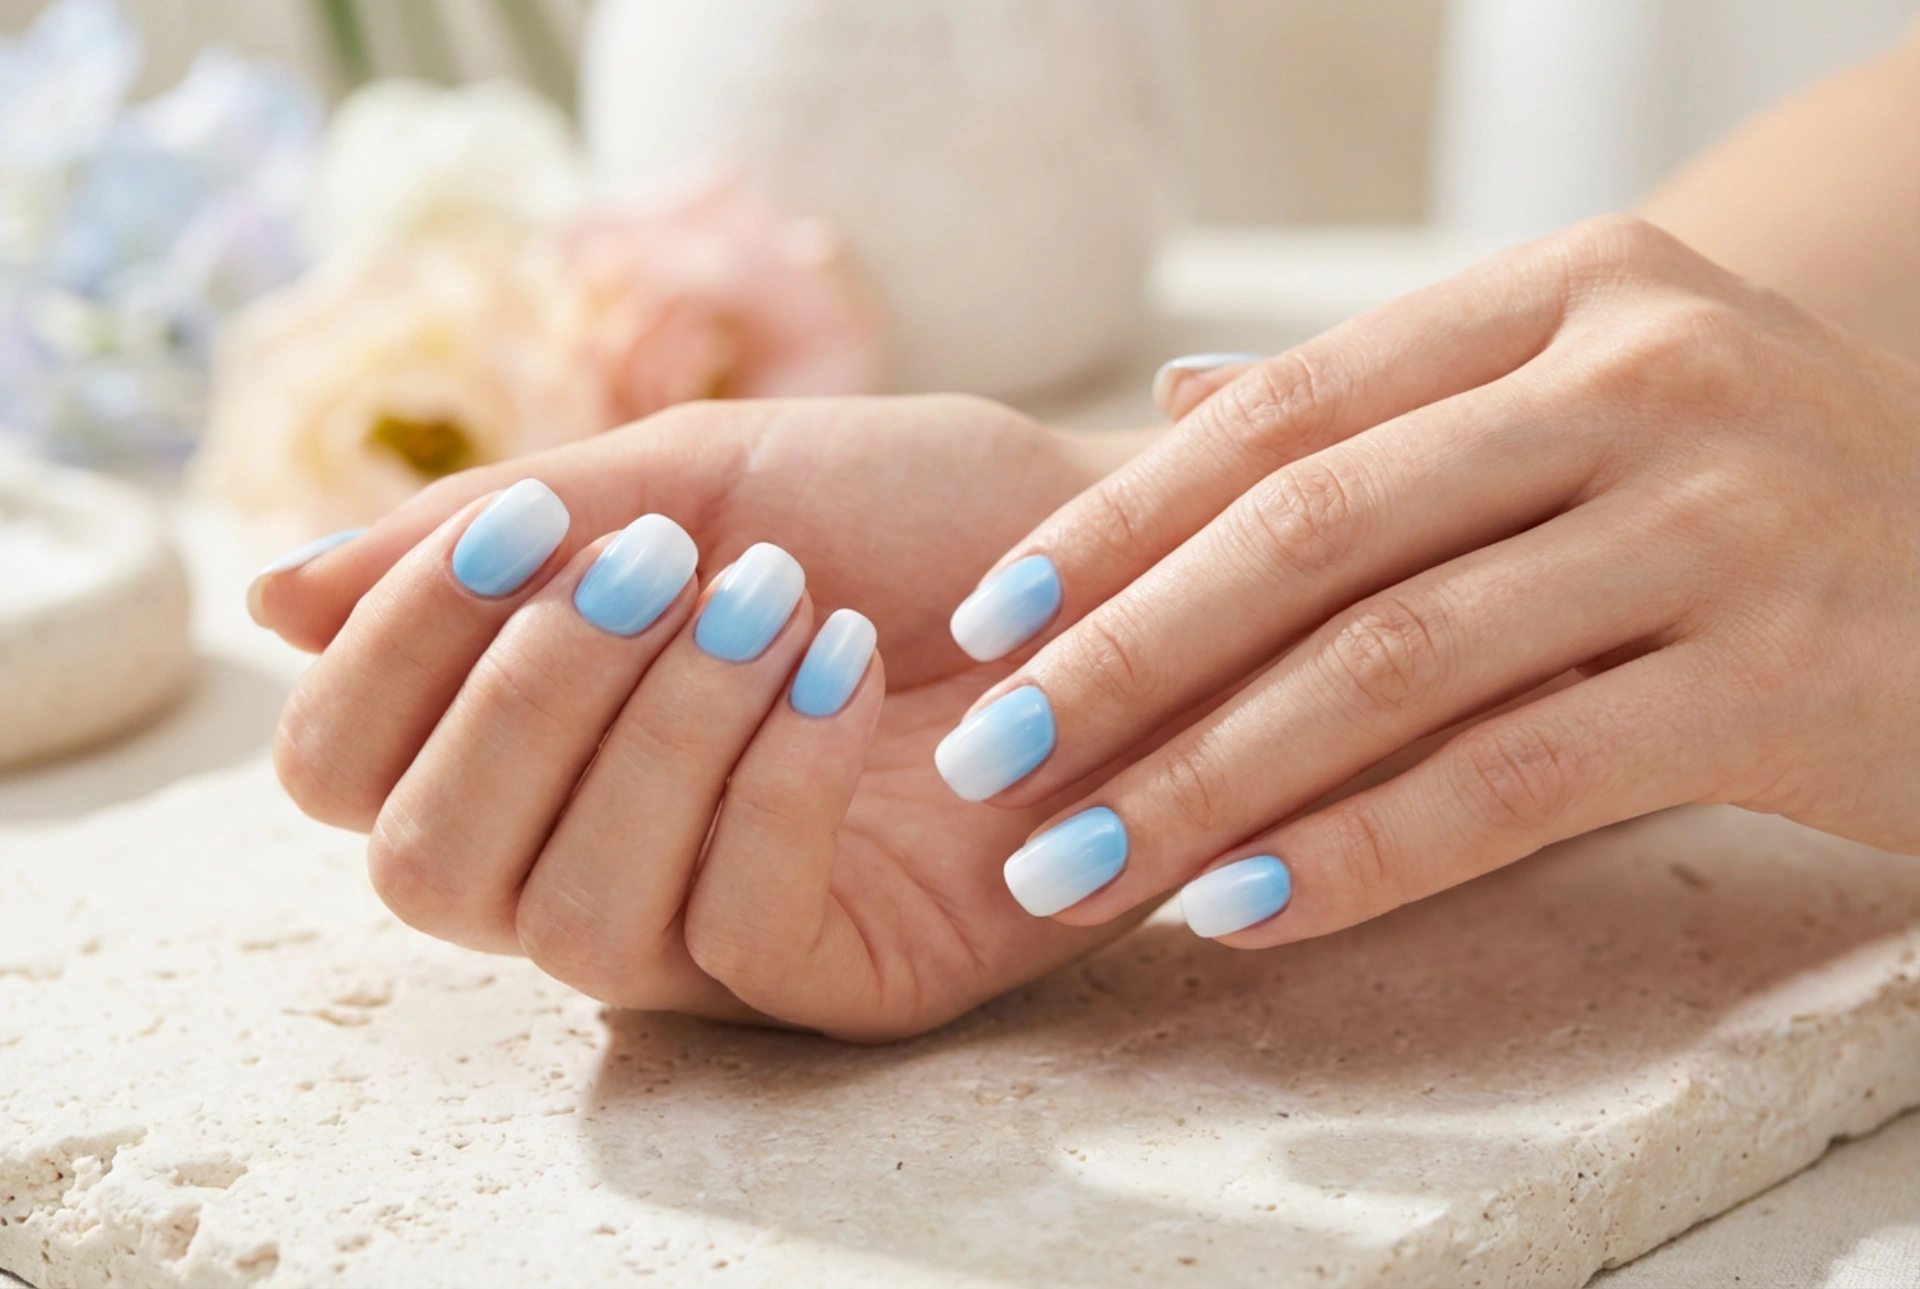


A beautifully executed manicure is a true showcase of elegance and attention to detail. Among the many nail art techniques that have stood the test of time, the ombre effect remains a top choice for those seeking a modern yet delicate look. A seamless transition from a soft, clean white to a tranquil sky blue creates an airy, fresh aesthetic. This particular colour combination evokes a sense of calm and sophistication, making it perfect for both everyday wear and special occasions where a subtle touch of colour is desired.
The essentials of the sponge technique
Achieving a flawless gradient at home is highly accessible, with the cosmetic sponge being the most reliable tool for the job. To begin, you will need a few basic supplies: a high-quality base coat, a opaque white nail polish, a soft pastel blue polish, a clean makeup sponge, and a protective top coat. The texture of the sponge is crucial; a fine-pored cosmetic wedge works best because it prevents large air bubbles from forming in the polish, ensuring a smooth and even transition between the two shades.
Preparing the nail plate
Before applying any colour, proper preparation of the nail plate is essential for longevity and a smooth finish. Start by shaping the nails into a neat round or square shape, gently pushing back the cuticles, and buffing the surface to remove any natural oils. Apply a thin layer of protective base coat. This step not only protects the natural nail but also creates an even canvas that helps the subsequent layers of polish adhere much better.
Step-by-step gradient application
Once the base coat is dry, apply one or two thin coats of the white polish as your background colour. This solid foundation makes the blue gradient pop and ensures the transition looks soft rather than patchy. Allow this base layer to dry completely before moving on to the sponge application.
- Preparing the sponge: Lightly moisten the cosmetic sponge with water and squeeze out any excess. A slightly damp sponge absorbs less polish, allowing more product to transfer directly onto the nail surface.
- Applying the polish: Paint two parallel, slightly overlapping stripes of white and blue polish directly onto the edge of the sponge. The overlapping area is where the magic happens, creating the soft intermediate hue.
- Dabbing the gradient: Gently tap the sponge onto the nail, moving it slightly up and down to blend the line where the colours meet. Keep the pressure light to avoid lifting the underlying polish.
- Building intensity: It is always better to work in thin layers. Let the first layer dry for a minute, then repeat the sponge process to build up the colour intensity and seamlessness of the gradient.
Achieving a flawless and glossy finish
The transition phase can sometimes leave a slightly textured surface on the nail due to the sponge's porous nature. This is completely normal and can be easily rectified during the finishing stage. A generous layer of a high-shine top coat is the key to smoothing out any minor imperfections, blending the colours even further, and sealing the design for long-lasting wear.
Protecting and maintaining your manicure
To keep your white and blue ombre nails looking fresh and glossy, apply a fresh layer of top coat every few days. This simple step protects the tips from chipping and revives the original shine. Additionally, regularly moisturizing the cuticles with a nourishing oil will keep the skin around your nails soft and healthy, beautifully framing your handiwork.




