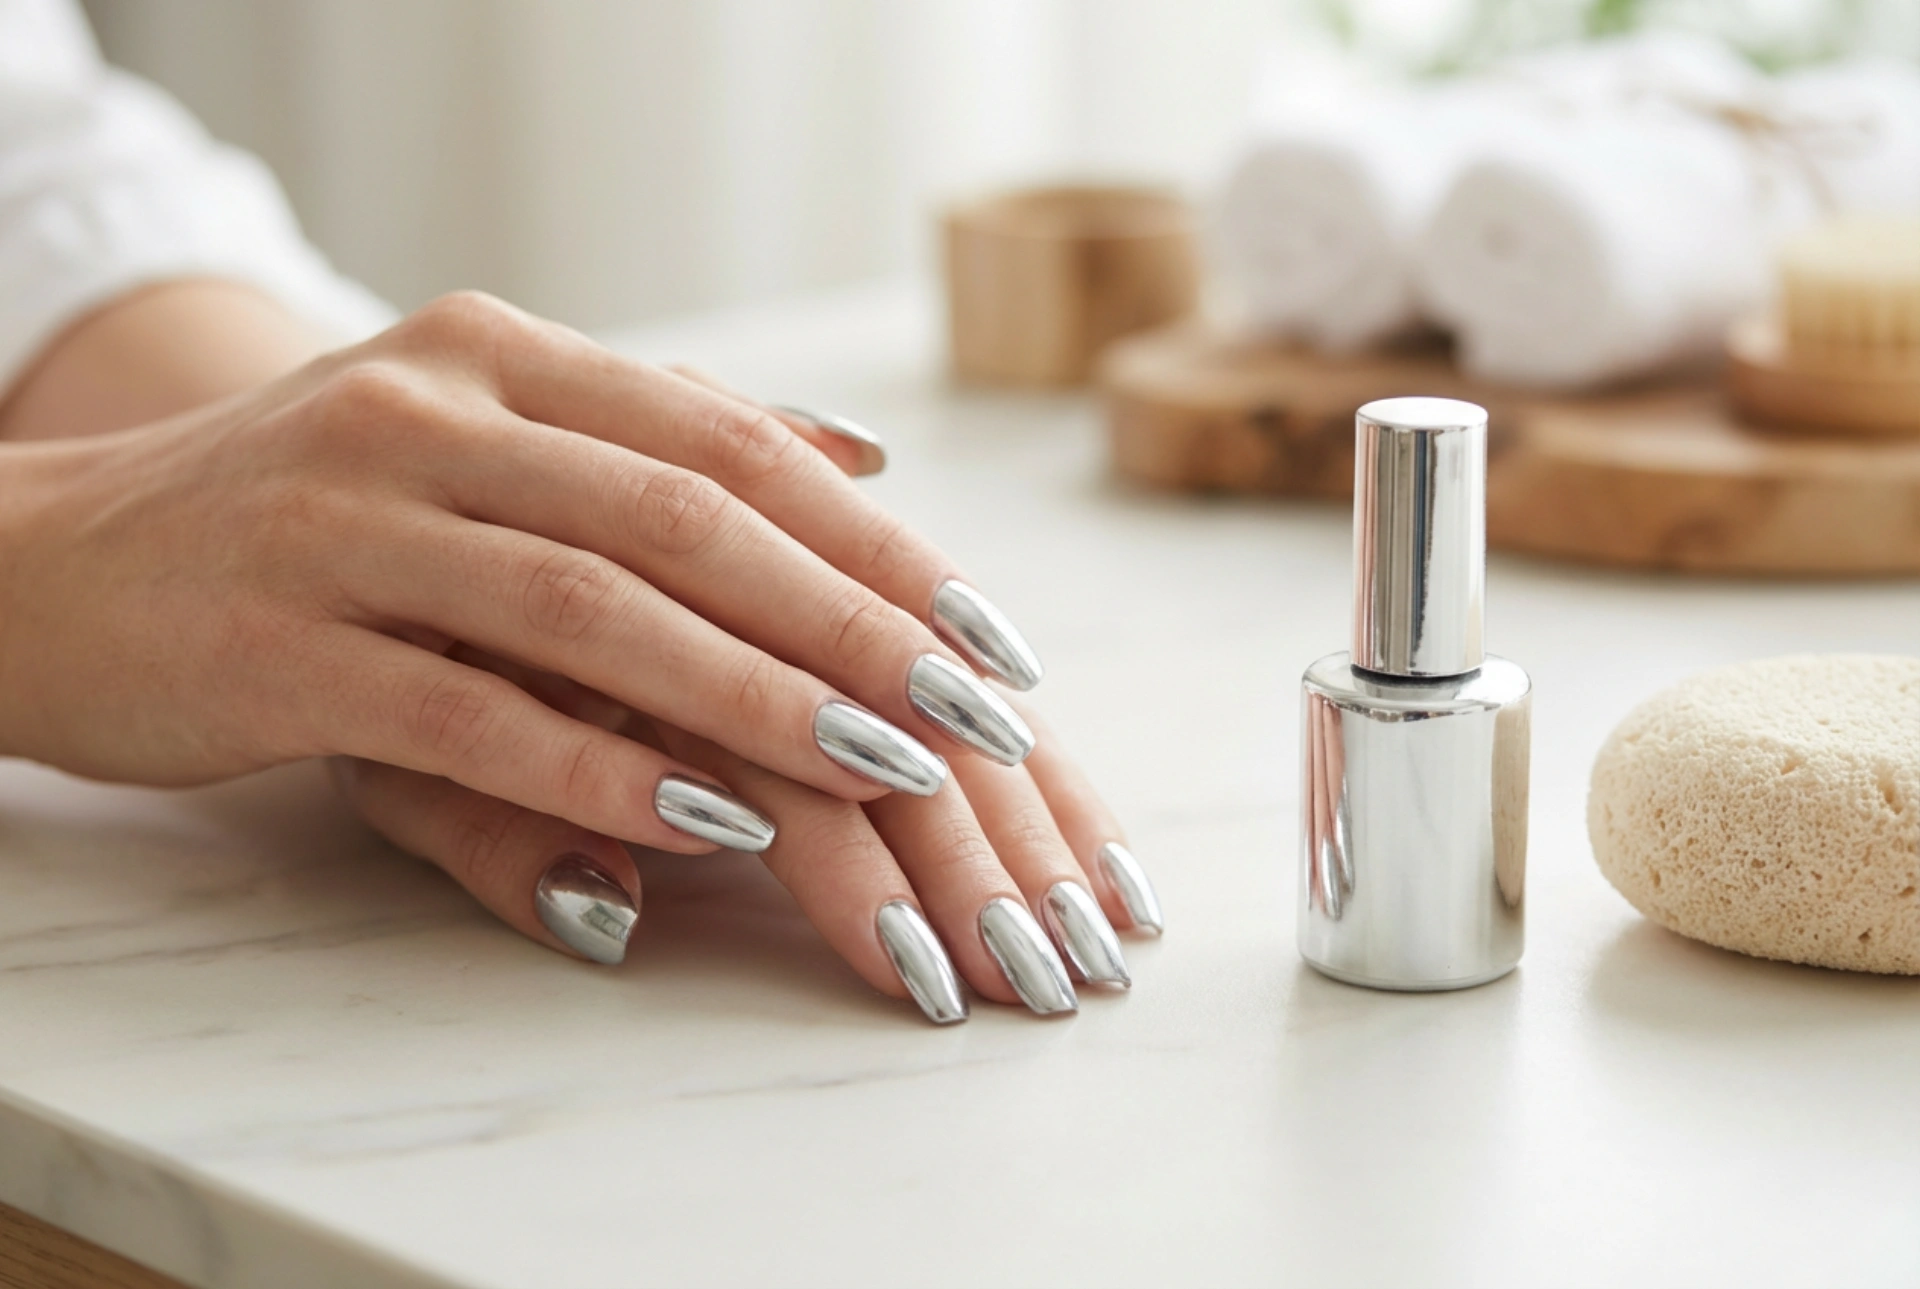


Beautifully styled hands are a true showcase of elegance and modern style. Among the many trends that dominate contemporary nail styling, silver gel polish with a mirror-like finish holds a special place. Its dazzling shine, reminiscent of a polished sheet of metal, catches the light and adds a futuristic yet classic touch to any look. Creating this striking effect at home requires the right approach, patience, and a few clever techniques to ensure the manicure remains flawless and durable for weeks.
The Secret to a Perfect Mirror-Like Finish
Achieving a smooth, reflective surface with silver gel polish depends heavily on the preparation of the nail plate. Unlike darker or matte shades, metallic and silver polishes tend to highlight every imperfection, bump, or ridge on the nail. Therefore, the first step must always be thorough buffing. Using a soft buffer, gently smooth the surface of the nail to create an even base.
Applying a high-quality base coat is the next crucial step. A self-levelling base coat is highly recommended, as it fills in any remaining micro-gaps. When applying the silver gel polish itself, thin layers are key. Two ultra-thin coats of metallic polish will look much smoother and more even than one thick layer, which might wrinkle under the UV/LED lamp or create unsightly streaks.
The Sponge Technique for Seamless Application
Sometimes, applying metallic gel polish with a standard brush can leave visible brush strokes. To avoid this and achieve a perfectly blended, ultra-shiny finish, the cosmetic sponge technique is incredibly useful. This method is excellent for creating ombre effects or ensuring a highly concentrated metallic shimmer across the entire nail.
- Apply your base coat and cure it under the lamp according to the instructions.
- Apply a thin layer of silver gel polish to the nail and cure it.
- Apply a small amount of the silver polish onto a clean, latex-free makeup sponge.
- Gently dab the sponge onto the nail plate, building up the intensity of the silver pigment. This disperses the metallic particles evenly without leaving brush marks.
- Clean any excess polish from the skin around the nail using a precise brush dipped in cleanser before curing.
- Cure the sponged layer under the lamp.
Using a sponge allows you to control the density of the glitter and metallic particles, ensuring a smooth transition and a professional, salon-like appearance at home.
Essential Edge Protection for Long-Lasting Wear
Even the most beautiful silver manicure will lose its charm if it chips at the tips after a few days. The free edge of the nail is the most vulnerable area, constantly exposed to mechanical damage during daily tasks. Sealing the free edge, also known as capping the edge, is an absolute necessity in gel styling.When applying the base coat, the silver polish, and the top coat, always run the brush gently along the very edge of the nail tip. This simple step wraps the polish around the natural nail, creating a protective barrier that prevents moisture and dirt from getting underneath. A securely sealed edge ensures that your dazzling silver nails remain intact and chip-free for up to three weeks.
Choosing the Right Top Coat
To lock in the intense metallic shine, selecting the correct top coat is vital. For a true mirror effect, a no-wipe top coat is often the best choice. This type of top coat does not leave a sticky dispersion layer after curing, which helps maintain the pristine, glass-like clarity of the silver pigment. Ensure the top coat is applied evenly and cured thoroughly to provide a scratch-resistant, glossy shield over your beautiful silver styling.




