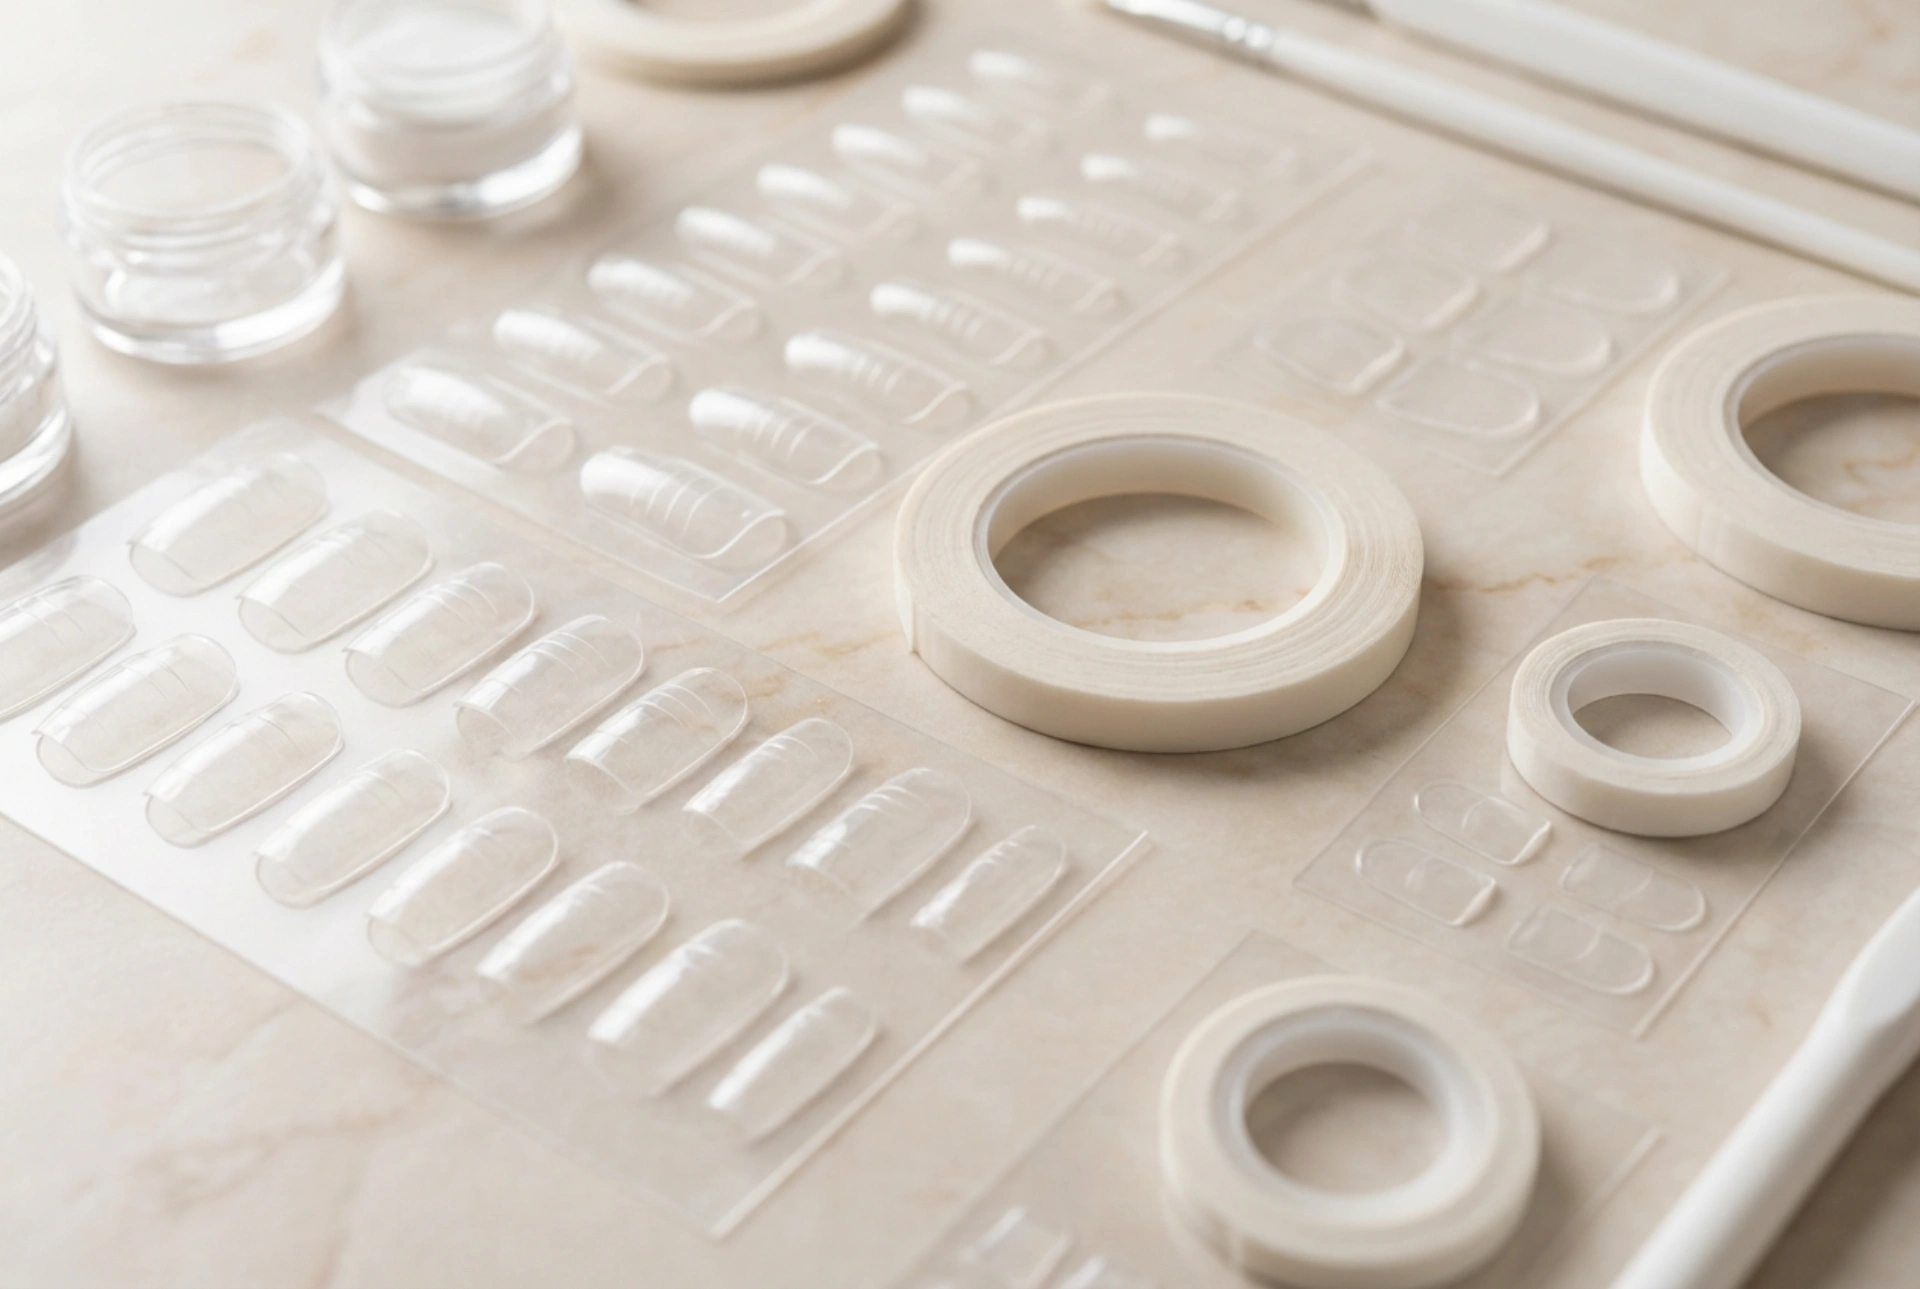


Modern manicures are all about convenience, speed, and versatility. For those who love the look of long, elegant nails but wish to avoid the time-consuming process of traditional salon enhancements, nail extension stickers offer a groundbreaking alternative. These double-sided, high-tack adhesive tabs allow you to apply tips quickly and easily at home. Set against a clean, modern aesthetic with clear, flexible designs, these self-adhesive tapes provide a secure hold while keeping the natural nail protected underneath.
The benefits of using adhesive tapes for extensions
Using self-adhesive stickers instead of traditional liquid glue presents several key advantages for your home beauty routine. Firstly, the application process is incredibly fast, requiring no curing under special lamps or waiting for liquid adhesives to dry. This makes it an ideal solution for special occasions when you need a quick, beautiful transformation.
Furthermore, adhesive tabs are highly gentle on the natural nail plate. Because they do not bond permanently or require harsh chemical solvents for removal, they preserve the integrity of your nails. This minimises the risk of peeling, thinning, or brittleness that can sometimes occur with stronger salon products. Additionally, because the application is non-liquid, there is zero risk of messy spills or skin irritation around the cuticles.
Step-by-step guide to applying nail stickers
To achieve a long-lasting and flawless finish, proper preparation and precise application are essential. Following these steps ensures your tips stay securely in place:
- Preparation: Begin by shaping your natural nails and gently pushing back the cuticles. Use a fine-grit buffer to lightly remove the natural shine from the nail plate, and then clean the surface thoroughly with a dehydrating solution or rubbing alcohol to remove any oils.
- Selection: Match each nail to the correct size of adhesive tab. The sticker should cover the natural nail plate without overlapping onto the surrounding skin or cuticles.
- Application of the tab: Peel the selected sticker from the sheet and place it firmly onto your natural nail. Press down from the centre outwards to eliminate any air bubbles, ensuring complete adhesion.
- Affixing the tip: Remove the protective top backing from the sticker. Align the extension tip with your cuticle line at a slight angle, press it down firmly, and hold for about ten to fifteen seconds to activate the bond.
Maintenance and removal tips
Although adhesive extension stickers are designed for short-term wear, simple care practices can extend their longevity. Avoid prolonged exposure to hot water, such as during long baths or dishwashing, especially in the first few hours following application. Wearing protective gloves during household chores will also help maintain the strength of the adhesive bond.
When it is time to change your style, removal is exceptionally straightforward and completely damage-free. There is no need for acetone or aggressive scraping. Simply soak your hands in warm, soapy water mixed with a few drops of cosmetic oil for several minutes. Gently lift the edges of the tips using a wooden manicure stick, and the stickers will slide off effortlessly, leaving your natural nails clean and healthy.




