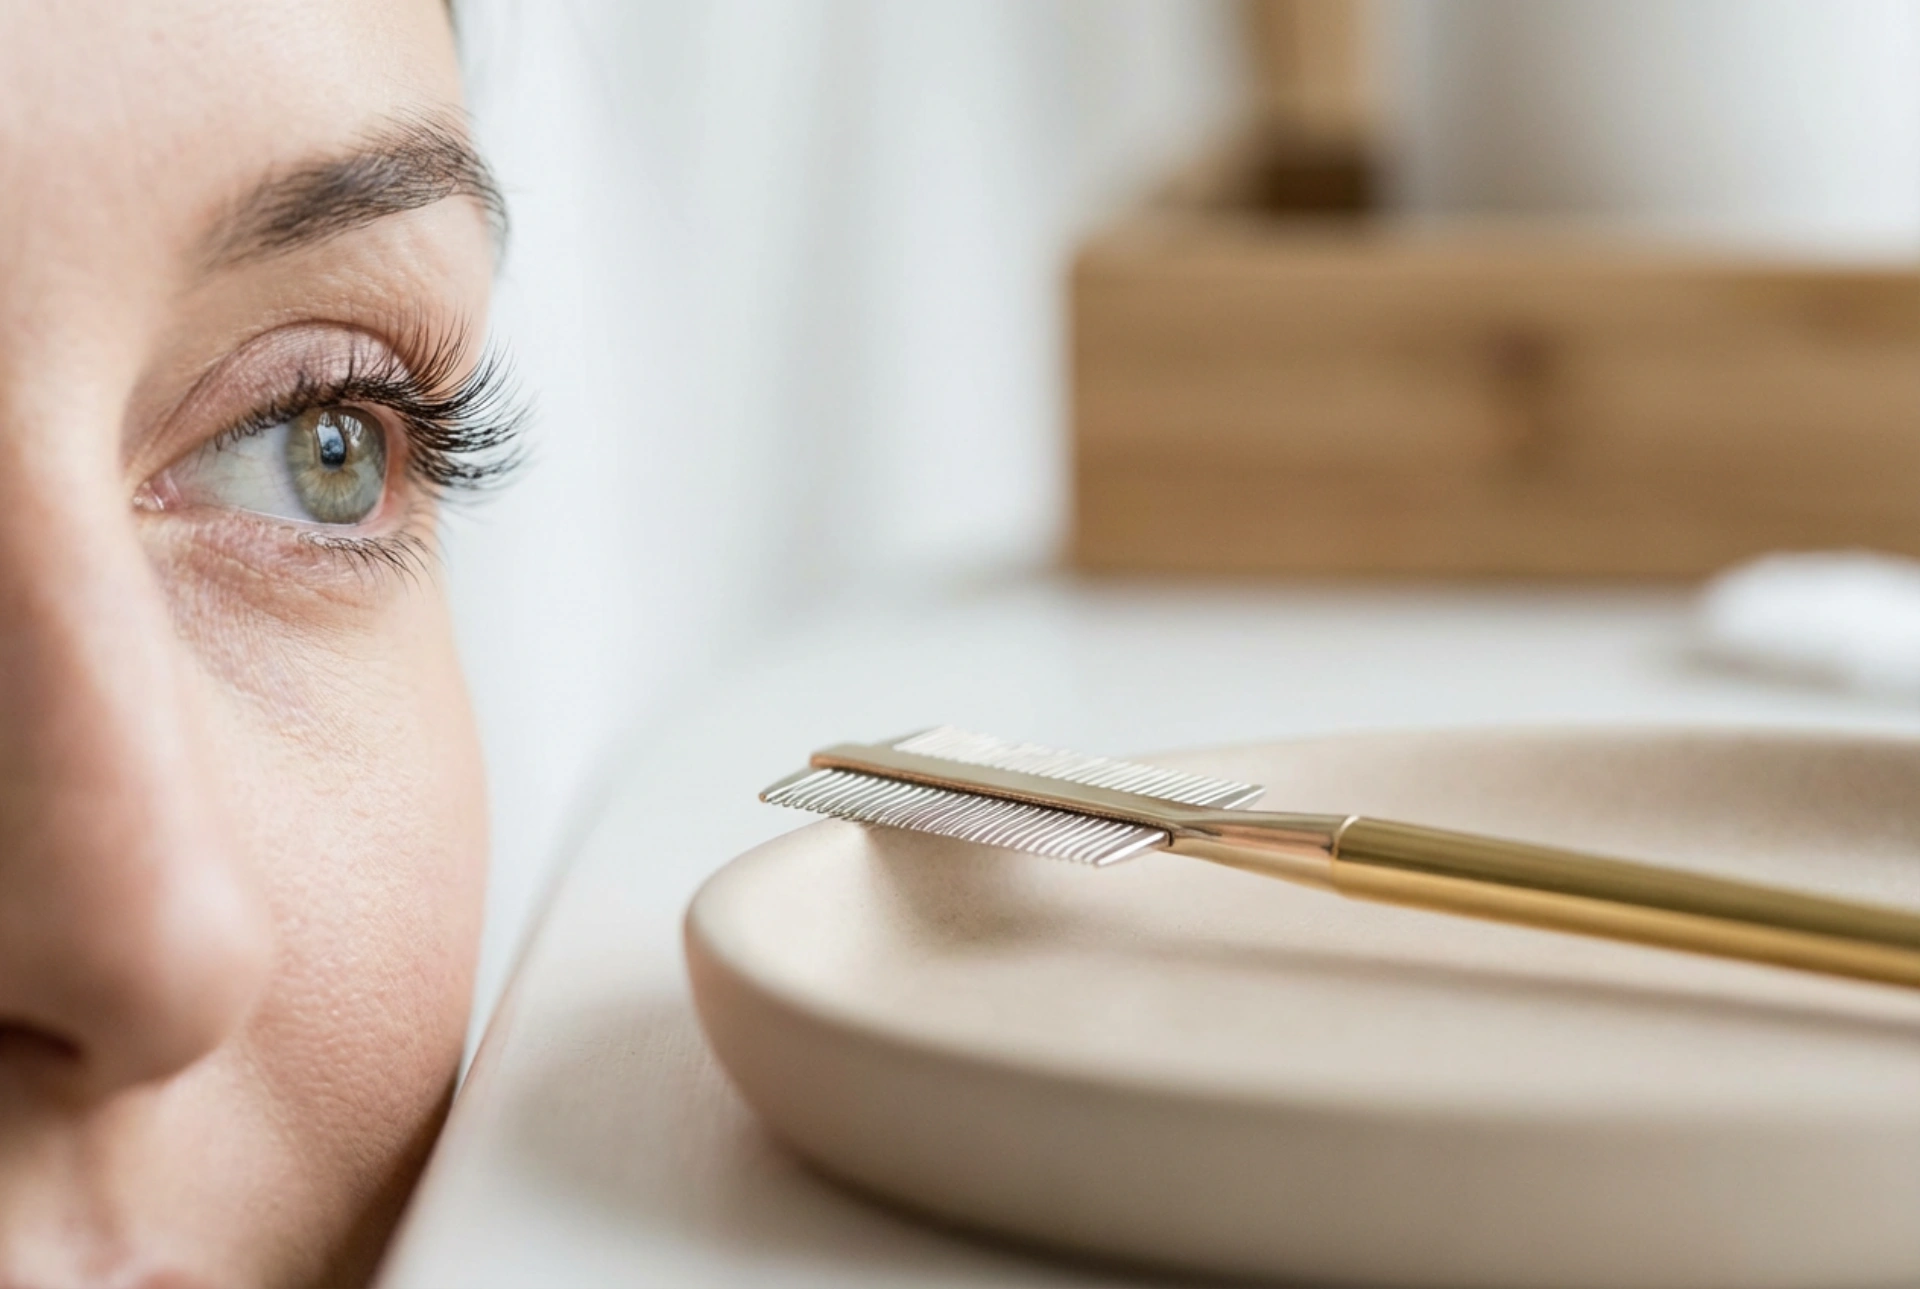


The desire for beautifully defined eyes has led to a major shift in modern beauty trends, moving away from heavy, dramatic volume towards more delicate and natural-looking styles. Among these, the wispy eyelash look stands out as a timeless favourite. Characterised by beautifully separated, fanned-out lashes with alternating lengths, this style creates a soft, fluttery finish that enhances the natural beauty of the eyes. To achieve this effortless elegance, the right combination of grooming techniques, subtle product application, and precise tools is essential.
Understanding the wispies effect
The wispy lash style is inspired by the natural growth pattern of eyelashes, which are rarely uniform in length. By mimicking this organic variation, the look adds dimension and brightness to the eyes without appearing artificial. The key features of this style include:
- Feathery texture: Lashes look soft and light, rather than thick or clumped.
- Spiky definition: Longer lash strands are strategically placed to create subtle points of interest.
- Perfect separation: Each lash is clearly defined and fanned out to open up the eye area.
This versatile look is perfect for everyday wear, offering a polished yet understated finish that complements any makeup style, from a minimalist daytime look to an elegant evening aesthetic.
Essential tools for achieving the look
Creating the perfect separated lash look at home does not require professional salon treatments, but it does require the right tools. To begin, you will need a high-quality eyelash curler to lift the lashes from the root, creating a wide-awake effect. A fine-toothed metal lash comb is another indispensable tool, as it helps to separate individual lashes and remove any excess product that could cause clumping. Finally, choosing a defining mascara with a rubber or plastic wand featuring short, precise bristles will make a significant difference in achieving the desired separation.
Step-by-step guide to wispy lashes
To achieve a beautiful, long-lasting wispy effect, follow these simple steps during your daily beauty routine:
1. Preparation and curling
Start with completely clean, dry lashes. Position your eyelash curler at the base of the lash line, squeeze gently for a few seconds, and then pump the curler slightly as you move it outward towards the tips. This creates a natural, soft curve rather than a harsh bend, providing the perfect foundation for a fluttery finish.
2. Applying a defining formula
When selecting a product, opt for a lengthening and defining formula rather than a heavy volumising one. Wiggle the mascara wand gently at the very base of your lashes to deposit color and build strength at the root, then sweep the wand straight through to the tips in a swift, upwards motion. Avoid applying multiple heavy layers, as this can weigh down the lashes and lead to clumping.
3. The art of separation
Immediately after applying your first coat, while the formula is still slightly wet, use your lash comb to brush through the lashes. Start from the base and glide upwards, removing any excess product. Focus on directing the inner corner lashes towards the nose, the middle lashes straight up, and the outer corner lashes outwards to create a beautiful, wide-eyed fan effect.
Tips for maintaining healthy lashes
The secret to any beautiful lash look is the underlying health of your natural lashes. Incorporating a few simple care habits into your daily routine can help keep your lashes strong and resilient. Always remove eye makeup gently before bed using a mild, non-irritating cleanser, avoiding any harsh rubbing. You can also apply a light, natural oil, such as castor oil, to the lashes with a clean spoolie brush overnight to lock in moisture and support natural conditioning.





