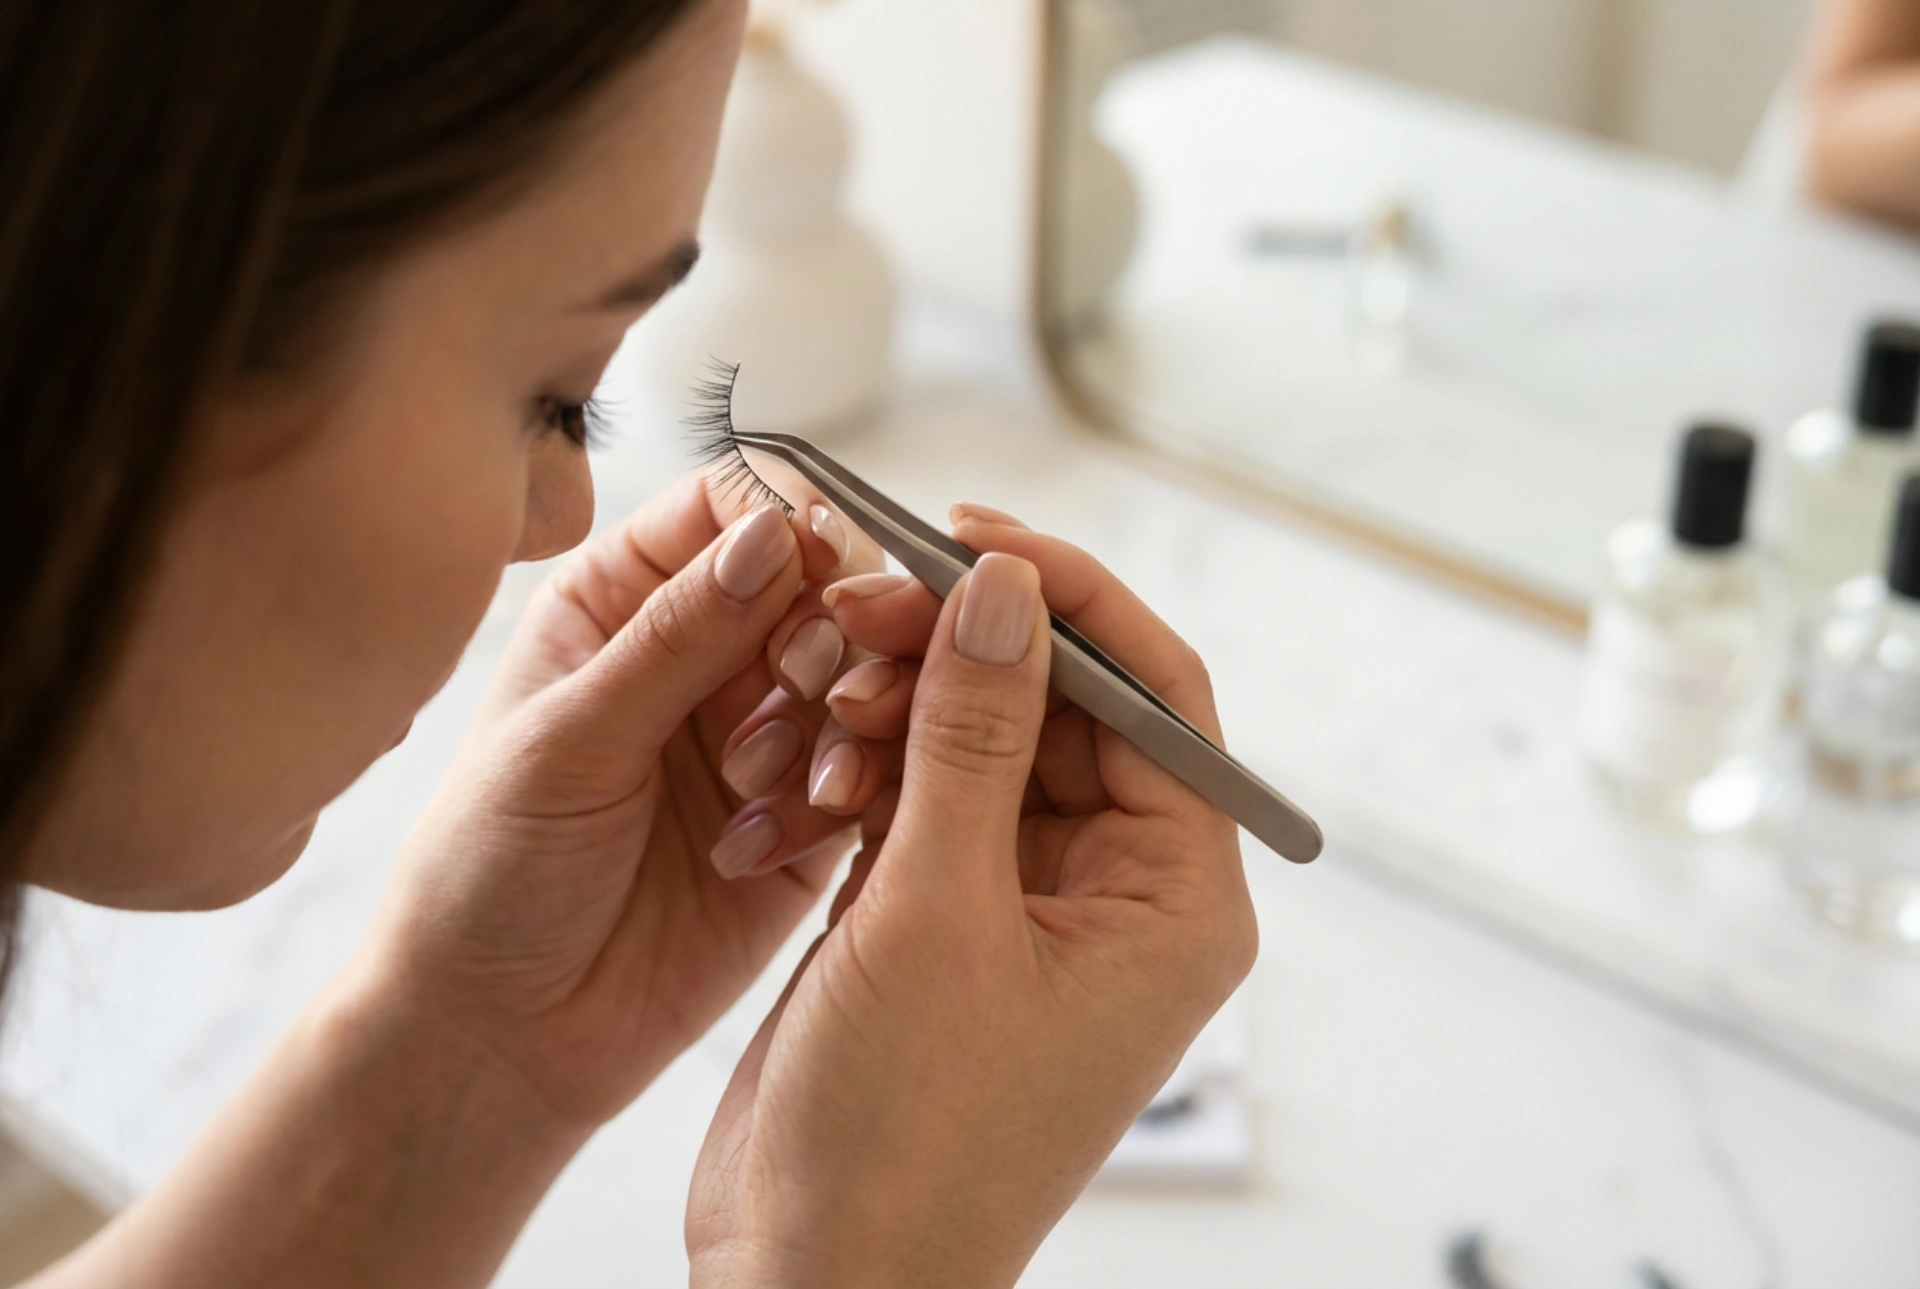


The eyes are often described as the focal point of the face, and enhancing them can instantly elevate any beauty look. While full strip lashes have long been a popular choice for special occasions, half eyelashes are rapidly becoming the preferred option for those seeking a more natural, everyday lift. Positioned on the outer corners of the eyes, these delicate lash segments create a beautiful winged effect, lifting the gaze without the weight or discomfort sometimes associated with full-length falsies. This guide explores the benefits of using half lashes and provides a comprehensive step-by-step approach to achieving a seamless, elegant application in the comfort of your own home.
Why choose half eyelashes?
Half eyelashes, also known as accent lashes, offer several distinct advantages over traditional full-strip alternatives. Because they only cover the outer half to one-third of the lash line, they are significantly easier to apply. Beginners often struggle with the inner corners of full lashes lifting or poking, but half lashes bypass this issue entirely. Additionally, they require minimal trimming and adapt effortlessly to almost any eye shape, from almond to hooded eyes.
From an aesthetic perspective, accent lashes deliver a very specific and flattering shape. By adding volume and length exclusively to the outer edges, they create an elongated, feline silhouette. This visual elongation provides a subtle, non-invasive lifting effect that opens up the eyes, making them appear wider, brighter, and more awake while maintaining a soft, believable appearance.
The essential tools for a flawless application
Before beginning the application process, gathering the right tools will ensure a smooth and frustration-free experience. Preparing your vanity area with good lighting and a clear mirror is the first step toward precision.
- A pair of half eyelashes: Select a style that mimics the natural taper of your lashes, starting shorter on one side and lengthening towards the outer edge.
- Eyelash adhesive: Opt for a high-quality, clear-drying formula that offers a strong hold without causing stiffness.
- Fine-tip tweezers or an applicator: This tool allows for precise placement and keeps your fingers from blocking your view in the mirror.
- Mascara and an eyelash curler: These are essential for blending your natural lashes with the falsies.
Step-by-step guide to applying half lashes
Achieving a professional-looking finish with half eyelashes is highly achievable when you follow a structured, patient approach. By mastering each phase of the process, you can ensure your accent lashes stay secure and look virtually undetectable throughout the day.
Step 1: Preparation and curling
Start with clean, dry eyelids. If you plan to wear eyeshadow or eyeliner, apply these products first. Once your eye makeup is in place, use an eyelash curler to gently curl your natural lashes. Curling provides a structural base that helps support the weight of the false lash segment, preventing it from drooping. After curling, apply a very light coat of mascara. This defines your natural lashes and creates a cohesive texture that the half lash can easily grip onto.
Step 2: Measuring and trimming
Gently remove the half lash from its packaging using tweezers, pulling from the band rather than the delicate lash hairs. Hold the lash against the outer corner of your eye to measure the fit. The inner end of the half lash should start roughly where your pupil is when looking straight ahead, extending to the outer corner of your eye. If the band is slightly too long, trim a small section from the outer edge, as trimming the inner part can ruin the natural gradient of the lash length.
Step 3: Applying the adhesive
Apply a very thin, even layer of lash adhesive along the band of the half lash. It is crucial to pay extra attention to the outer and inner ends of the segment, as these areas are most prone to lifting. Once the glue is applied, wait approximately 30 seconds. This waiting period allows the adhesive to become tacky rather than wet, which prevents the lash from sliding around during placement.
Step 4: Precise placement
Look slightly downwards into a mirror, keeping your eyelid relaxed and smooth. Using your tweezers, hold the half lash by the hair fibers and align the band as close to your natural lash line as possible. Start by placing the center of the band down first, then gently press the outer and inner edges into place. The lash should sit directly on top of your natural lash roots, not on the skin of the eyelid.
Step 5: Blending and securing
Once the adhesive has fully dried and turned completely clear, use your fingertips or the tweezers to gently pinch your natural lashes and the false lash segment together. This merging technique eliminates any visible gaps between the two layers. For an extra seamless finish, you can apply a tiny touch of mascara specifically where your natural lashes meet the inner edge of the half lash, blending them into a single, continuous line.
Caring for your half lashes for reuse
Unlike full strips, half eyelashes undergo very little bending and stress, meaning they can often be reused multiple times if properly maintained. To extend their lifespan, always remove them gently at the end of the day by pulling from the outer corner inward. Use a cotton swab dipped in gentle micellar water to clean any remaining adhesive from the band. Store them in their original packaging to preserve their delicate curve, keeping them clean, dust-free, and ready for your next elegant look.





