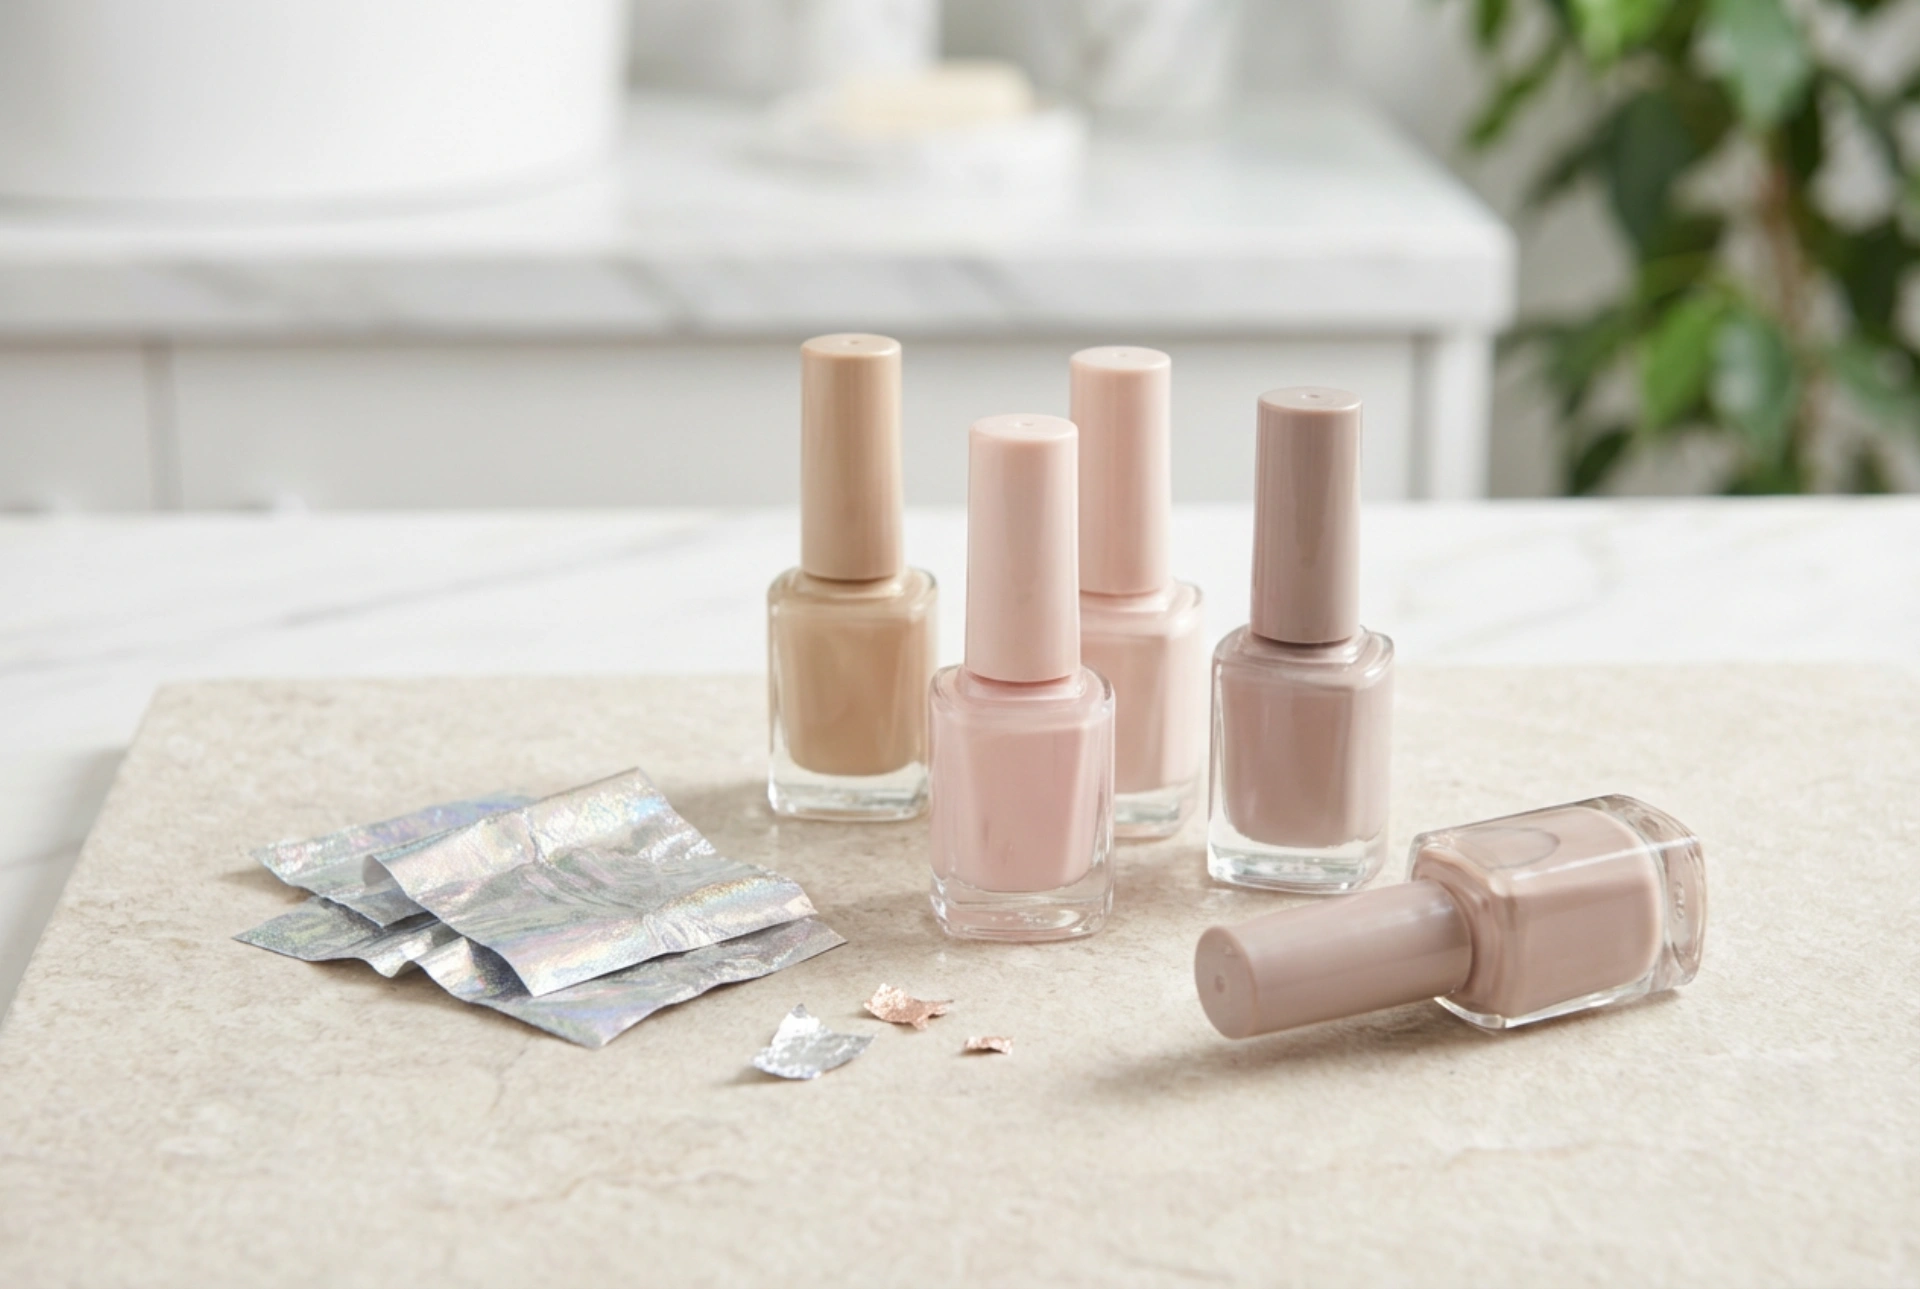


Beautifully styled nails are a true showcase of elegance and personal style. Among the numerous decorative methods available for home manicures, nail transfer foils have gained immense popularity. This versatile technique allows you to achieve stunning, metallic, or holographic effects with ease, mimicking the look of professional salon art. The success of this styling depends heavily on the correct preparation of the nail plate, the selection and application of the base colour, and mastering the precise transfer technique.
The importance of base preparation
Before introducing any colour or decorative foil, the foundation of your manicure must be flawlessly prepared. Any unevenness on the nail surface will be magnified once the shiny foil is applied. Start by gently shaping your nails and pushing back the cuticles. Use a fine-grit buffer to smooth out the nail plate, removing the natural shine without thinning the nail. After buffering, it is crucial to thoroughly dehydrate the plate using a standard nail prep solution or cosmetic alcohol to ensure maximum adhesion of all subsequent layers.
Choosing and preparing the base colour
The base colour you apply beneath the foil plays a dual role: it provides a background hue that complements the design, and it masks any minor imperfections in the transfer. When planning your design, consider how the base shade interacts with your chosen foil:
- Dark bases: Black, deep navy, or rich burgundy bases make metallic foils, such as gold, silver, or emerald, stand out with dramatic contrast.
- Light and pastel bases: Soft pinks, beige, or white create a delicate, romantic look when paired with holographic, floral, or iridescent foils.
- Matching tones: Choosing a base colour that matches the dominant colour of the foil ensures that any small gaps in the transfer remain virtually invisible.
Apply your chosen polish in thin, even coats. If you are using classic air-dry polishes, ensure the colour is completely dry before applying any foil adhesive. For gel systems, cure the colour coat under a lamp according to the standard timing, keeping the naturally sticky inhibition layer intact if you plan to use it for transfer.
Mastering the foil transfer techniques
There are two primary methods to transfer foil onto the nail, depending on the products you prefer to use. Each method requires patience and a gentle touch to achieve a seamless finish.
The adhesive method for classic polishes
If you prefer standard air-drying manicures, a specialized nail foil glue is essential. Apply a very thin, even layer of the adhesive over your dry base colour. The key to success is timing. When first applied, the glue looks milky white. You must wait a few minutes until it dries completely clear and becomes highly tacky. Once clear, place a pre-cut piece of foil onto the nail with the matte side facing down. Press it firmly from the centre of the nail outwards to the edges, using a soft silicone tool or your fingertip. Swiftly peel the foil backing away in one smooth motion.
The gel inhibition layer method
For gel manicure enthusiasts, the natural sticky residue left after curing the gel polish can often act as the perfect adhesive. After curing your base colour, gently press the foil onto the sticky layer. This method is excellent for creating distressed, abstract, or stone-like patterns. If you prefer a full-coverage foil transfer over gel, it is highly recommended to apply a dedicated transfer gel over your cured colour, cure it for thirty seconds, and then press the foil down firmly before peeling back the carrier sheet.
Sealing and protecting your design
Nail foil is extremely thin and delicate, meaning it can easily wear off or lose its lustre if left unprotected. To lock in your beautiful design, apply a high-quality top coat. For classic polishes, look for a water-based top coat or apply a very gentle layer to avoid dissolving the metallic foil print. For gel manicures, seal the entire design with a generous layer of top coat, paying extra attention to capping the free edge of the nail, then cure thoroughly under the lamp. This final step guarantees long-lasting wear and a beautiful, high-gloss shine.




