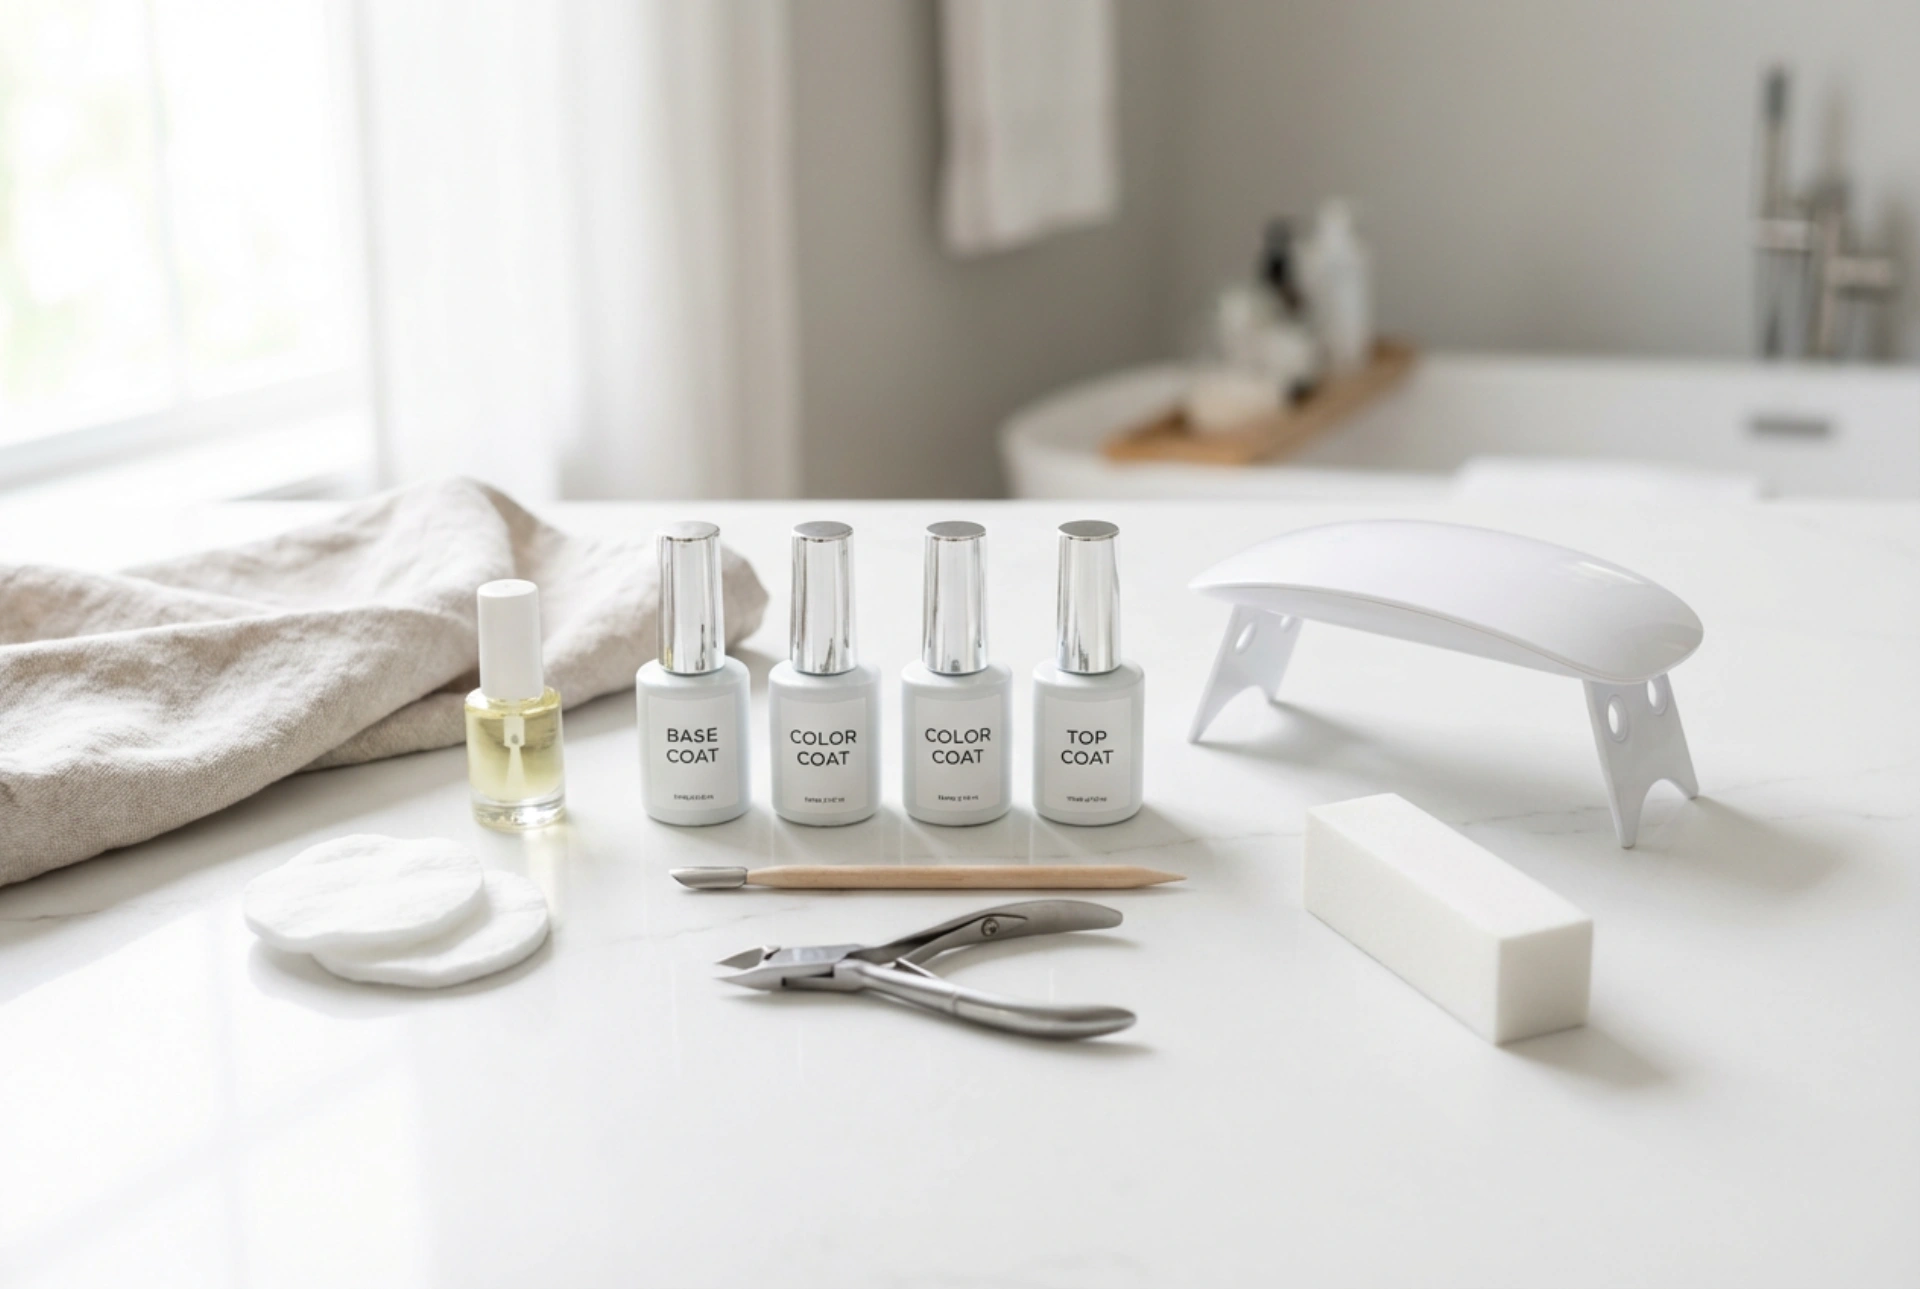


Achieving a salon-quality manicure at home has never been more accessible. A beautifully arranged set of tools on a clean, bright surface is often the starting point for a rewarding self-care ritual. Transitioning from regular nail polish to gel polish – often referred to as a hybrid manicure – offers long-lasting results, incredible shine, and resistance to chipping. To begin this journey, you do not need an overwhelming amount of professional equipment. A carefully curated selection of essential tools is all it takes to create a flawless, durable look from the comfort of your own home.
The Essential Elements of a Gel Polish Starter Kit
Before embarking on your first application, assembling the right tools is crucial for both safety and aesthetic success. A basic starter kit should focus on quality and simplicity, ensuring you have everything required to prepare, apply, and cure the polish effectively.
- A UV or LED Curing Lamp: This is the most critical piece of equipment. The lamp emits specific light wavelengths that cure, or harden, the gel layers. For beginners, a compact LED lamp with a built-in timer is highly recommended for its efficiency and ease of use.
- Base Coat and Top Coat: These are the foundation and shield of your manicure. The base coat ensures proper adhesion of the colour to the natural nail plate, protecting it from staining. The top coat seals the colour, providing either a high-gloss or matte finish and preventing chips.
- Gel Colour Polishes: Start with two or three classic shades. Neutral tones, soft pinks, or a classic red are excellent choices for practicing your application technique.
- Nail Prep and Dehydrator: A dedicated nail cleanser or isopropyl alcohol is essential for removing oils and moisture from the nail surface before application.
- Basic Nail Tools: You will need a fine-grit nail file (180/240 grit is ideal for natural nails), a soft buffer block to gently remove the natural shine, wooden cuticle sticks, and lint-free wipes. Avoid regular cotton wool pads, as they leave small fibres that can ruin the smooth finish of the gel.
Preparing the Nail Plate: The Key to Longevity
The secret to a long-lasting gel manicure lies entirely in the preparation phase. Skipping or rushing these steps is the most common reason why gel polish lifts or peels prematurely. Taking your time to prepare the nail plate ensures a strong bond between the natural keratin and the base coat.
Begin by washing and thoroughly drying your hands. Use a wooden cuticle stick to gently push back the cuticles. If necessary, use a delicate touch to clean the lateral nail folds. Next, shape your nails using a fine-grit file, moving in one direction to prevent splitting. Once the desired shape is achieved, take a soft buffer block and gently buff the entire surface of each nail. The goal is not to thin the nail, but simply to remove the natural oils and create a slightly textured, matte surface for the polish to adhere to. Finally, saturate a lint-free wipe with nail cleanser or isopropyl alcohol and thoroughly wipe each nail to remove all dust and residue.
Step-by-Step: Your First Gel Manicure at Home
Once your nails are prepped and completely dry, it is time to begin the application process. Patience and thin layers are the secrets to a smooth, bubble-free finish.
Step 1: Applying the Base Coat
Apply a very thin layer of the base coat to all five nails on one hand. Be extremely careful not to touch the cuticles or the skin surrounding the nail. Before placing your hand under the lamp, ensure you "cap the free edge" by gently running the brush along the very tip of the nail. Cure the base coat under your lamp according to the manufacturer’s instructions, usually between 30 to 60 seconds.
Step 2: The Colour Layers
Shake your chosen colour polish gently before opening. Wipe excess product off the brush against the neck of the bottle; the brush should hold very little polish. Apply a thin, even layer of colour, starting near the cuticle (but not touching it) and sweeping down to the tip. Remember to cap the free edge with colour too. If the first layer looks slightly sheer or streaky, do not worry – the second layer will even it out. Cure this layer under the lamp. Apply a second thin layer of colour in the same manner and cure once again.
Step 3: Sealing with the Top Coat
To lock in the colour and add a stunning shine, apply an even layer of top coat. Ensure the entire colour layer is covered, and cap the free edge once more. Cure this final layer under the lamp for the recommended time, which is often slightly longer than the colour layers to ensure a complete cure.
Step 4: Dispersion Layer Removal
Depending on the type of top coat you use, you may notice a sticky, tacky residue on the surface after curing. This is completely normal and is known as the dispersion layer. To remove it, simply wipe each nail with a lint-free wipe saturated with nail cleanser. If you are using a "no-wipe" top coat, you can skip this step entirely.
Safe Removal: How to Protect Your Natural Nails
While wearing a gel manicure is delightful, removing it correctly is just as important for maintaining the health of your natural nails. Never peel, scrape, or pick at lifting gel polish, as this strips away the top layers of your natural nail, leading to weakness and damage.
To remove the polish safely, start by gently filing the shiny top coat layer with a nail file. This breaks the seal and allows the removal solution to penetrate the gel. Soak small pieces of cotton pads in a gentle cosmetic acetone solution, place them over your nails, and wrap each fingertip tightly in aluminium foil. Leave them wrapped for about 10 to 15 minutes. Once the gel has visibly softened and lifted, use a wooden cuticle stick to gently scrape the product off. If some areas remain stubborn, wrap them for a few more minutes rather than forcing the polish off. Finish by washing your hands and applying a generous amount of nourishing cuticle oil and hand cream to restore moisture.
Common Mistakes to Avoid for Beginners
As you practice your new skills, keep a few common pitfalls in mind. Applying layers that are too thick will prevent the light from curing the gel completely, leading to wrinkling and lifting. Always opt for multiple thin layers rather than one thick one. Another common mistake is allowing the gel to touch the skin or cuticles. If gel cures on the skin, it will inevitably lift as the nail grows. Keep a clean, dry wooden stick nearby to wipe away any excess polish from the skin before curing under the lamp. With a little patience and practice, your home manicures will soon look completely professional.




