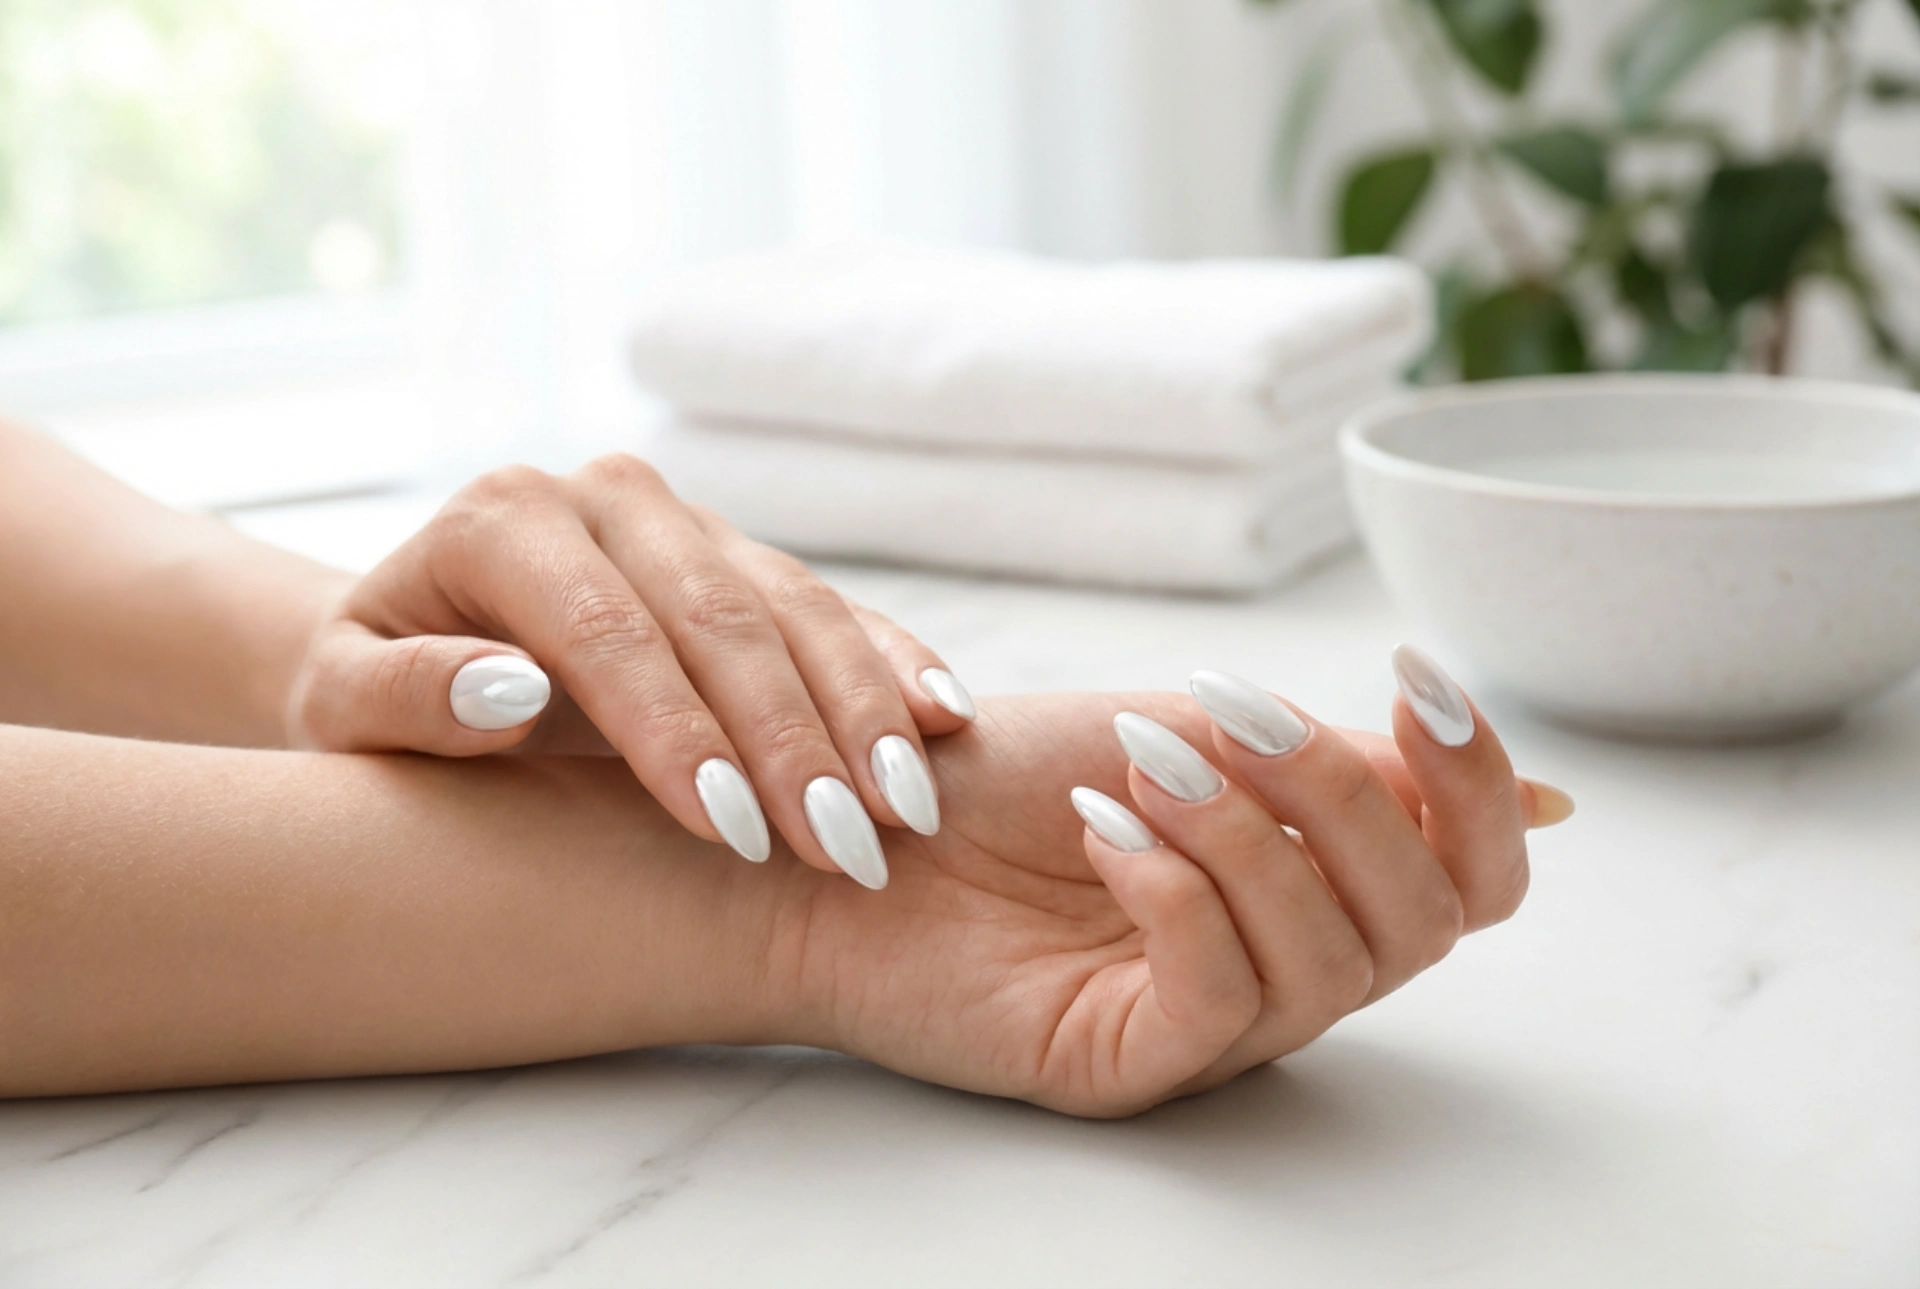


Elegant hands with perfectly manicured nails are a timeless symbol of personal care and sophisticated style. Among the modern trends that combine classic elegance with a futuristic touch, the white chrome effect stands out as a true favourite. This beautiful styling, featuring a pearlescent, reflective surface, catches soft, natural light to create an eye-catching yet delicate mirror-like sheen. Perfect for both everyday wear and special occasions, this manicure design looks exceptionally neat and coordinates beautifully with any wardrobe. Achieving this professional finish at home is entirely possible with the right technique and attention to detail.
Understanding the White Chrome Mirror Effect
The magic of the white chrome manicure lies in its dual nature. It offers the clean, minimalist look of a soft white or milky base coat, enhanced by a micro-fine metallic powder that transforms the surface into a gleaming mirror. Unlike traditional glitter polishes that have visible sparkling particles, a high-quality chrome powder creates a smooth, continuous sheen that mimics polished metal or precious pearls. This subtle glow makes the nails look longer, healthier, and incredibly chic.
One of the greatest advantages of this style is its versatility. Depending on the colour of the base coat beneath the powder, you can achieve slightly different undertones. A solid, crisp white base creates a bold, futuristic look, while a milky white or soft pastel pink base yields a delicate, pearlescent glaze reminiscent of seashells or fine silk. This adaptability makes it suitable for brides, professionals, and anyone who appreciates understated luxury.
Essential Tools for a Perfect Chrome Finish
To recreate this sophisticated look at home, you need a few fundamental manicure tools and products. Preparing the correct set of items beforehand ensures a smooth application process without interruptions:
- A gentle nail file and a buffing block to prepare the natural nail plate.
- A high-quality base coat to protect the nail and ensure proper adhesion.
- Your chosen light-coloured base polish, such as classic white, milky white, or soft cream.
- A no-wipe top coat, which is crucial for the chrome powder application.
- Fine-grade white chrome or aurora powder.
- A silicone applicator, a small eyeshadow sponge, or a clean fingertip for rubbing in the powder.
- A soft brush to remove excess dust particles.
- A final protective top coat to seal the mirror effect.
Step-by-Step Guide: Achieving the Mirror Effect on a Light Base
Getting a flawless, streak-free mirror finish requires precision, particularly when working with light colours. Follow these steps to ensure a smooth, professional result:
Step 1: Preparing the Nail Plate
Every successful manicure starts with thorough preparation. Begin by shaping your nails to your preferred length and style; almond and oval shapes work particularly well with chrome finishes as they enhance the reflective surface. Gently push back the cuticles and buff the nail plate with a fine buffing block to remove any shine or natural oils. Wipe the surface clean to ensure there is no dust left behind, as even the smallest speck can ruin the smooth chrome reflection.
Step 2: Base Coat and Colour Application
Apply a thin, even layer of base coat to protect the natural nail plate and cure it according to your lamp's guidelines. Once cured, apply your chosen light base polish. For a rich, uniform colour, apply two thin layers, curing each one individually. Ensure that the edges of the nails are properly capped to prevent chipping later on.
Step 3: The Secret No-Wipe Layer
This is the most critical step for the chrome effect. Apply a thin layer of a special no-wipe top coat over your cured colour base. Cure this layer in your lamp, but be careful not to over-cure it. If the top coat is cured for too long, it becomes too hard and glassy, preventing the chrome powder from adhering. If under-cured, the powder will sink in and look grainy instead of reflective. Usually, curing for about 30 seconds is ideal, though you may need to adjust this depending on your equipment.
Step 4: Rubbing in the Chrome Powder
Immediately after curing the no-wipe top coat, while the nail is still slightly warm, apply a small amount of the white chrome powder. Using a silicone tool or a sponge applicator, gently press the powder onto the nail surface and then rub it in firm, circular, and vertical motions. Watch as the dull surface transforms into a brilliant mirror sheen. Ensure you cover the entire nail, including the sides and near the cuticle area.
Step 5: Dusting and Sealing
Once you are satisfied with the mirror effect, use a very soft brush to gently sweep away any loose powder from the surrounding skin and nail edges. To protect the delicate chrome layer from rubbing off or scratching, apply a final layer of top coat. Make sure to thoroughly seal the free edge of the nail. Cure this final layer completely to lock in the pearlescent shine.
Tips for a Long-Lasting Chrome Manicure
To maintain the stunning mirror finish and prevent the chrome from wearing off at the tips, consider these simple maintenance tips:
- Double seal: For extra durability, apply a thin layer of base coat over the rubbed-in powder, cure it, and then apply your final top coat. This sandwich technique helps prevent the chrome from peeling.
- Keep coats thin: Thick layers of polish can lead to lifting and reduce the crispness of the reflective finish.
- Wear gloves: When performing household chores or washing up, protect your nails from harsh detergents to keep the mirror surface scratch-free.




