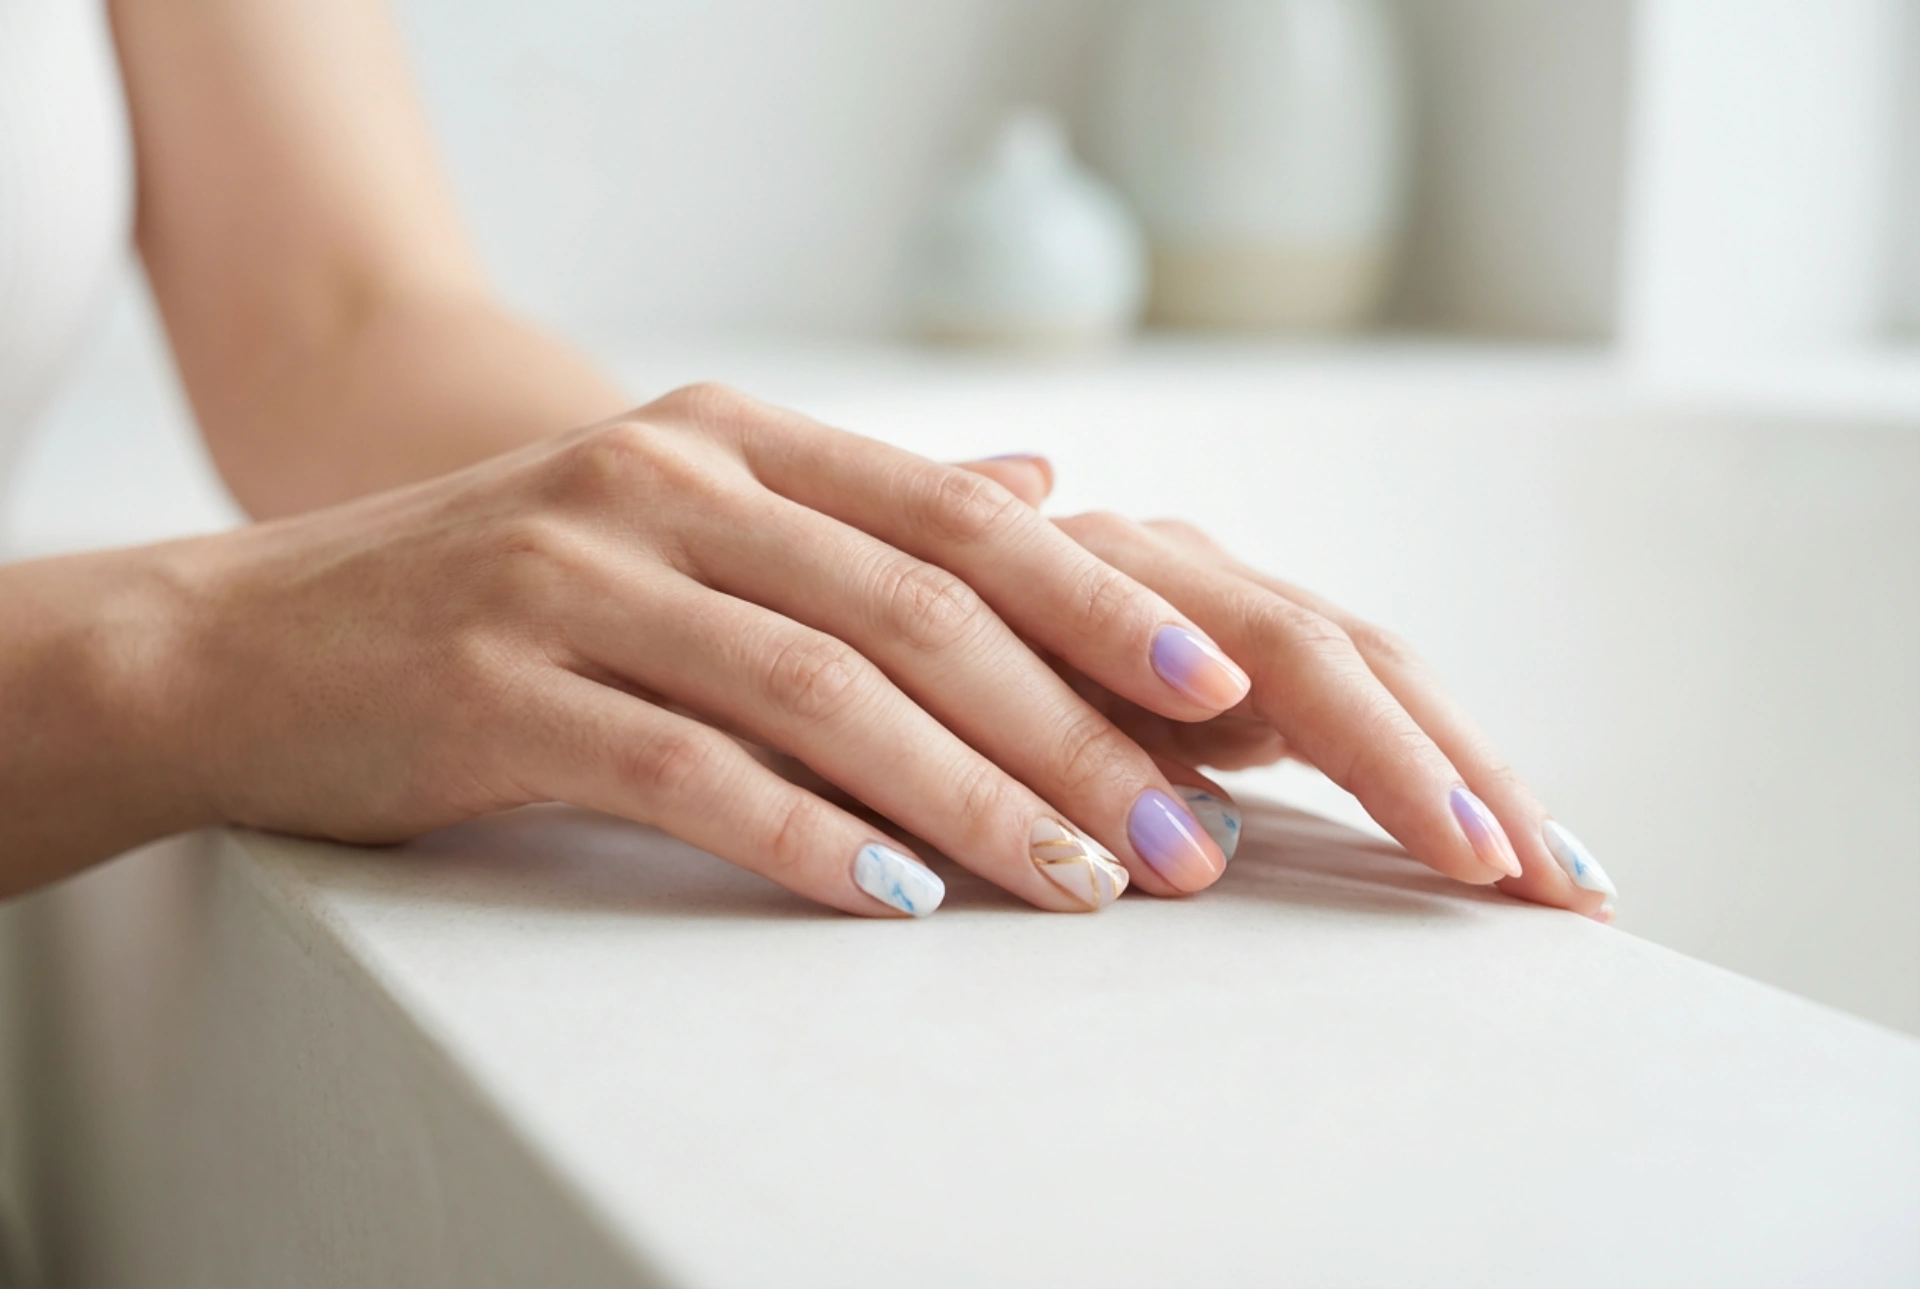


Elegant, well-manicured hands are the ultimate canvas for creative expression, reflecting personal style and attention to detail. In modern nail styling, vibrant gel polish combinations have emerged as a sophisticated way to elevate one's look. When showcasing intricate, tasteful designs like subtle marbling, geometric patterns, and gradient effects, the hands become a focal point of refined elegance. Combining different colours and artistic elements requires a thoughtful approach to balance and harmony, ensuring that the final manicure looks cohesive rather than cluttered.
Understanding Colour Harmony in Manicures
Before diving into application techniques, it is essential to understand how different shades interact with one another. Colour theory plays a significant role in creating a balanced nail design. Choosing the right palette can make the difference between a chaotic look and a polished, professional finish. For those who prefer a classic yet modern aesthetic, working with analogous colours—shades that sit next to each other on the colour wheel, such as soft pinks, mauves, and plums—offers a gentle, harmonious transition.
Alternatively, complementary colour schemes introduce a dynamic contrast. Pairing warm tones like terracotta or gold with cool undertones like deep teal or slate grey creates a striking visual interest. When working with vibrant gel polishes, incorporating neutral bases like cream, beige, or soft grey can help ground the design. These neutral backdrops allow the brighter accents and intricate patterns to stand out without overwhelming the overall appearance of the hands.
Three Creative Methods to Blend Gel Colours and Nail Art
Achieving a professional-looking, multi-toned manicure at home is entirely possible when you break down the designs into structured techniques. Here are three effective ways to combine vibrant shades and elegant patterns seamlessly.
1. The Soft Gradient and Ombré Transition
The gradient technique remains one of the most popular ways to blend multiple colours beautifully. Instead of a harsh dividing line between shades, a gradient offers a seamless, soft transition from one hue to another. This can be achieved vertically across a single nail, or horizontally, where each finger features a slightly different shade, creating a beautiful spectrum across the entire hand.
To create a classic gradient on a single nail, apply a light base colour and let it cure. Next, apply two or three contrasting gel shades side by side on a clean, non-porous surface. Using a fine sponge or a specialized ombre brush, gently blend the borders where the colours meet before dabbing the mixture onto the nail. Curing between thin layers ensures a smooth finish and prevents the colours from becoming muddy.
2. Minimalist Geometric Patterns and Negative Space
For those who appreciate modern, clean lines, geometric nail art provides a structured way to play with colour. This approach often utilizes negative space—leaving parts of the natural nail exposed or covered only by a sheer base—to create a striking contrast with bold, opaque geometric shapes.
Using a fine liner brush, you can draw delicate triangles, intersecting lines, or colour-blocked sections. The key to successful geometric design is precision. It is best to work with highly pigmented gel polishes that cover well in a single thin layer, preventing any unwanted bulkiness on the nail surface. Pairing a matte top coat with glossy geometric shapes can add an extra layer of sophisticated texture.
3. Subtle Marbling and Abstract Swirls
Marbling is an organic, fluid technique that ensures no two nails look exactly alike. It mimics the natural beauty of precious stones and minerals, offering an effortlessly elegant aesthetic. This technique relies on the wet-on-wet method, where wet gel polishes are gently swirled together before being cured.
To achieve this look, apply a wet base layer of a light colour. Before curing, use a fine brush to deposit tiny droplets of contrasting shades, such as deep blues, rich emeralds, or delicate gold accents. Gently drag the brush through the droplets to create soft, smoky veins. Once the desired marble pattern is achieved, cure the nail immediately to lock the design in place. A high-gloss top coat is essential for this style, as it enhances the depth of the marble effect.
Preparation and Post-Manicure Care for Gel Nails
To ensure that your colourful gel manicure remains pristine and vibrant, proper preparation and daily care are vital. Gel polish adheres best to a clean, dry, and gently buffed nail plate. Removing any natural oils from the nail surface before application prevents lifting and ensures the longevity of your intricate designs.
Once the manicure is complete, maintaining the hydration of the surrounding skin and cuticles is key to showcasing your nails beautifully. Applying a nourishing cuticle oil daily keeps the skin soft and prevents hangnails, which can detract from the elegance of your hands. Additionally, wearing protective gloves during household chores shields the gel polish from harsh detergents and physical wear, preserving both the shine and the integrity of the nail art.
Choosing the Right Palette for Your Personal Style
Selecting the colours for your multi-toned manicure should reflect your personal aesthetic and the occasions you attend. For a professional setting, muted pastels combined with minimalist metallic lines offer a subtle yet creative touch. For social events or seasonal transitions, bolder combinations like burnt orange, deep olive, and mustard yellow can evoke a warm, stylish feel. Ultimately, the art of combining colours on your nails is a personal journey that allows you to experiment, play, and showcase your unique creativity.




