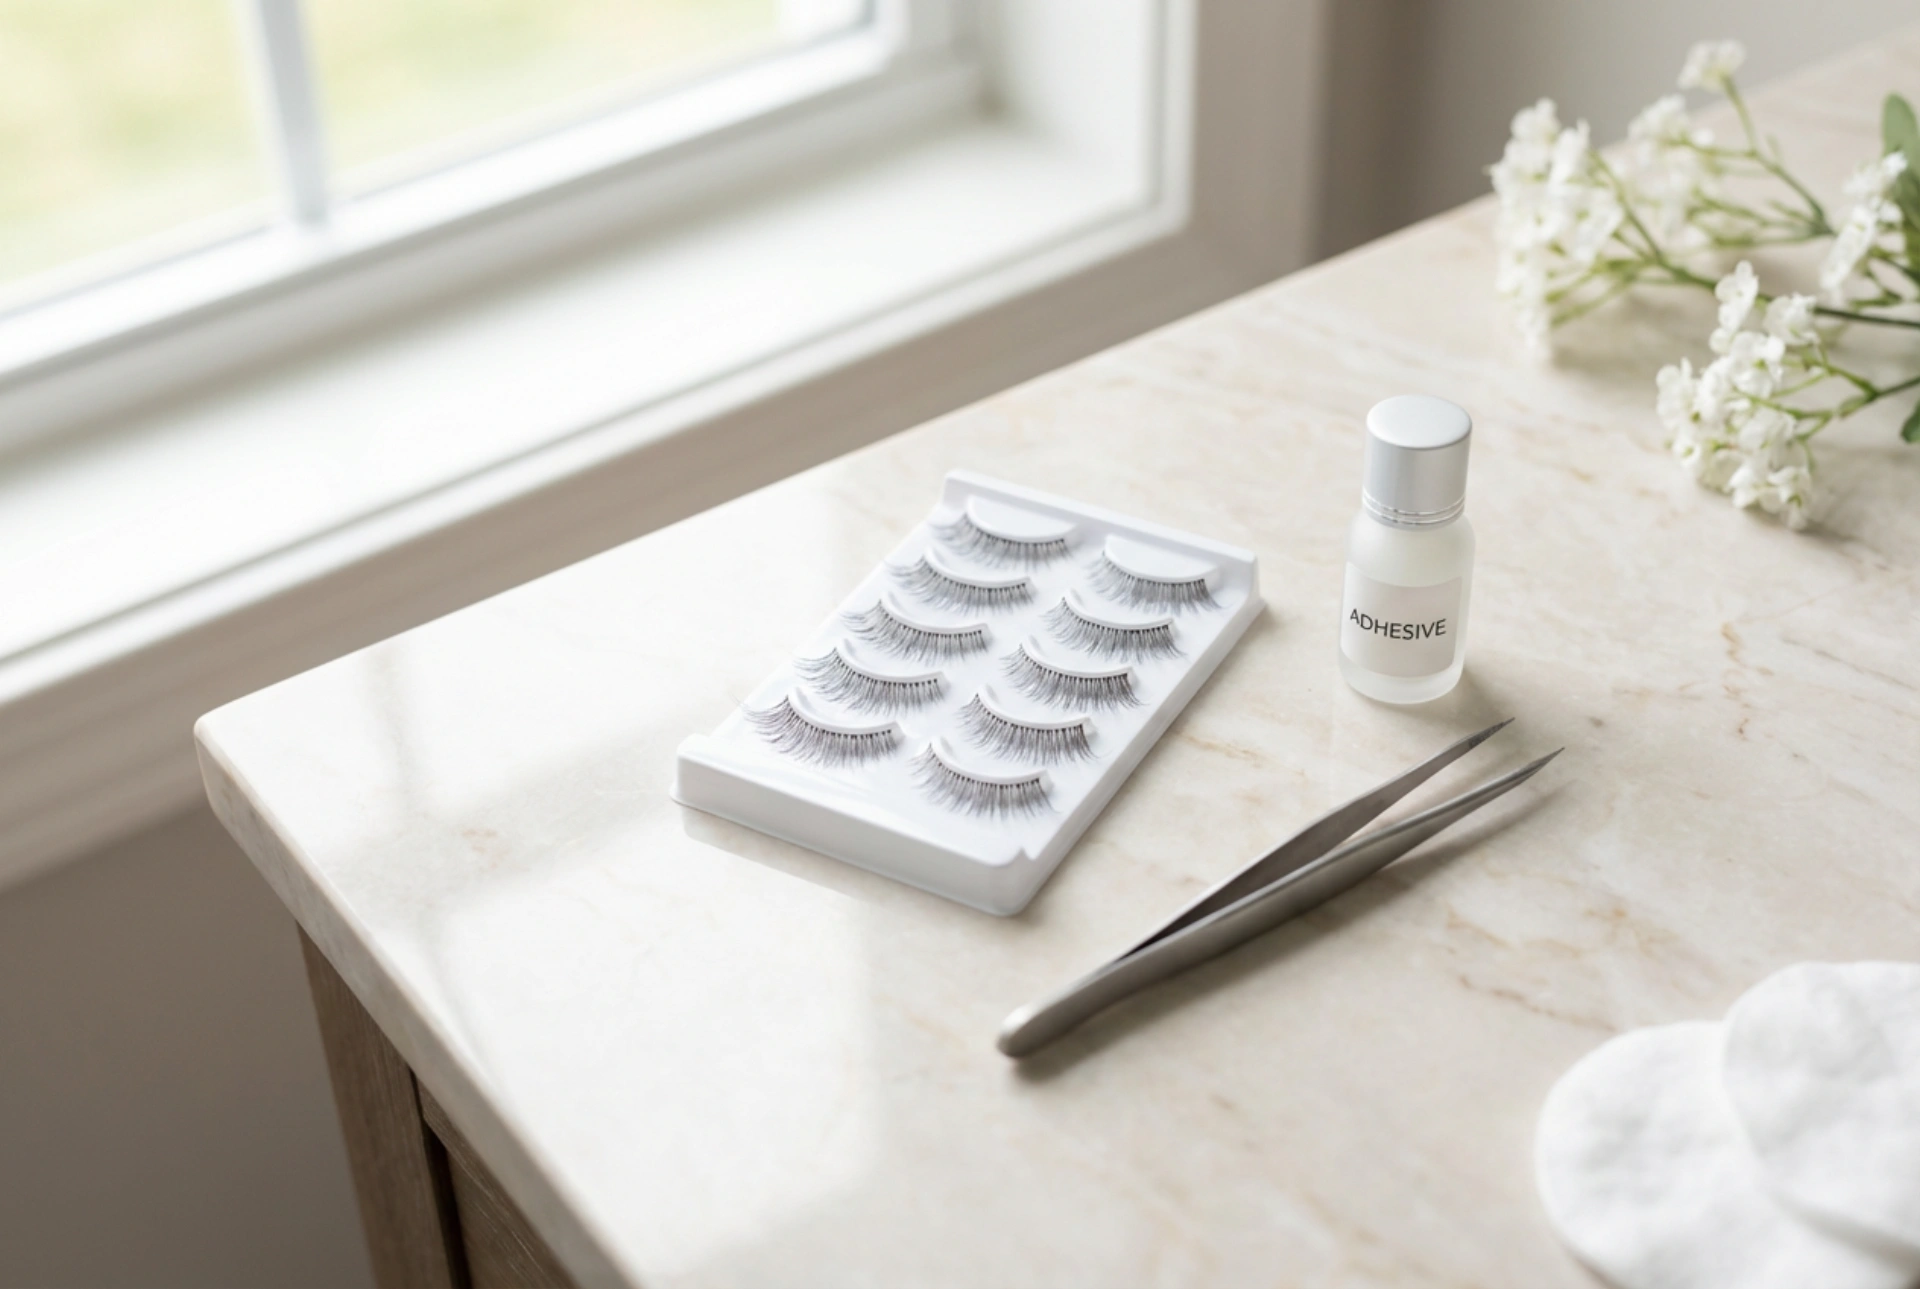


Achieving a flawless beauty look at home often comes down to the finer details, much like setting up a polished vanity with delicate false eyelashes, a gentle adhesive, and fine-tipped tweezers bathed in soft, natural light. Applying false eyelashes is an elegant way to enhance your gaze, adding depth and definition to your eyes for special occasions or daily wear. While it may seem daunting at first, mastering the art of applying and removing false lashes at home is entirely achievable with patience, the right technique, and proper preparation.
Preparing Your Lashes and Tools
Before you begin the application process, preparation is key to ensuring a seamless fit and long-lasting hold. Starting with a clean base not only helps the adhesive bond better but also protects your natural lashes and the delicate eye area.
- Cleanse the eye area: Ensure your eyelids and natural lashes are completely free from oils, makeup residue, and skincare products. A gentle, oil-free cleanser is ideal for this step.
- Gather your essentials: Place your false eyelashes, a reliable lash adhesive, fine-tipped tweezers or a lash applicator, and a small pair of beauty scissors on a clean, well-lit surface.
- Measure and trim: Hold the lash strip against your natural lash line to check the length. If the strip is too wide for your eye, trim the outer edge with scissors. Trimming from the outer corner ensures the inner, shorter lashes of the strip remain intact for a natural gradient.
Step-by-Step Application Technique
Applying false eyelashes requires a steady hand and a bit of patience. Following a structured approach will help you position the lashes perfectly along your natural lash line without any discomfort.
Applying the Adhesive
Apply a thin, even layer of lash adhesive along the band of the false eyelash. Pay extra attention to the inner and outer corners, as these areas are most prone to lifting. A crucial step is to wait approximately thirty to forty seconds for the adhesive to become tacky before attempting to apply it. Applying the lash while the glue is too wet will cause it to slide around, making placement difficult.
Positioning the Lash
Looking slightly downwards into a mirror, use your tweezers to hold the false eyelash by the centre. Place the band as close to your natural lash line as possible, starting from the middle. Once the centre is secured, gently press the outer and inner corners into place. You can use the blunt end of your tweezers or your fingertips to gently press the false lashes and your natural lashes together, ensuring a seamless blend.
Safe and Gentle Removal
Removing false eyelashes correctly is just as important as the application process. Proper removal prevents damage to your natural lashes and keeps the delicate skin around your eyes healthy and irritation-free.
- Soften the adhesive: Soak a cotton pad in a gentle, oil-free makeup remover or warm water and hold it over your closed eye for a few seconds. This helps to loosen the bond of the adhesive.
- Peel gently: Gently grip the outer corner of the false eyelash band and slowly peel it away from your eyelid, moving towards the inner corner. Never pull or yank the lashes, as this can pluck out your natural lashes.
- Cleanse the eyelids: After removal, gently wipe away any remaining adhesive residue from your eyelids using a damp cotton pad.
Caring for Your False Eyelashes
Many high-quality false eyelashes can be reused multiple times if they are cared for correctly. Maintaining their shape and cleanliness ensures they remain hygienic and ready for your next beauty routine.
After removing the lashes, use tweezers to carefully peel off any dried adhesive from the band. Wipe the lash band with a cotton swab dipped in a small amount of rubbing alcohol or oil-free makeup remover to sanitise them. Allow the lashes to air dry completely, and then store them in their original packaging to help them retain their curved shape and protect them from dust.





