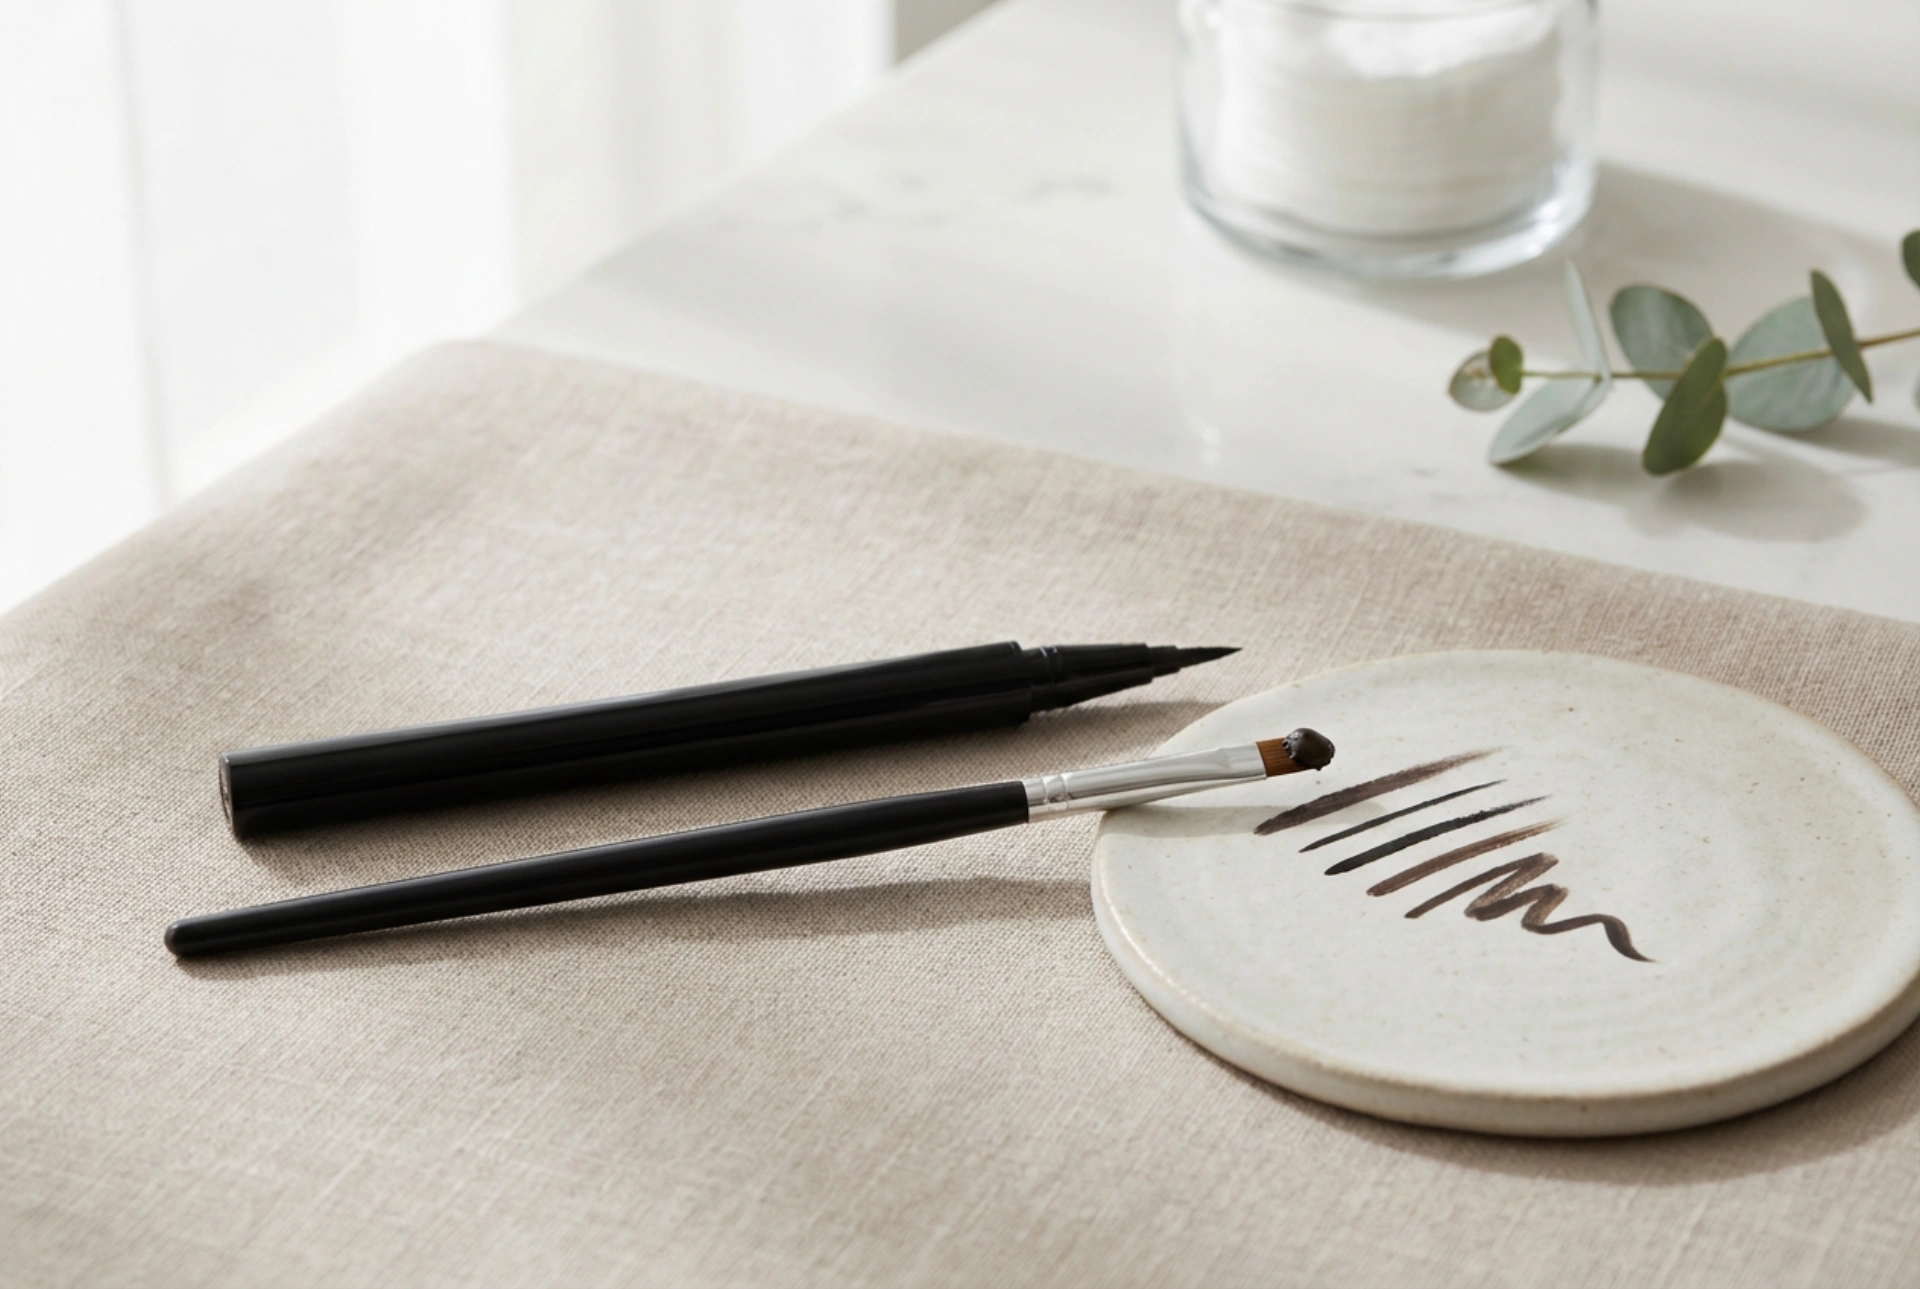


Creating the perfect winged eyeliner is often considered one of the most elegant rituals in daily makeup. In a minimalist beauty setup, showcasing sleek eyeliner applicators—such as a precise felt-tip pen alongside a delicate brush dipped in rich gel—reminds us of the artistry involved in this simple step. Achieving a symmetrical, clean line requires not only a steady hand but also the right tool for your specific skill level and eye shape. Choosing between a pen eyeliner and a traditional brush applicator can completely transform your routine, making the process either a daily struggle or an effortless pleasure.
Felt-Tip Pen Eyeliners: The Perfect Starting Point
For those who are new to the world of winged eyeliner, the felt-tip pen is often the most recommended tool. Styled similarly to a classic pen, this applicator offers unparalleled control and stability during application. The sturdy nib does not bend easily, allowing you to trace the natural curve of your lash line with confidence. The internal ink reservoir ensures a steady, controlled flow of product, reducing the risk of accidental smudges or excess liquid pooling on the delicate skin of your eyelids.
Key Advantages of Pen Eyeliners
- Excellent grip: The pen-like barrel fits comfortably in the hand, mimicking a familiar writing motion.
- Consistent product distribution: You do not need to dip the applicator repeatedly, ensuring a uniform intensity of colour from start to finish.
- Ideal for quick touch-ups: The dry-touch exterior makes it easy to carry in a handbag for quick adjustments throughout the day.
While felt-tip pens are highly convenient, they do require proper care. To prevent the precise tip from drying out prematurely, always store the pen horizontally or tip-down, and ensure the cap is securely clicked shut after each beauty ritual.
Brush Applicators: The Ultimate in Precision and Flexibility
Traditional liquid eyeliners and gel formulas paired with separate fine-bristle brushes are preferred by makeup enthusiasts and professionals alike. A delicate brush allows for incredibly fine lines, seamless transitions, and the freedom to adjust the thickness of the wing with a simple shift in pressure. Unlike the static tip of a pen, a high-quality synthetic brush glides smoothly over the natural contours of the eye, adapting to every fold and crease with ease.
Choosing Your Brush Type
When working with a brush, the applicator itself plays a crucial role in the final result. There are two primary types of brushes used for this technique:
- Fine-tipped detail brushes: These ultra-thin brushes are perfect for creating sharp, razor-thin lines and delicate inner corner details.
- Angled brushes: Featuring firm, slanted bristles, angled brushes are exceptionally helpful for stamping out the perfect wing angle before filling it in.
While using a brush offers unmatched creative freedom, it does require a slightly steadier hand and a bit more practice. Mastering the amount of product to pick up on the bristles is key to avoiding thick patches or uneven lines.
A Step-by-Step Guide to Drawing a Symmetrical Line
Regardless of whether you choose a modern felt-tip pen or a delicate brush, following a structured technique will help you achieve beautiful symmetry every time. Here is a reliable method to master your daily eyeliner routine:
1. Prepare the Canvas
Always start with clean, dry eyelids. Apply a light layer of translucent powder or a neutral matte eyeshadow to create a smooth base. This prevents the eyeliner from transferring or smudging throughout the day.
2. Look Straight Ahead
When mapping out your wings, look directly into a mirror with relaxed, open eyes. Marking the direction of your wing while squinting or pulling the skin can distort the line once your face relaxes.
3. Create the Guidelines
Instead of trying to draw one continuous stroke, use small, connecting dashes along your lash line. Start from the inner corner, moving outwards. Next, trace a subtle guideline extending from the outer corner of your eye towards the tail of your brow.
4. Connect and Fill
Gently connect the outer wing guideline back to the middle of your lash line, forming a small triangle. Once you are happy with the shape, fill in the gap with your applicator and smooth out any uneven edges with tiny, precise strokes.
Choosing the Best Formula for Your Lid Type
To ensure your liner stays flawless all day, consider how the formula interacts with your skin. For normal to dry skin types, classic liquid formulas offer a rich, dark finish. If you have oily eyelids, opting for a long-wearing, smudge-proof formulation will prevent the product from creasing or transferring onto the upper lid space. Taking the time to understand your unique features turns the daily eyeliner application into a relaxing and satisfying beauty ritual.





