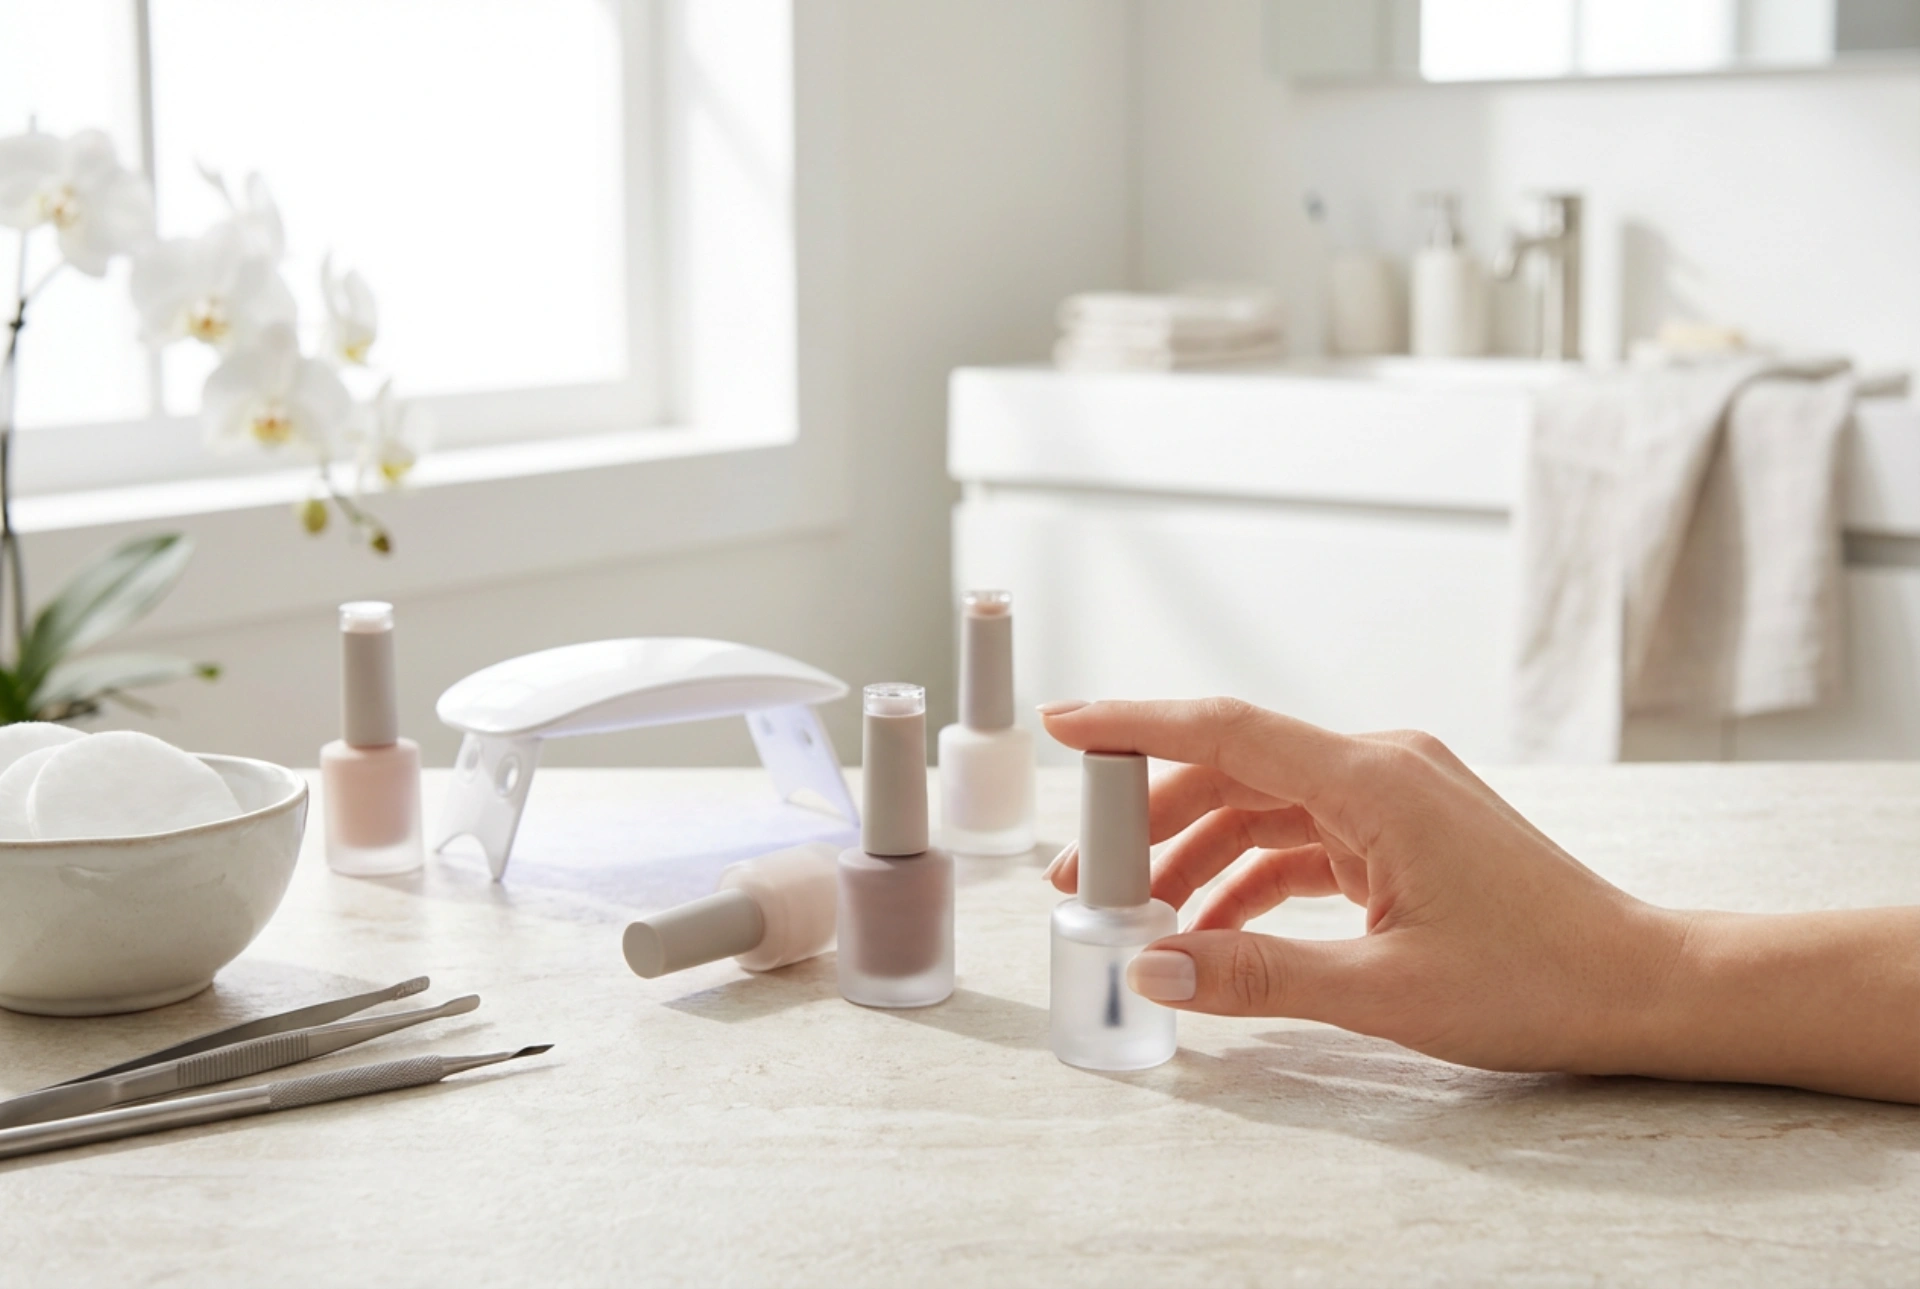


Creating a beautiful salon-like manicure at home has never been more accessible. With a clean, minimalist setup, a few essential tools, and a little patience, anyone can master the art of applying gel polish. Taking your first steps into DIY nail care is not only a creative outlet but also a relaxing beauty ritual. By understanding the fundamentals of how gel products work and how to prepare your natural nails safely, you can achieve a durable, glossy finish that lasts for weeks without stepping foot in a professional salon.
Essential Components of a Home Gel Nail Kit
When starting your home manicure journey, choosing the right tools is the first step toward success. A basic, high-quality gel nail kit should contain everything you need to prepare, apply, and cure your polish safely. Rather than purchasing complex professional systems, beginners benefit most from user-friendly, compact setups that focus on the essentials.
- The Curing Lamp: Unlike traditional nail polish that dries through air evaporation, gel polish requires UV or LED light to cure and harden. A compact LED lamp is ideal for beginners because it cures polish quickly, usually in 30 to 60 seconds, and takes up very little space on your beauty table.
- Base Coat and Top Coat: These are the foundation and the shield of your manicure. The base coat ensures the gel adheres properly to your natural nail, protecting it from staining, while the top coat seals the colour, provides a high-shine or matte finish, and prevents chipping.
- Gel Polish Colours: For beginners, starting with classic, highly pigmented shades is recommended. Unbranded, simple formula gel polishes are perfect for practicing your application technique without overwhelming your collection.
- Nail Prep Tools: This includes a fine-grit nail file, a soft buffer block, a cuticle pusher, and lint-free wipes. These tools are crucial for shaping the nail and removing dust and natural oils before you begin.
- Cleanser and Prep Solutions: A mild dehydrator or simple rubbing alcohol is necessary to clean the nail surface, ensuring that the gel bond is strong and long-lasting.
Preparing Your Nails for a Long-Lasting Finish
The secret to a flawless and long-lasting gel manicure lies almost entirely in the preparation. Skipping this phase can lead to premature lifting, peeling, or uneven application. Proper preparation does not require harsh techniques; instead, a gentle, systematic approach is the best way to maintain healthy natural nails.
Start by washing and thoroughly drying your hands. Use a high-quality nail file to shape your nails to your preferred length and style, always filing in one direction to prevent splitting. Next, gently push back your cuticles using a cuticle stick. It is important to avoid cutting your cuticles at home, as they act as a natural barrier against debris; simply pushing them back clears the nail plate for maximum polish coverage.
Once the shape is set and the cuticles are tidy, use a soft buffer block to lightly remove the natural shine from the surface of each nail. This creates a microscopic texture that helps the base coat adhere. Be careful not to over-buff, as you want to preserve the strength of your natural nail. Finally, wipe each nail thoroughly with a lint-free pad soaked in rubbing alcohol to remove all traces of dust, oil, and moisture.
Step-by-Step Gel Polish Application
Applying gel polish requires a different technique than regular nail polish. The most critical rule to remember is to work in very thin layers. Applying thick coats will prevent the gel from curing properly under the lamp, which can lead to bubbling, wrinkling, and peeling within a few days.
Applying the Base Coat
Begin by applying a very thin, even layer of base coat to all five nails on one hand. Be careful to avoid touching your skin or cuticles with the product. If any polish gets onto the skin, wipe it off with a wooden stick before curing. Once applied, cure the base coat under your LED lamp for the recommended time, usually 30 seconds. The surface will remain sticky after curing; do not wipe this away, as it helps the next layer stick.
Building the Colour
Next, apply your chosen gel polish colour. Wipe the brush on the neck of the bottle to ensure you have very little product on it. Glide the brush smoothly down the centre of the nail, then down each side. Always cap the free edge of your nail by running the brush lightly along the very tip to seal the polish. Cure this first layer under the lamp. Repeat this process with a second thin layer of colour to achieve full opacity and depth, curing once again.
Sealing with the Top Coat
To lock in the beautiful colour and add a stunning shine, apply a thin layer of top coat over the entire nail, making sure to cap the free edge once more. Cure this final layer under the lamp for 60 seconds. If your top coat is not a no-wipe formula, it will leave a sticky residue. Simply take a lint-free wipe soaked in rubbing alcohol and gently wipe each nail to reveal a perfectly dry, glossy finish.
Aftercare and Safe Removal Practices
Once your manicure is complete, maintaining the health of your hands and nails will ensure your gel finish looks fresh for up to two weeks. Regular hydration is key. Apply a drop of natural cuticle oil to the skin surrounding your nails daily to keep the area moisturised and prevent hangnails. Wear protective gloves when doing household chores, such as washing dishes, to shield your manicure from harsh soaps and prolonged water exposure.
When it is time to change your style, never peel or scrape the gel polish off your nails, as this can tear away the delicate top layers of your natural nail plate, leading to thinning and damage. Instead, gently buff the shiny top coat layer to break the seal. Soak cotton pads in a safe, acetone-based nail polish remover, place them over your nails, and wrap them in small pieces of aluminium foil. Let them sit for 10 to 15 minutes, allowing the gel to soften and lift naturally. Use a wooden cuticle stick to gently slide the softened gel off, and finish with a rich hand cream to restore moisture.




