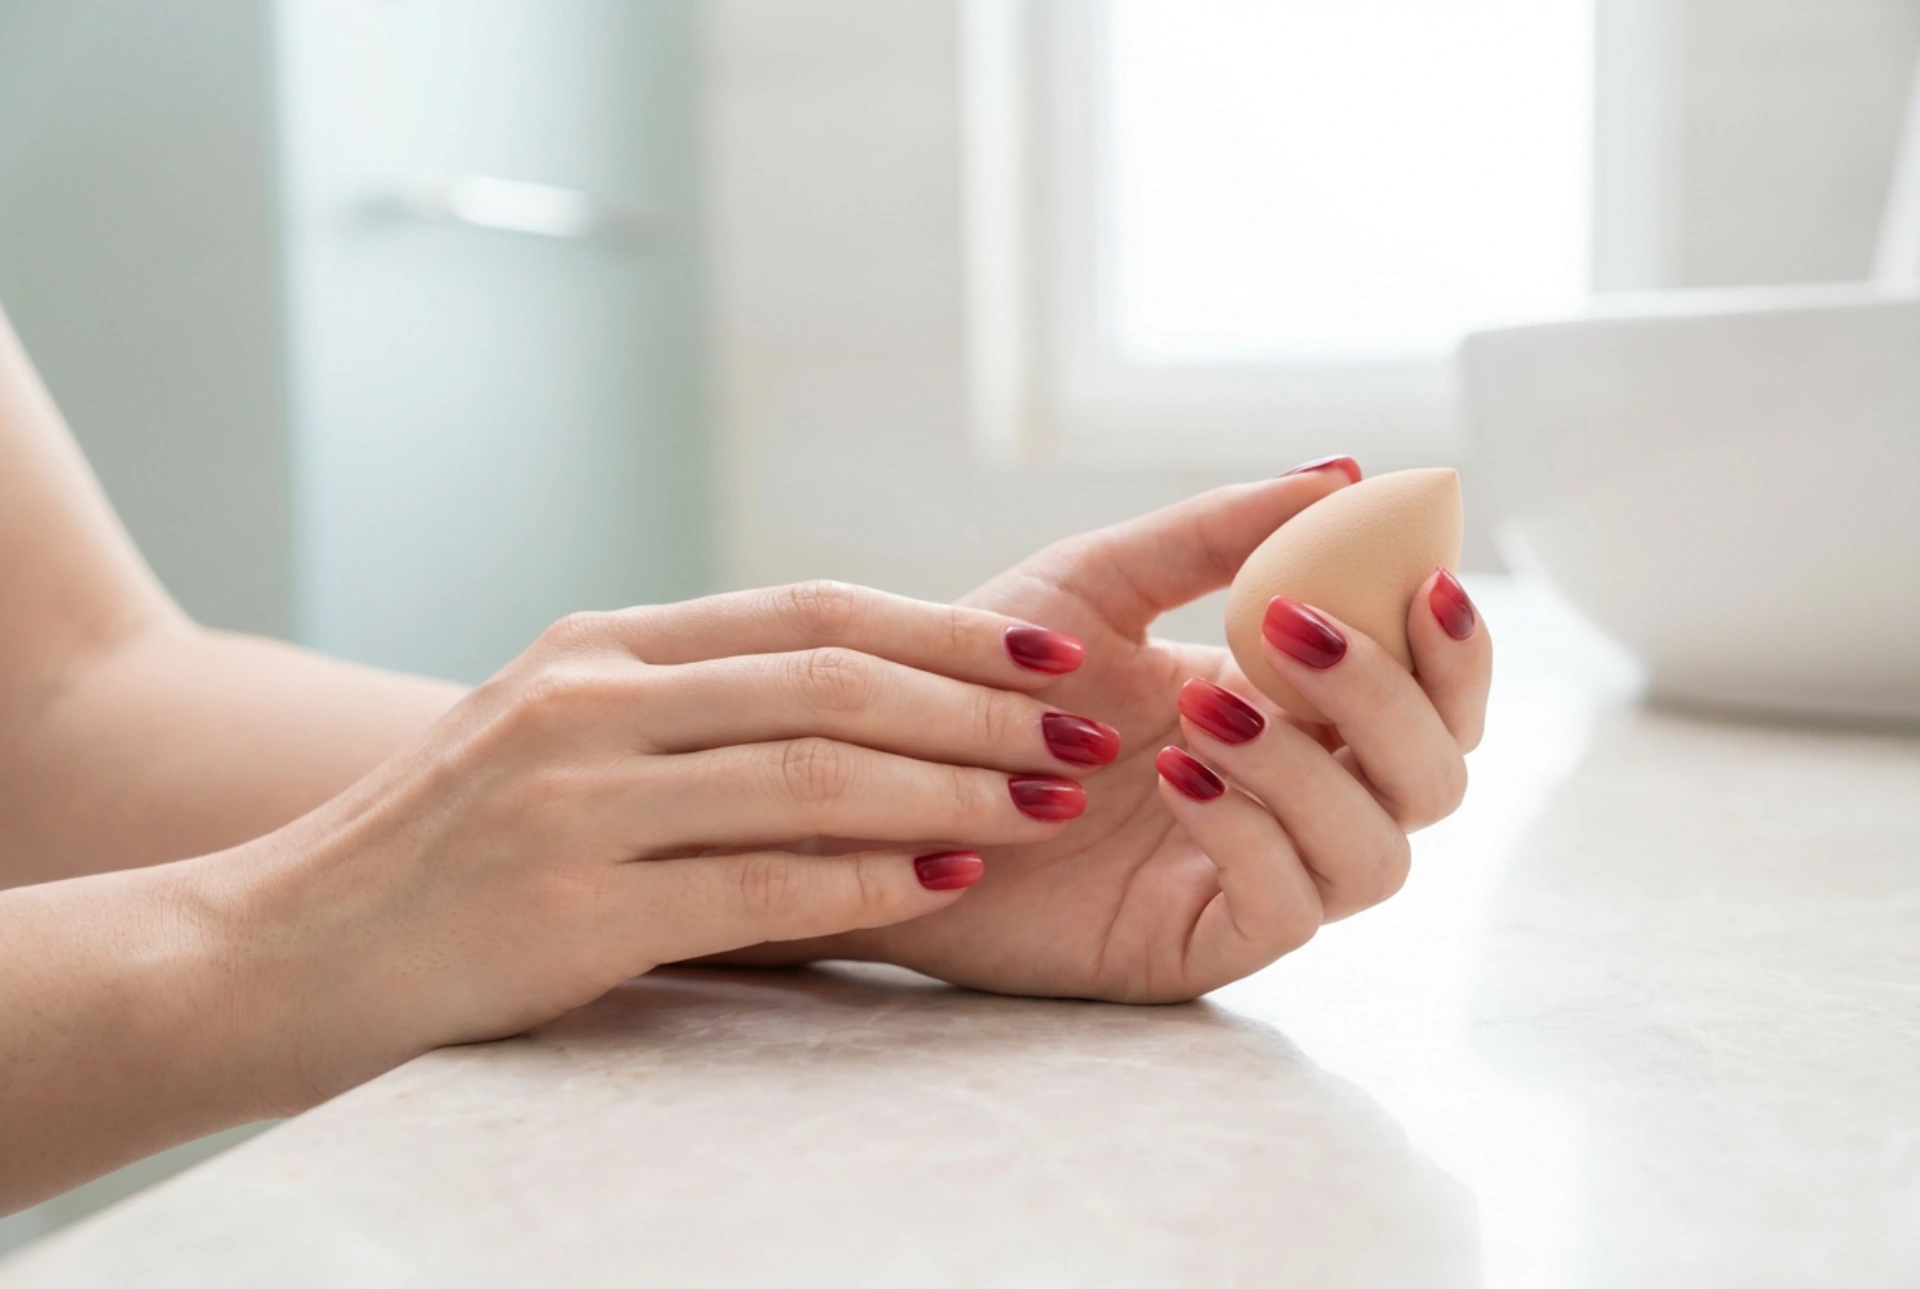


Beautifully manicured hands featuring a seamless transition from deep ruby red to a bright scarlet shade are the epitome of timeless elegance. The classic red manicure receives a modern, sophisticated upgrade through the ombre technique, where colours gracefully blend into one another. Achieving this smooth, professional-looking gradient at home is entirely possible with the right approach and a simple beauty sponge. By understanding how to select complementary red hues and mastering the sponge-shading method, you can create a flawless, striking look that suits any occasion.
The Appeal of the Red Gradient Aesthetic
Gradient nail art offers a versatile alternative to solid colours, adding depth and a sense of movement to the hands. The transition from a deep, rich base to a brighter tip elongates the fingers and lends a contemporary touch to classic scarlet tones. Unlike stark geometric designs, a well-blended ombre provides a soft, diffused transition that looks incredibly sophisticated. Whether you prefer a subtle shift between similar tones or a high-contrast transition, the secret lies in how the colours interact and how evenly they are applied to the nail plate.
Choosing the Perfect Red Shades for Your Ombre
To create a harmonious gradient, selecting the right shades of red is crucial. You want colours that complement each other’s undertones to prevent the blend from looking muddy. Here are some of the most elegant combinations to consider:
- Burgundy to Scarlet: A classic pairing that transitions from a deep, vampy wine shade at the base to a vibrant, warm red at the tips. This combination offers a dramatic, rich contrast.
- Ruby to Crimson: A jewel-toned transition that provides a brilliant, balanced look. It is highly versatile and flatters both cool and warm skin tones.
- Cherry to Coral: A lighter, fresher approach that pairs deep cherry red with bright, warm coral tones, making it ideal for a vibrant, sun-kissed aesthetic.
When selecting your polishes, opt for highly pigmented formulas. Sheer polishes require too many layers to build opacity, which can lead to a thick, uneven finish when using the sponge technique.
Essential Tools for the Sponge-Blending Method
Before beginning the application process, gather your tools to ensure a smooth, organized workflow. Having everything prepared beforehand prevents smudging and keeps the process clean:
- A protective base coat and a high-shine top coat.
- Your two chosen red nail polishes.
- A clean, latex-free makeup sponge or beauty wedge.
- Liquid peel-off tape or a rich skin barrier cream to protect the cuticles.
- A small, flat brush and nail polish remover for precise clean-up.
Step-by-Step Sponge Shading Technique
Begin by preparing your nails. Shape them to your desired length, gently push back the cuticles, and apply a nourishing base coat to protect the natural nail. Once the base coat is completely dry, apply one to two layers of your lighter red shade as the foundational background colour. Allowing this base layer to dry fully is essential, as it prevents the sponge from pulling up the underlying polish during the blending phase.
Next, prepare your blending sponge. A useful tip is to slightly damp the sponge with water and squeeze out any excess. This prevents the sponge from absorbing too much polish, ensuring more product is transferred directly to the nail. Paint two parallel, slightly overlapping stripes of your chosen red shades directly onto the edge of the sponge. Place the darker shade where you want the deepest gradient and the lighter shade adjacent to it.
Gently tap the sponge onto the nail, moving it slightly up and down to blur the boundary where the two colours meet. Work in thin, light layers, allowing each layer to dry for a minute before dabbing again. Usually, two to three rounds of sponging are required to build the desired colour intensity and achieve a seamless, professional transition. After finishing the sponging process, peel off the protective tape or use your cleanup brush dipped in remover to clean any stray polish from the surrounding skin.
Sealing the Look for a Professional Finish
The texture left by a sponge can initially appear slightly matte or textured. To transform this into a glassy, smooth gradient, apply a generous layer of a high-quality top coat while the ombre is still slightly damp. The top coat acts as a blending agent, melting the colours together and erasing any sponge textures. Finish with a drop of cuticle oil to restore moisture and showcase your beautifully blended red ombre manicure with pride.




