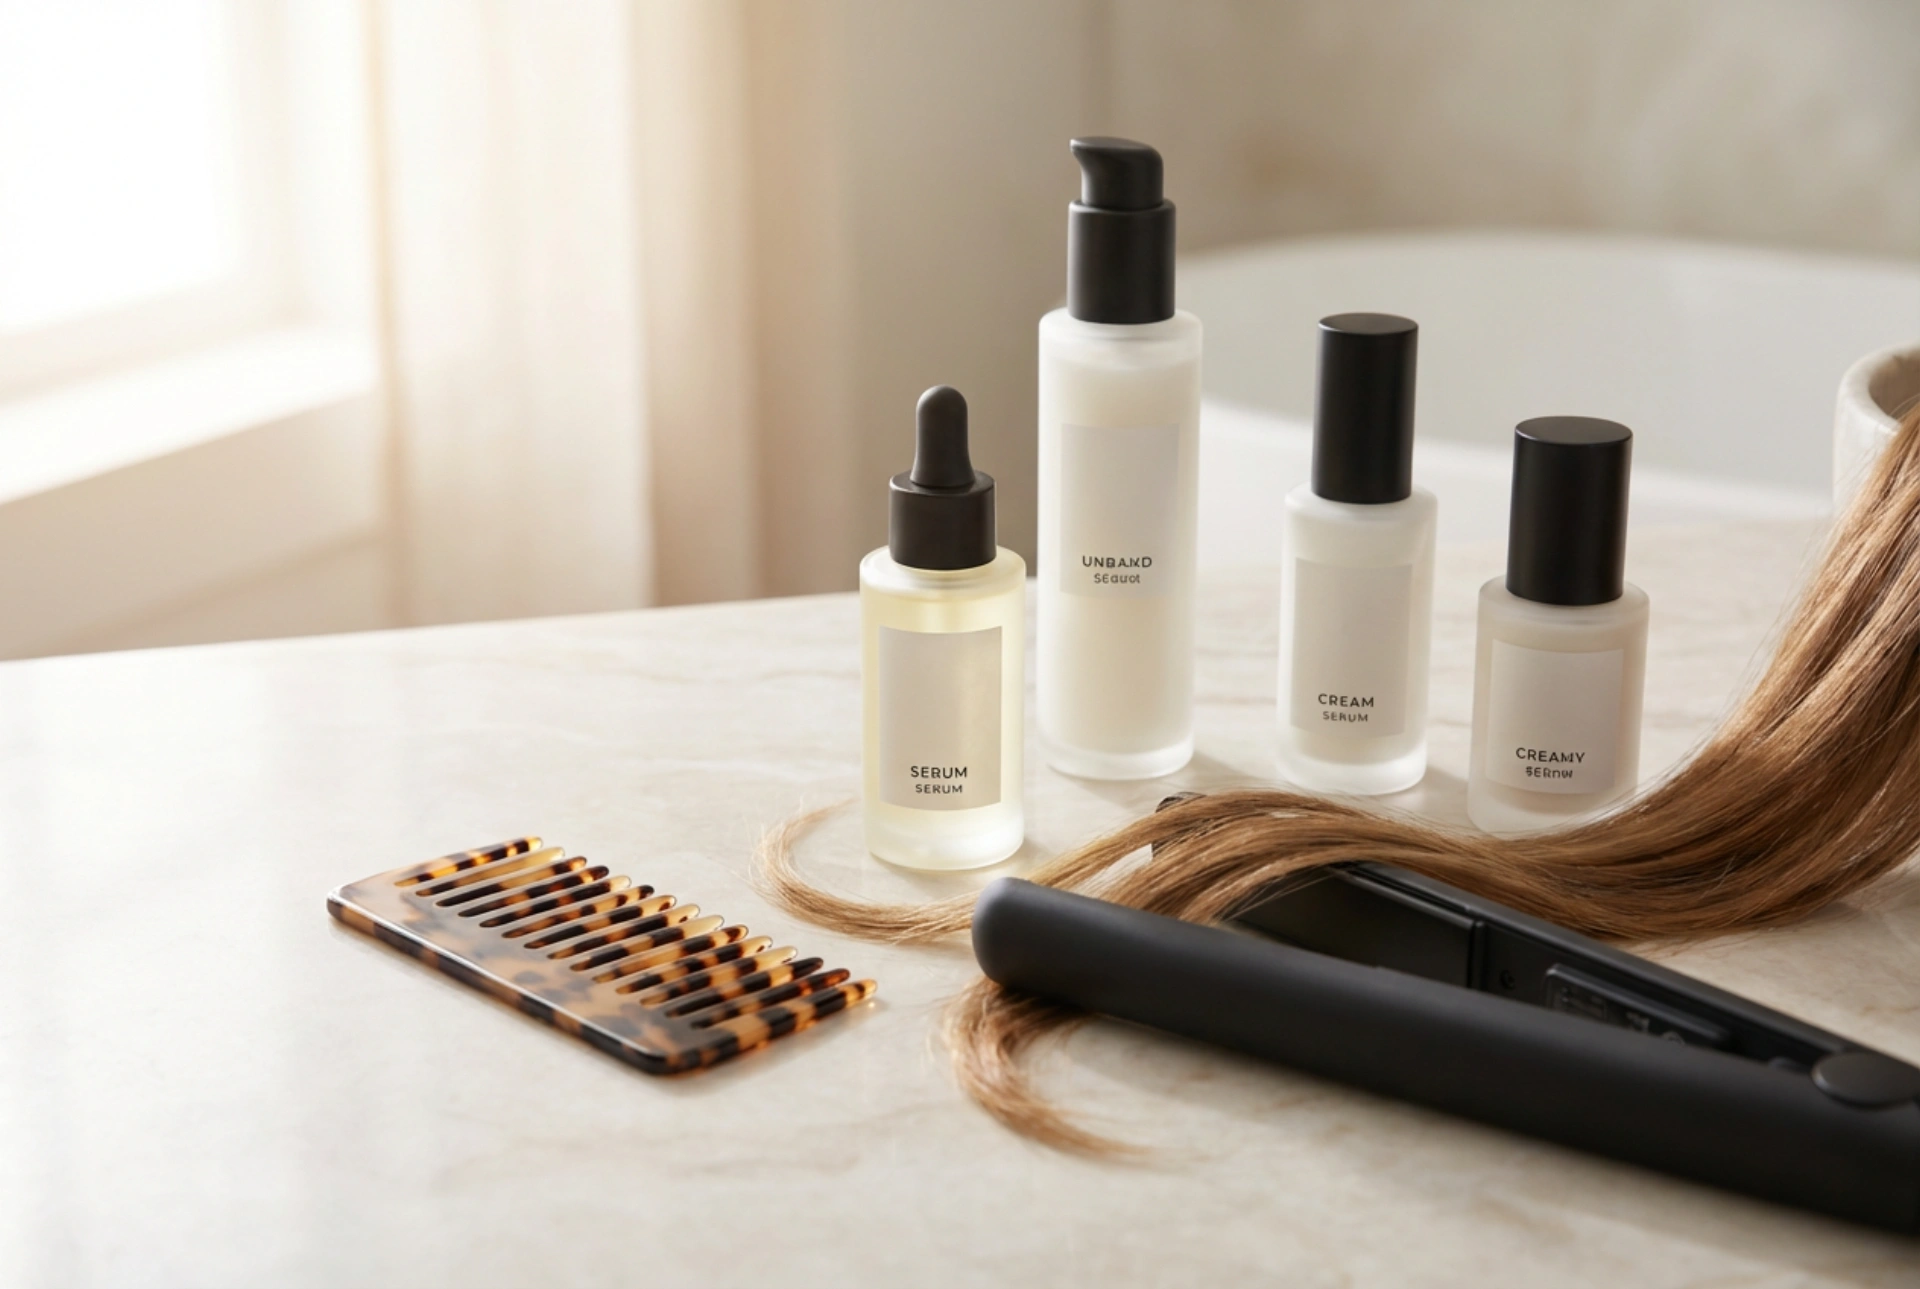


Achieving sleek, lustrous hair at home has become a cornerstone of modern self-care rituals. With the right tools, elegant hair care bottles, and a high-quality straightener, you can recreate the polished feel of a professional salon treatment in the comfort of your own bathroom. Keratin, a structural protein naturally found in our hair, is the secret behind that smooth, glossy finish. Over time, daily styling and environmental exposure can deplete this essential protein, leading to frizz and dullness. Introducing a structured, home-based keratin care routine can help restore your hair's natural brilliance and strength.
Understanding the Role of Keratin in Hair Health
To get the most out of your at-home routine, it is essential to understand what keratin does. Keratin is the primary building block of the hair shaft, responsible for its elasticity, strength, and overall structure. When the outer layer of the hair, known as the cuticle, becomes damaged, microscopic gaps form, allowing moisture to escape and causing strands to look frizzy. By applying cosmetic products enriched with hydrolyzed keratin, you temporarily fill these gaps, smoothing down the hair surface and reflecting light more efficiently.
Unlike professional salon straightening procedures, which often involve strong chemical agents, cosmetic home treatments focus on deep nourishment, restructuring, and surface smoothing. This makes them a safer, gentler alternative for maintaining healthy-looking hair without compromising its structural integrity.
Step 1: Preparing Your Hair for Deep Absorption
Preparation is key to ensuring that your hair fully absorbs the beneficial ingredients of your keratin treatment. Start by cleansing your scalp and strands thoroughly. To do this, use a gentle cleansing shampoo that removes styling build-up, excess oils, and environmental impurities.
- Wash thoroughly: Massage the shampoo gently into your scalp, ensuring you cover the entire length of your hair to wash away any barrier-forming residues.
- Skip the conditioner: Standard conditioners seal the hair cuticle. For a keratin treatment to penetrate effectively, the cuticles need to remain slightly open.
- Gently towel dry: Press the water out of your hair with a soft microfibre towel instead of rubbing, which can cause friction and damage. Your hair should be damp but not dripping wet.
Step 2: Methodical Application of the Keratin Product
Once your hair is prepared, it is time to apply the cosmetic keratin product, such as a rich keratin mask or a dedicated home-use smoothing fluid. Sectioning your hair is the best way to ensure even distribution and prevent patches of hair from being missed.
Divide your hair into four manageable sections using hair clips. Take small sub-sections, about two inches wide, and apply the product starting from the mid-lengths down to the ends. Use a fine-tooth comb to distribute the formula evenly along each strand. It is crucial to avoid applying heavy keratin formulas directly to the scalp, as this can weigh down your roots and cause a greasy appearance. Let the product sit for the duration recommended on the packaging, allowing the proteins to bind to the hair fibres.
Step 3: The Art of Blow-Drying and Heat Activation
Many home keratin treatments require heat to activate the smoothing ingredients and seal them into the hair cuticle. Before introducing heat, ensure your hair is dry. Blow-drying is a vital step in this process. Use a round brush or a paddle brush to pull the hair taut as you dry it, directing the airflow downwards from the roots to the tips. This technique encourages the cuticles to lie flat, enhancing the natural shine.
Work in small sections, keeping the dryer at a safe distance of about fifteen centimetres from your hair to prevent thermal damage. By the end of this step, your hair should be completely dry and relatively straight, preparing it for the final styling phase.
Step 4: Precision Styling with a Straightener
To lock in the smooth texture and seal the keratin coating, a flat iron or hair straightener is used. Since high heat can dry out hair, it is important to proceed with caution and adjust the temperature according to your hair type. Fine or colour-treated hair requires a lower temperature, while thicker, coarser hair can handle slightly more heat.
Take very thin sections of hair and glide the straightener slowly from the roots to the ends. Avoid holding the iron in one spot for too long, as this can cause heat spots. The smooth plates of the straightener, combined with the heat, help to set the keratin, leaving you with a sleek, lustrous finish that resists humidity and stays smooth for days.
Step 5: Post-Treatment Care for Long-Lasting Results
To maintain your newly achieved smooth texture, your post-treatment care routine is just as important as the application itself. The choices you make in the days following the treatment will directly affect how long the results last.
- Use sulfate-free cleansers: Sulfates can strip the protective keratin layer from your hair. Opt for gentle, sulfate-free shampoos and conditioners designed to preserve moisture.
- Incorporate keratin-infused conditioners: Regularly using conditioners or leave-in serums containing hydrolyzed keratin will help prolong the smoothing effect.
- Minimize washing frequency: To prevent the treatment from washing out too quickly, try to extend the time between washes, using dry shampoo to refresh the scalp if needed.
By following these steps and prioritizing gentle, protein-rich maintenance, you can enjoy beautifully smooth, shiny, and manageable hair at home, keeping frizz at bay and simplifying your daily styling routine.





