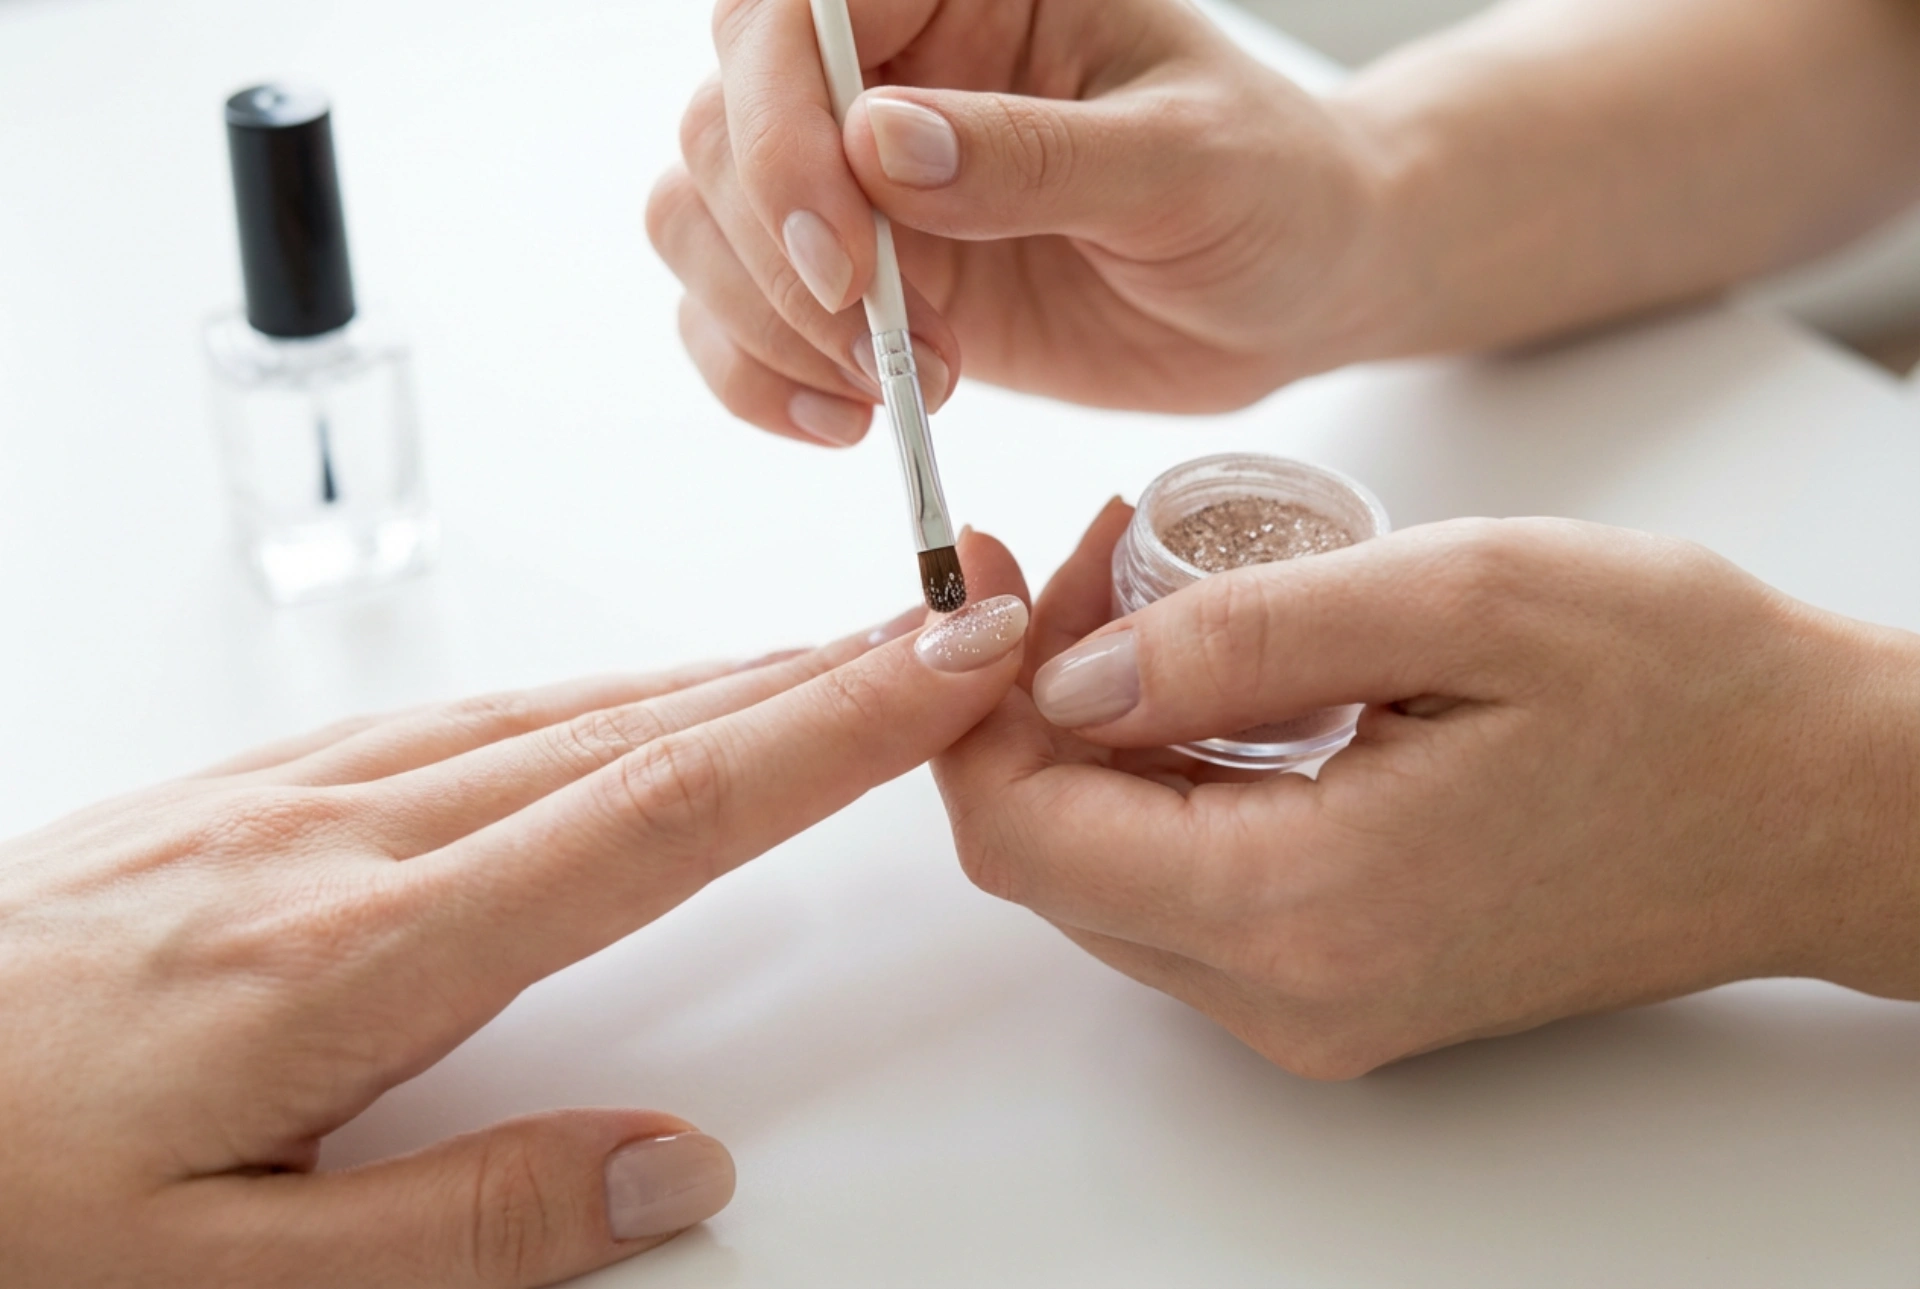


Beautifully manicured hands reflecting a shimmering glow can easily be achieved at home. Nail art has entered a new era where creating a sophisticated mirror effect, a delicate pearlescent sheen, or a holographic sparkle no longer requires complex painting skills. Incorporating fine decorative powders into your manicure routine allows you to elevate a simple base colour into an eye-catching, multidimensional design. Understanding the nuances of how these powders interact with different products is key to achieving a flawless, professional-looking finish at home. By mastering a few simple techniques, you can ensure your shimmering nails look pristine and remain durable for weeks.
The Fascinating World of Nail Powders
Before diving into the application process, it is essential to understand the different types of decorative powders available. Each type offers a unique finish and behaves differently depending on the light and the base colour underneath. Selecting the right style allows you to customise your manicure to suit any occasion.
Chrome and Metallic Finishes
Chrome powders are designed to create a highly reflective, mirror-like surface. When applied correctly, they turn a standard gel polish into a liquid-metal effect. These powders are incredibly fine and require a perfectly smooth surface to shine, as any imperfections on the nail will be magnified by the metallic sheen.
Holographic and Rainbow Effects
Holographic powders contain micro-particles that disperse light into a rainbow spectrum. Under direct sunlight or bright indoor lighting, they create a dazzling multi-coloured effect. In softer light, they offer a subtle, elegant silver or charcoal shimmer, making them versatile for both day and night wear.
Mermaid, Aurora, and Pearlescent Powders
These powders are translucent and shift colours depending on the angle of the light. They are often applied over light or pastel bases to create a soft, ethereal glaze reminiscent of sea shells or the Northern Lights. When rubbed over a white base, they provide a clean, pearlescent glow, while a dark base can yield an intense, deep-toned colour shift.
Preparing the Perfect Base for Powder Application
The secret to a flawless powder application lies in the preparation of the nail surface. Because these powders are exceptionally fine, they will highlight every bump, ridge, or speck of dust on your nails. Proper surface preparation is the foundation of a successful manicure.
- Nail Prep: Begin by shaping the nails, gently pushing back the cuticles, and buffing the nail plate to remove any natural oils. Cleanse the nails thoroughly with a lint-free wipe soaked in prep dehydrator or isopropyl alcohol.
- Base Coat and Colour: Apply a high-quality base coat and cure it completely. Next, apply your chosen colour gel polish. Keep in mind that black or dark bases will make chrome and holographic powders look intense and vibrant, whilst white or nude bases will give mermaid and aurora powders a delicate, soft appearance. Cure the colour coat according to your lamp’s instructions.
Step-by-Step Rubbing Techniques for a Flawless Finish
The method you use to apply the powder determines how smooth and reflective the final look will be. Rubbing, often referred to as burnishing, requires the correct tool and the right amount of pressure.
The Applicator Choice
Most powders can be applied using a simple eyeshadow sponge applicator, a silicone tool, or even a clean, gloved fingertip. Sponge applicators are excellent for picking up the powder and spreading it evenly, whilst silicone tools allow for precise application around the cuticle area. Using a gloved finger is highly favoured by many beauty enthusiasts, as the smooth surface of the glove helps buff the powder to an incredible mirror-like shine.
The Rubbing Process
Apply a no-wipe top coat over your cured colour gel. The timing here is crucial: cure this top coat for only about half of its recommended time (usually 15 to 30 seconds depending on your lamp). The surface needs to be warm and slightly receptive, but not wet or sticky. Gently dip your applicator into the powder—a little goes a long way—and press it onto the nail surface. Using light, circular motions, begin buffing the powder into the nail from the cuticle to the free edge. Once the surface is fully covered, increase the pressure slightly to burnish the powder and lock in the shine.
Removing Excess Dust
After rubbing, there will be loose particles left around the sidewalls and cuticles. Use a very soft, fluffy makeup brush to gently dust away all excess powder. If you fail to remove the loose particles, they will mix with your final top coat, making it look glittery rather than smooth and metallic.
Securing the Shine: The Role of Top Coats
Without the correct sealing technique, nail powders can wear off at the tips or lose their reflective qualities within days. Protecting the delicate layer of powder requires a specific approach to top coat application.
The Importance of No-Wipe Top Coats
A standard top coat that leaves a tacky layer is generally not suitable for chrome or mirror powders, as the cleaning process can dull the shine. A high-quality, glossy no-wipe top coat is essential. It provides a crystal-clear, durable glass-like shield that preserves the intense reflection of the powder underneath.
Capping the Free Edge
The most common reason for powder manicures chipping is a failure to cap the free edge of the nail. When applying the top coat, make sure to run the brush along the very edge and slightly underneath the tip of the nail. This seals the powder completely inside a protective envelope of gel, preventing water and daily wear from breaking the seal.
Double Coating for Extended Wear
For maximum longevity, a double top coat technique is highly recommended. Apply a thin layer of a clear builder gel or a base coat directly over the burnished and dusted powder, cure it, and then apply your final glossy no-wipe top coat. This sandwich technique adds an extra layer of protection, ensuring your shimmering manicure remains flawless for up to three weeks.
Common Mistakes to Avoid for Perfect Results
If your powder manicure is not turning out as expected, a few minor adjustments to your routine can make a significant difference.
- The powder rubs off completely: This happens when the underlying top coat has been cured for too long. If the surface is too hard and cured, the powder cannot grip. Try reducing your curing time by 5 to 10 seconds.
- The finish looks grainy: This is usually a sign of under-curing the base top coat, or using a powder that is not ground finely enough. Ensure your lamp is functioning correctly and that you are using high-quality decorative powders.
- The top coat turns cloudy: Applying too much pressure with the top coat brush can drag the powder particles and cloud the finish. Gently float the brush over the nail rather than pressing it hard against the surface.
By understanding these key techniques and avoiding common pitfalls, you can enjoy stunning, reflective nail art from the comfort of your home. Experimenting with different base colours and powder combinations opens up endless creative possibilities for your beauty routine.




