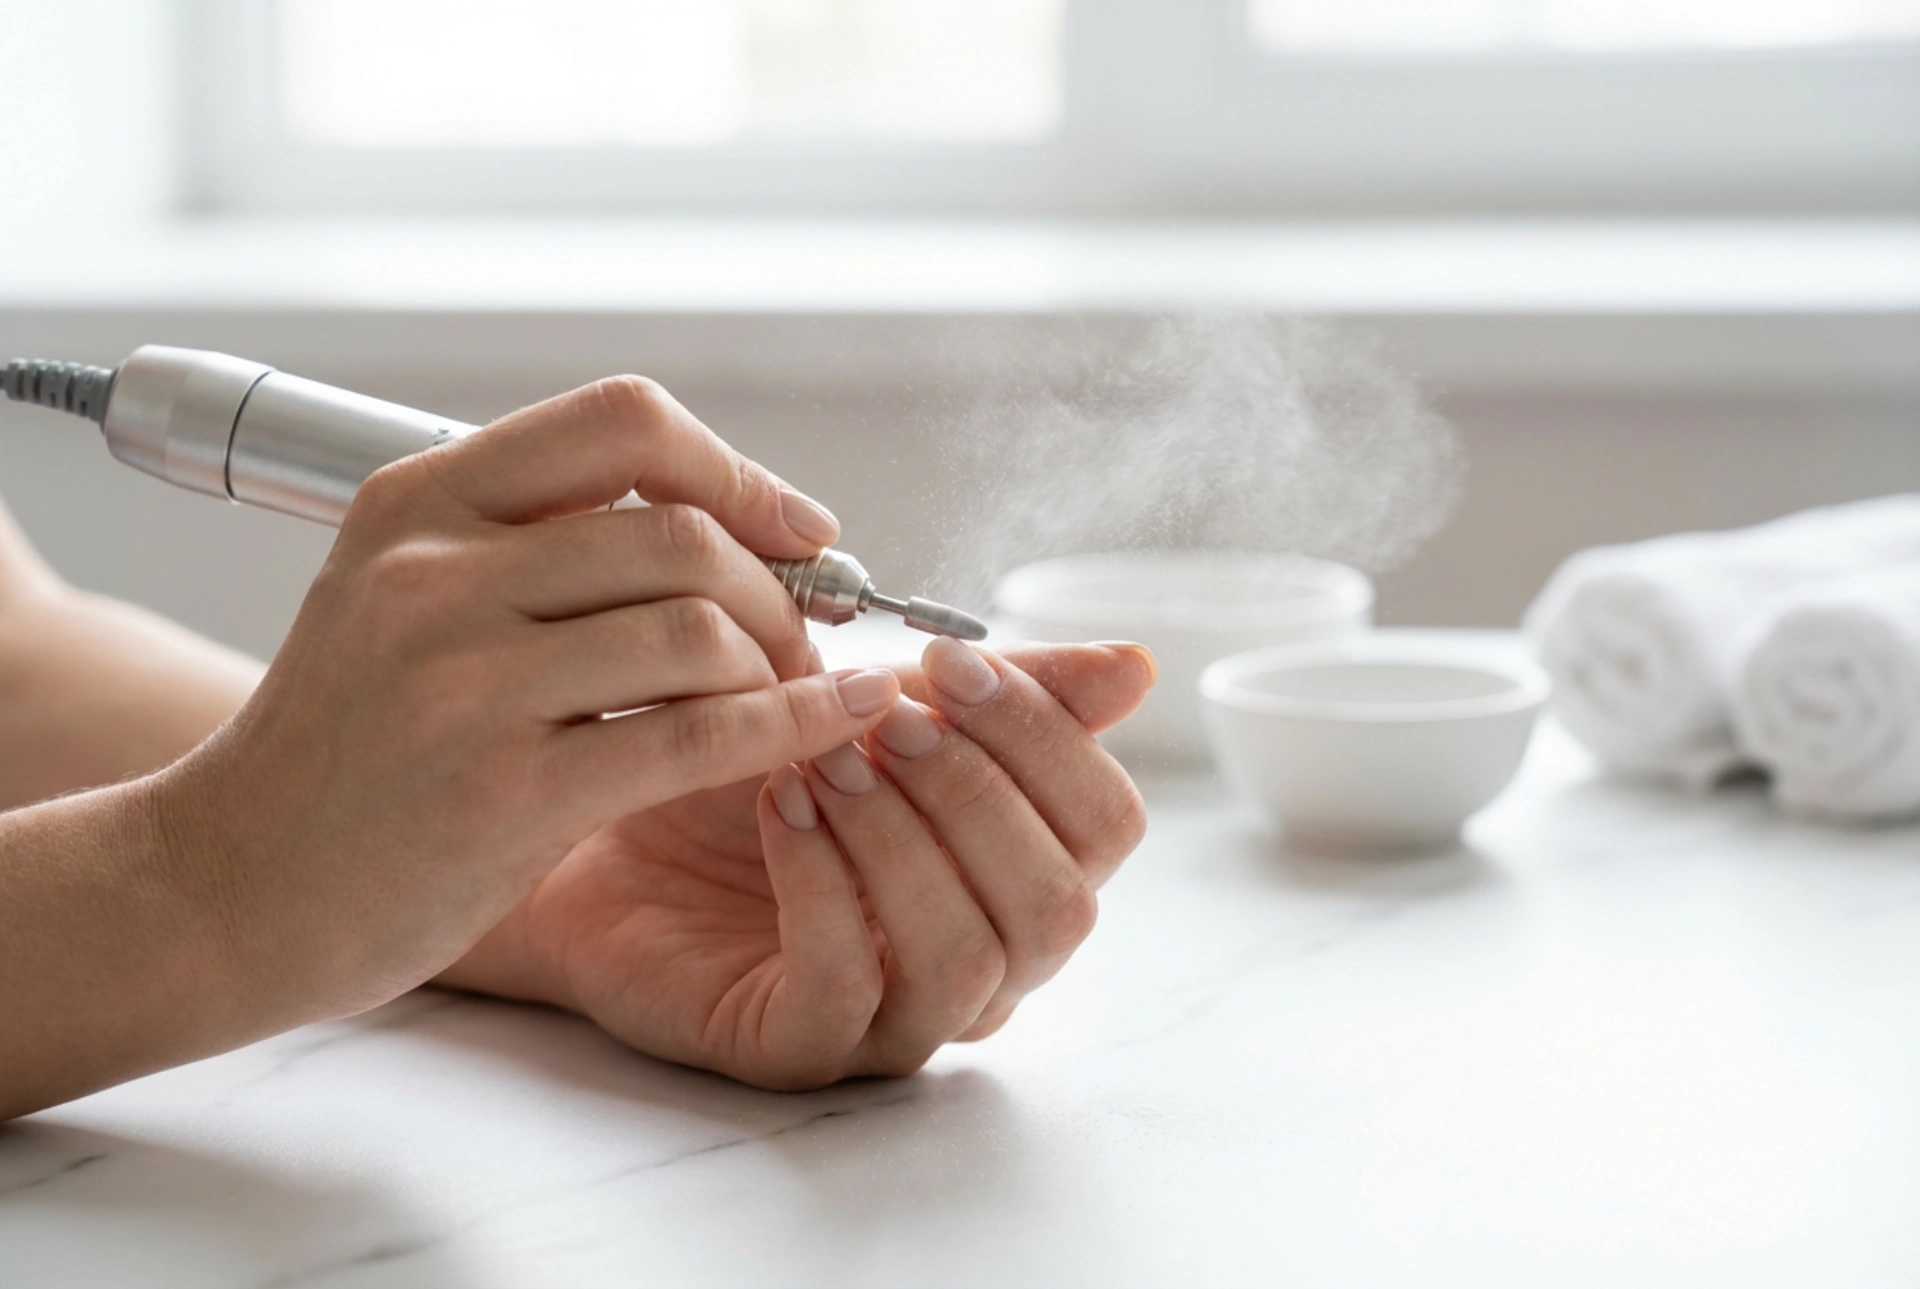


A flawless manicure is a source of confidence, but the transition between different styles requires patience and the correct technique. Removing gel polish with an electric nail drill has become a popular method for achieving salon-quality results at home. When elegant hands delicately hold a sleek, generic nail drill over a well-maintained nail, the process looks effortless and satisfying. However, managing the subtle cloud of fine dust and ensuring the natural nail plate remains undamaged demands precision, understanding, and a gentle approach. Transitioning from traditional acetone soaking to mechanical removal can significantly improve your personal beauty routine, saving time while keeping your hands looking perfectly refined.
Selecting the Perfect Drill Bits for Gel Polish Removal
To begin the removal process, selecting the appropriate drill bit is essential for safety and efficiency. Different materials and shapes serve specific purposes, and understanding these differences prevents unnecessary friction and heat buildup during your beauty session.
- Ceramic Bits: Excellent for beginners as they do not conduct heat as quickly as metal alternatives. They provide a smooth operation and are highly effective at taking down the bulk of the gel polish safely.
- Carbide Bits: Made from high-quality metal, these are preferred for their durability and speed. They cut through the gel layer quickly but require a steady hand and precise control to avoid over-filing.
- Cone and Barrel Shapes: A medium-grit barrel or cone-shaped bit is ideal for the flat surface of the nail, while smaller, rounded bits help gently clean around the cuticle area without touching the skin.
Understanding Drill Settings: Speed and Direction
The settings on your electric nail file dictate both the safety of your manicure routine and the ease of the removal process. Running the drill at the wrong speed can lead to discomfort or heat spikes on the nail plate.
Speed Control (RPM)
For removing gel polish, a moderate speed of 15,000 to 20,000 RPM (revolutions per minute) is generally recommended. Operating at a speed that is too low can cause the bit to skip, bounce, or snag, while a speed that is too high can generate excessive heat and lead to accidental damage if the hand slips.
Direction of Rotation
This setting depends on your dominant hand to ensure safe usage. Right-handed individuals should set the drill to Forward (clockwise) when filing from right to left, ensuring the bit rolls smoothly across the nail surface rather than kicking back. Left-handed users should utilise the Reverse setting to achieve the same safe results.
Step-by-Step Technique for Safe Removal
Achieving a smooth, undamaged finish requires a disciplined technique. The secret lies in treating the nail drill as a feather-light brush rather than a heavy tool, allowing the rotation of the bit to do all the work.
- Secure Your Grip: Always rest both of your hands on a stable, flat surface to eliminate shaking. Hold the handpiece like a pen, keeping your fingers close to the tip for maximum control and stability.
- Keep the Tool Moving: Never let the spinning bit rest in one spot. Continuous, fluid motions in one direction (usually from the cuticle area down to the free edge) prevent friction from concentrating on a single area of the nail.
- Work in Layers: Focus on removing the top coat and the majority of the colour layer first. It is safest to leave an ultra-thin layer of base coat untouched rather than trying to file directly down to the natural nail plate. This remaining base can then be smoothed out with a gentle manual buffer.
Common Mistakes to Avoid in Your Routine
Even with high-quality equipment, small errors in technique can impact nail comfort. Awareness of these common pitfalls ensures a safe and comfortable manicure experience every time.
- Applying Too Much Pressure: The weight of the handpiece itself is usually sufficient to remove the gel. Pressing down forces the bit into the lower layers, risking contact with the delicate natural nail plate.
- Working at the Wrong Angle: Holding the bit at a sharp angle can create deep grooves in the nail plate. The bit should remain relatively parallel to the curve of the nail.
- Ignoring Dust Management: Filing generates fine dust that can settle on your work surface. Working in a well-ventilated space and using a dust collector ensures a clean environment and clear visibility of your progress.
Post-Removal Care for Nourished Nails
Once the gel polish is successfully cleared, the recovery phase begins. Gentle aftercare ensures that your natural nails remain strong, flexible, and ready for their next look, maintaining their natural shine.
After brushing away any remaining dust from your hands and fingers, apply a rich cuticle oil to the surrounding skin and nail plate. Massage the oil gently to stimulate circulation and restore lost moisture. Applying a hydrating hand cream completes the routine, leaving your hands looking beautifully maintained, soft, and completely refined.
Taking a brief break between manicure sets can also be highly beneficial. During this resting period, focusing on moisture-rich treatments and avoiding harsh chemicals allows the nail cells to remain resilient. Consistency in your nail care routine is key to enjoying beautiful, healthy-looking hands year-round.




