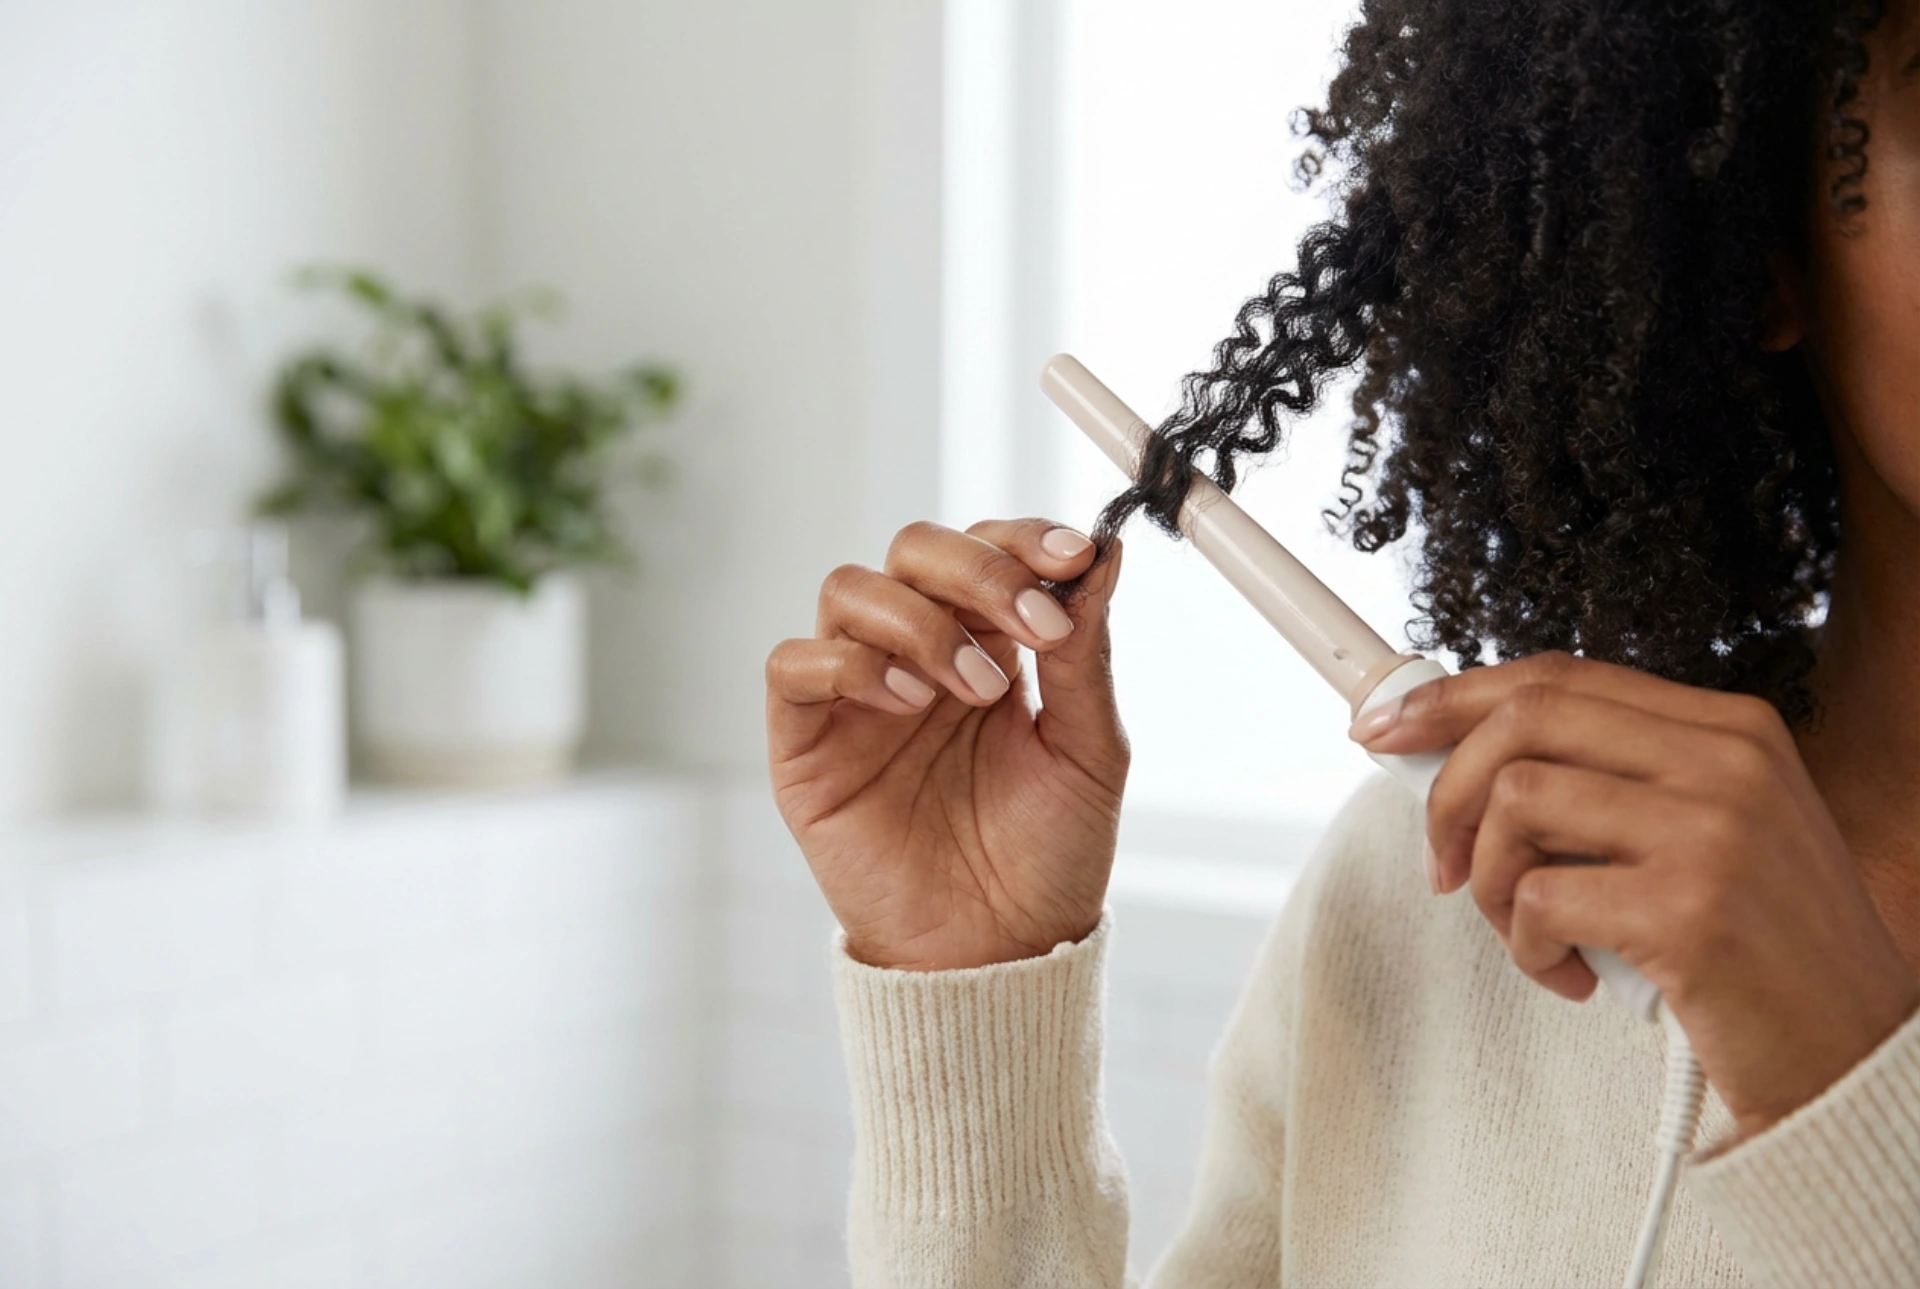


Achieving beautifully defined, springy coils at home is easier than ever with the right styling tools and techniques. Wrapping small sections of lustrous hair around a slim curling wand allows you to create tight, bouncy curls that mimic natural textures. While the process requires patience, the end result is a stunning, high-volume hairstyle full of life and shine. Understanding the correct methodology is key to achieving this look while preserving the health of your hair strands.
Selecting the Ideal Curling Wand for Tight Coils
To achieve those perfect, ultra-defined curls, the tool you choose is paramount. Standard curling irons with thick barrels will not provide the tight, springy finish characteristic of afro-style curls. Instead, you need an ultra-slim curling wand, typically with a barrel diameter ranging from 9mm to 13mm.
When selecting your wand, pay close attention to the materials and features:
- Ceramic or Tourmaline Coating: These materials ensure even heat distribution, reducing the risk of hot spots that can cause localised heat damage. They also emit negative ions which help seal the hair cuticle, adding shine and minimising frizz.
- Adjustable Temperature Settings: Different hair textures require different heat levels. Fine or chemically treated hair should be styled at lower temperatures, while thicker or coarser textures may require slightly more heat to hold the curl shape.
- Cool Tip and Heat-Resistant Glove: Working with such a thin barrel requires precision, meaning your fingers will be very close to the heat source. A protective glove is essential for safety.
Essential Hair Preparation
Before applying any heat to your hair, proper preparation is vital to prevent damage and ensure the longevity of your style. Attempting to curl damp or inadequately prepared hair can lead to structural damage and lackluster results.
Begin by thoroughly washing your hair with a hydrating shampoo, followed by a rich, nourishing conditioner or a deep-conditioning mask. Moisture is the foundation of defined curls; well-hydrated hair holds shapes much better and resists frizz throughout the day.
Once washed, apply a high-quality, lightweight heat protectant spray or cream evenly through your locks. This creates a defensive barrier on the hair shaft, mitigating the impact of high styling temperatures. Allow your hair to dry completely—either by air-drying or using a blow-dryer on a cool setting. Styling wet or damp hair with a hot wand can cause moisture inside the hair shaft to boil, leading to irreversible damage.
Step-by-Step Guide to Creating Springy Curls
Creating small, uniform curls requires a systematic approach. Follow these steps to achieve a professionally styled look at home.
1. Sectioning the Hair
Divide your dry hair into manageable sections. It is best to start from the back of the head and work your way forward. Secure the top sections of your hair with clips, leaving a thin horizontal row at the nape of your neck free. Working with small, neat sections ensures that the heat penetrates evenly and each curl is perfectly defined.
2. Wrapping and Holding
Take a very small strand of hair—approximately half an inch wide. Carefully wrap this section tightly around the slim barrel of the curling wand, starting from the roots and winding down to the tips. Ensure the hair lies flat against the barrel without twisting excessively, as this maximises heat exposure and curl definition. Hold the hair in place for about 5 to 8 seconds, depending on your hair thickness, then gently release the wand, allowing the curl to drop into your palm to cool.
3. Cooling and Setting
Do not pull or touch the fresh curl immediately. Allowing the curl to cool completely in its coiled shape is the secret to making the style last. You can even pin the curl to your head using a small clip while it cools to ensure maximum bounce and longevity.
Post-Styling Care and Maintenance
Once your entire head is styled, you will be left with tight, defined ringlets. To soften the look slightly and add volume, you can gently separate each curl with your fingers. Apply a few drops of a lightweight hair oil to your fingertips beforehand to prevent friction and frizz during this process.
To maintain your beautiful style over several days, protective habits are essential. Before going to sleep, gather your curls loosely at the top of your head—a technique often referred to as the "pineapple" method. Sleep on a silk or satin pillowcase, or wrap your hair in a satin bonnet. This reduces friction, prevents tangles, and preserves the moisture levels in your hair, keeping your springy curls intact for longer.
Healthy Habits for Heat-Styled Hair
While styling your hair into beautiful, tight coils is a wonderful way to express your personal style, consistency in hair care is essential to offset any potential dryout from heat tools. Establish a routine that prioritises hair health:
- Limit Heat Styling: Avoid using curling wands on a daily basis. Allow your hair time to recover between styling sessions.
- Deep Hydration: Incorporate weekly deep-conditioning treatments or natural oil masks to replenish lost moisture and maintain elasticity.
- Trim Regularly: Keep your ends healthy by scheduling regular trims. Split ends can travel up the hair shaft, causing frizz and making curls look less defined.





