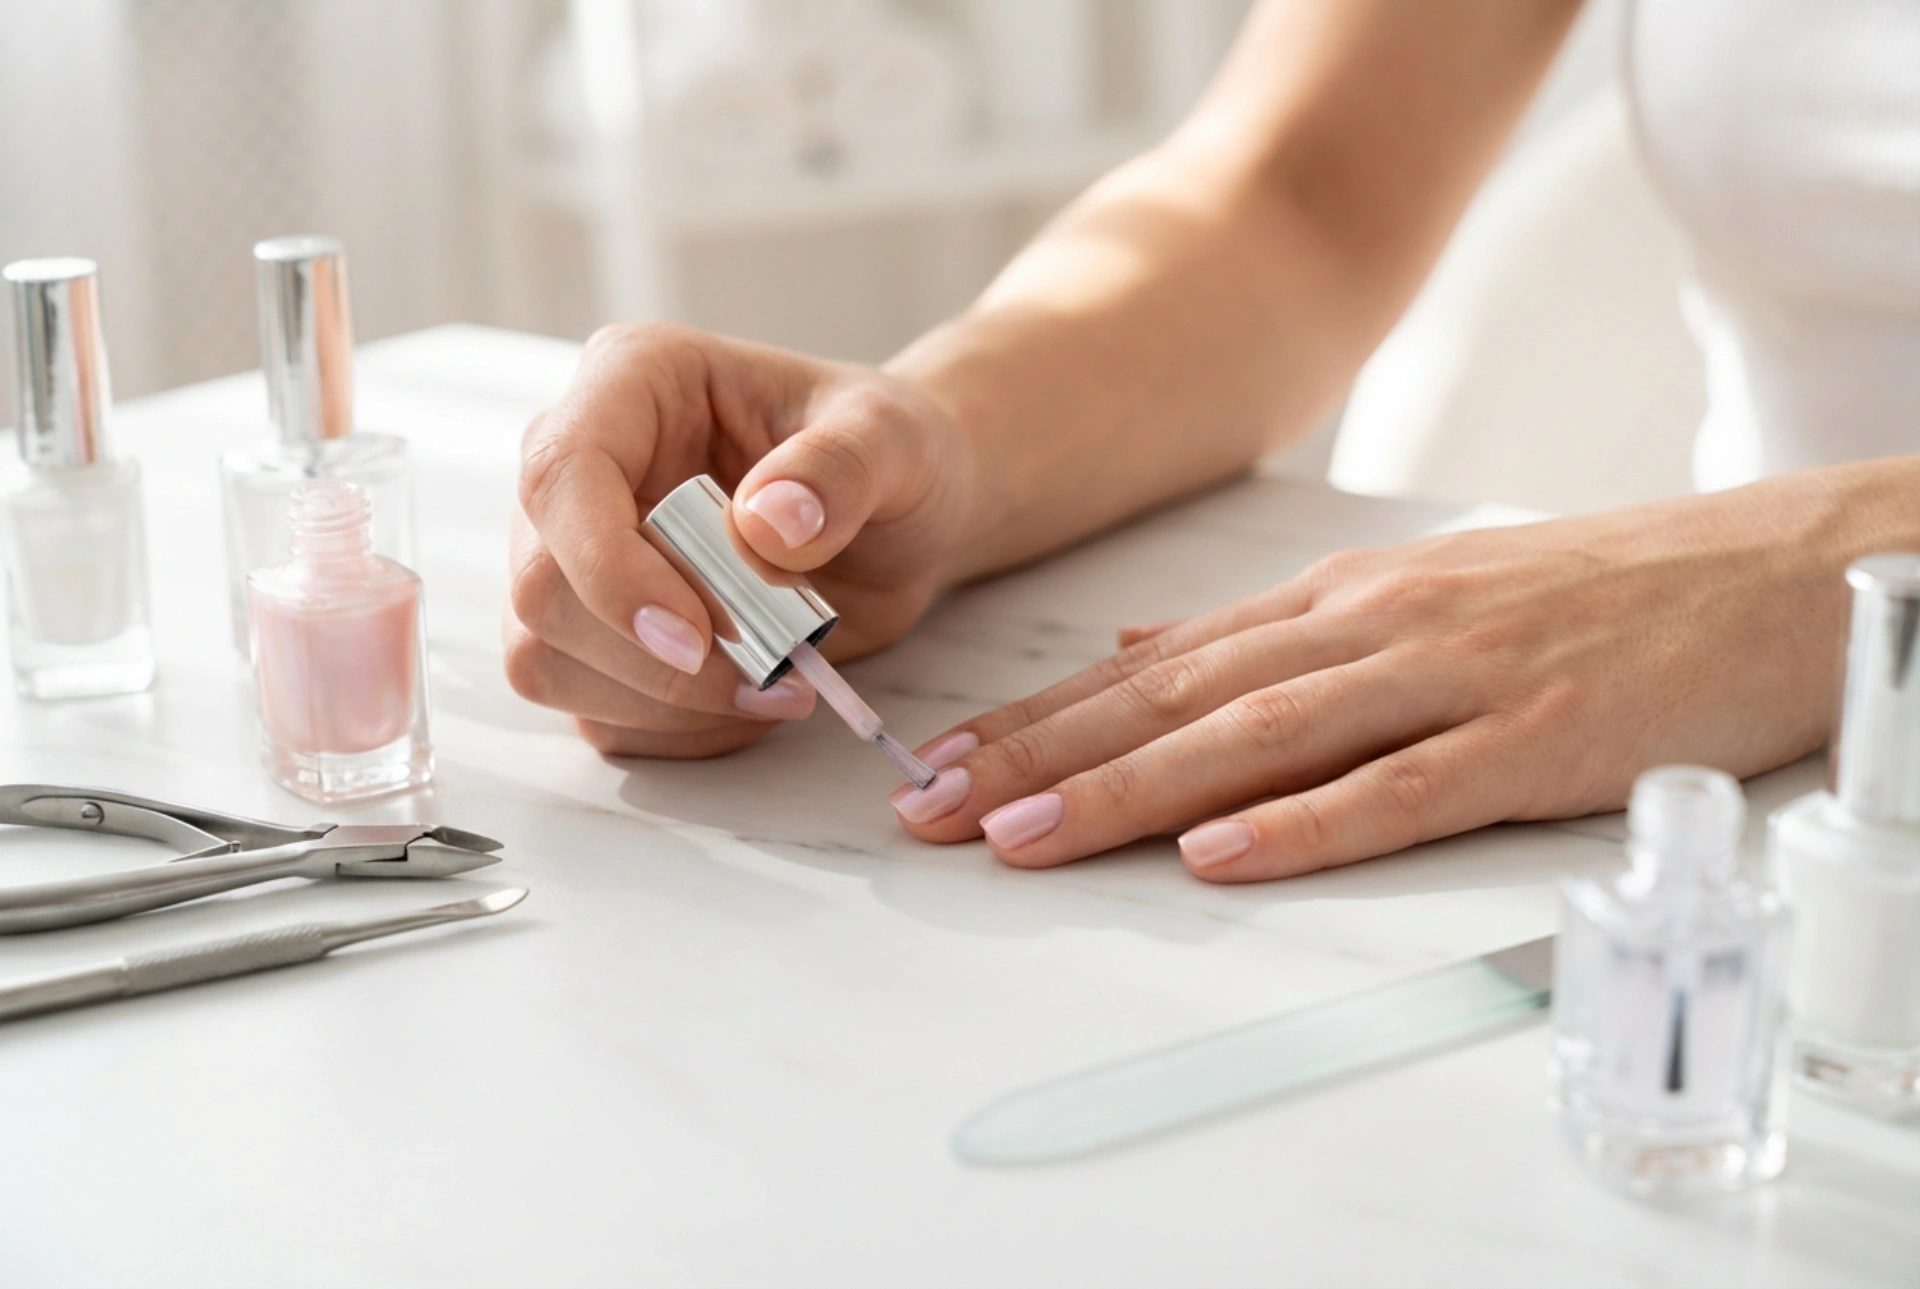


Achieving a flawless, salon-quality finish at home has never been easier, especially with the rising popularity of hybrid manicures. This modern nail care process combines the ease of traditional polish with the impressive durability of gel. With elegant hands resting on a clean work surface, surrounded by minimalist nail care tools and sleek bottles of polish under soft, diffused natural light, the process becomes not just a beauty routine, but a calming ritual. To achieve a lustrous, long-lasting hybrid manicure that resists chipping for weeks, understanding the correct steps is essential. From thorough preparation to careful application and proper curing, every phase plays a key role in the final result.
Thorough Preparation of the Nail Plate
The foundation of any durable manicure lies in how well the natural nail plate is prepared. Skipping this stage or rushing through it is the primary reason why hybrid polish might lift or peel prematurely. To begin, shape your nails using a fine-grit nail file, moving in one direction to prevent splitting. Gently push back the cuticles using a wooden stick or a dedicated pusher. It is vital to remove any dead skin adhering to the nail plate, as polish applied over skin will inevitably lift after a few days.
Once the shape is perfected and the cuticles are cleared, use a soft buffer block to gently mattify the surface of the nail. This step removes the natural shine and oils, creating a microscopic texture that helps the base coat adhere firmly. Be cautious not to over-buff, as this can thin and weaken your natural nails. Finally, wipe the nails thoroughly with a lint-free pad soaked in a professional nail dehydrator or prep solution. This step removes any remaining dust, moisture and oils, leaving a perfectly clean slate for the polish.
Precise Application of the Base Coat and Colour
With the nails fully prepared, the application process can begin. The key to a professional, bubble-free finish is applying very thin, even layers. Start with a high-quality hybrid base coat. Wipe any excess product off the brush against the bottle neck before applying. Brush a thin layer onto the nail, starting from the centre and working towards the sides, leaving a tiny gap between the polish and the cuticle. Crucially, always remember to "cap" the free edge by running the brush along the very tip of the nail. This seals the polish and prevents lifting at the tips.
After curing the base coat, it is time to apply the colour. Choose a shade that complements your personal style and apply it in the same manner. It is far better to apply two or three extremely thin coats of colour than one thick layer. Thick coats often fail to cure completely in the middle, leading to wrinkling and peeling. Ensure each layer is cured properly before applying the next, and always cap the free edge with every single layer of colour to guarantee a secure bond.
The Art of Proper Curing under the Lamp
Curing is the chemical process that transforms the liquid hybrid polish into a hard, durable coating. This is achieved using a specialized LED or UV lamp. Each layer—whether base, colour, or top coat—must spend a specific amount of time under the light to set properly. The exact curing time depends on the power of your lamp and the specific instructions of the formulas you are using. Generally, modern LED lamps require between thirty to sixty seconds per layer, while older UV lamps may take up to two minutes.
During the curing process, keep your fingers flat and level inside the lamp to ensure the light reaches all parts of the nail evenly, including the thumbs. Avoid tilting your hands, as this can cause the liquid polish to run towards one side before it hardens. Patience during this step is crucial; interrupting the curing cycle can result in an incomplete cure, which compromises the longevity of the manicure and can lead to soft, easily damaged nails.
Securing and Finishing the Manicure
To seal in your hard work and give your nails that signature glass-like shine, the final step of application is the top coat. Apply a thin layer of top coat over the cured colour, paying extra attention to capping the free edge once more. The top coat acts as a protective shield, guarding your manicure against scratches, chips and everyday wear and tear. Once applied, cure this final layer under the lamp for the recommended duration.
Most traditional hybrid top coats leave a sticky residue, known as the inhibition layer, after curing. To remove this sticky film, soak a clean lint-free pad in a gentle nail cleanser and wipe each nail firmly. Instantly, the high-gloss, lustrous finish will be revealed. Complete the ritual by applying a drop of nourishing cuticle oil to the skin surrounding each nail and massaging it in gently. This restores lost moisture, keeping your hands looking perfectly groomed and elegant.
Essential Maintenance for Long-Lasting Nails
Once your hybrid manicure is complete, a few simple habits can help maintain its pristine appearance for up to three weeks. Although hybrid polish is incredibly durable, it is not indestructible. When performing household chores, especially those involving water or cleaning agents, always wear protective rubber gloves. Prolonged exposure to hot water and harsh detergents can weaken the bond between the polish and the nail plate.
Additionally, avoid using your nails as tools to open cans or scrape surfaces, as this can cause micro-fractures in the cured polish. Moisturise your hands and cuticles daily with a rich hand cream to keep the surrounding skin healthy. Should you notice a small lift at the edge of a nail, resist the temptation to peel or pull at the polish, as this can strip away the top layers of your natural nail. Instead, gently file the lifted edge down or plan a safe removal process using professional soaking methods.




