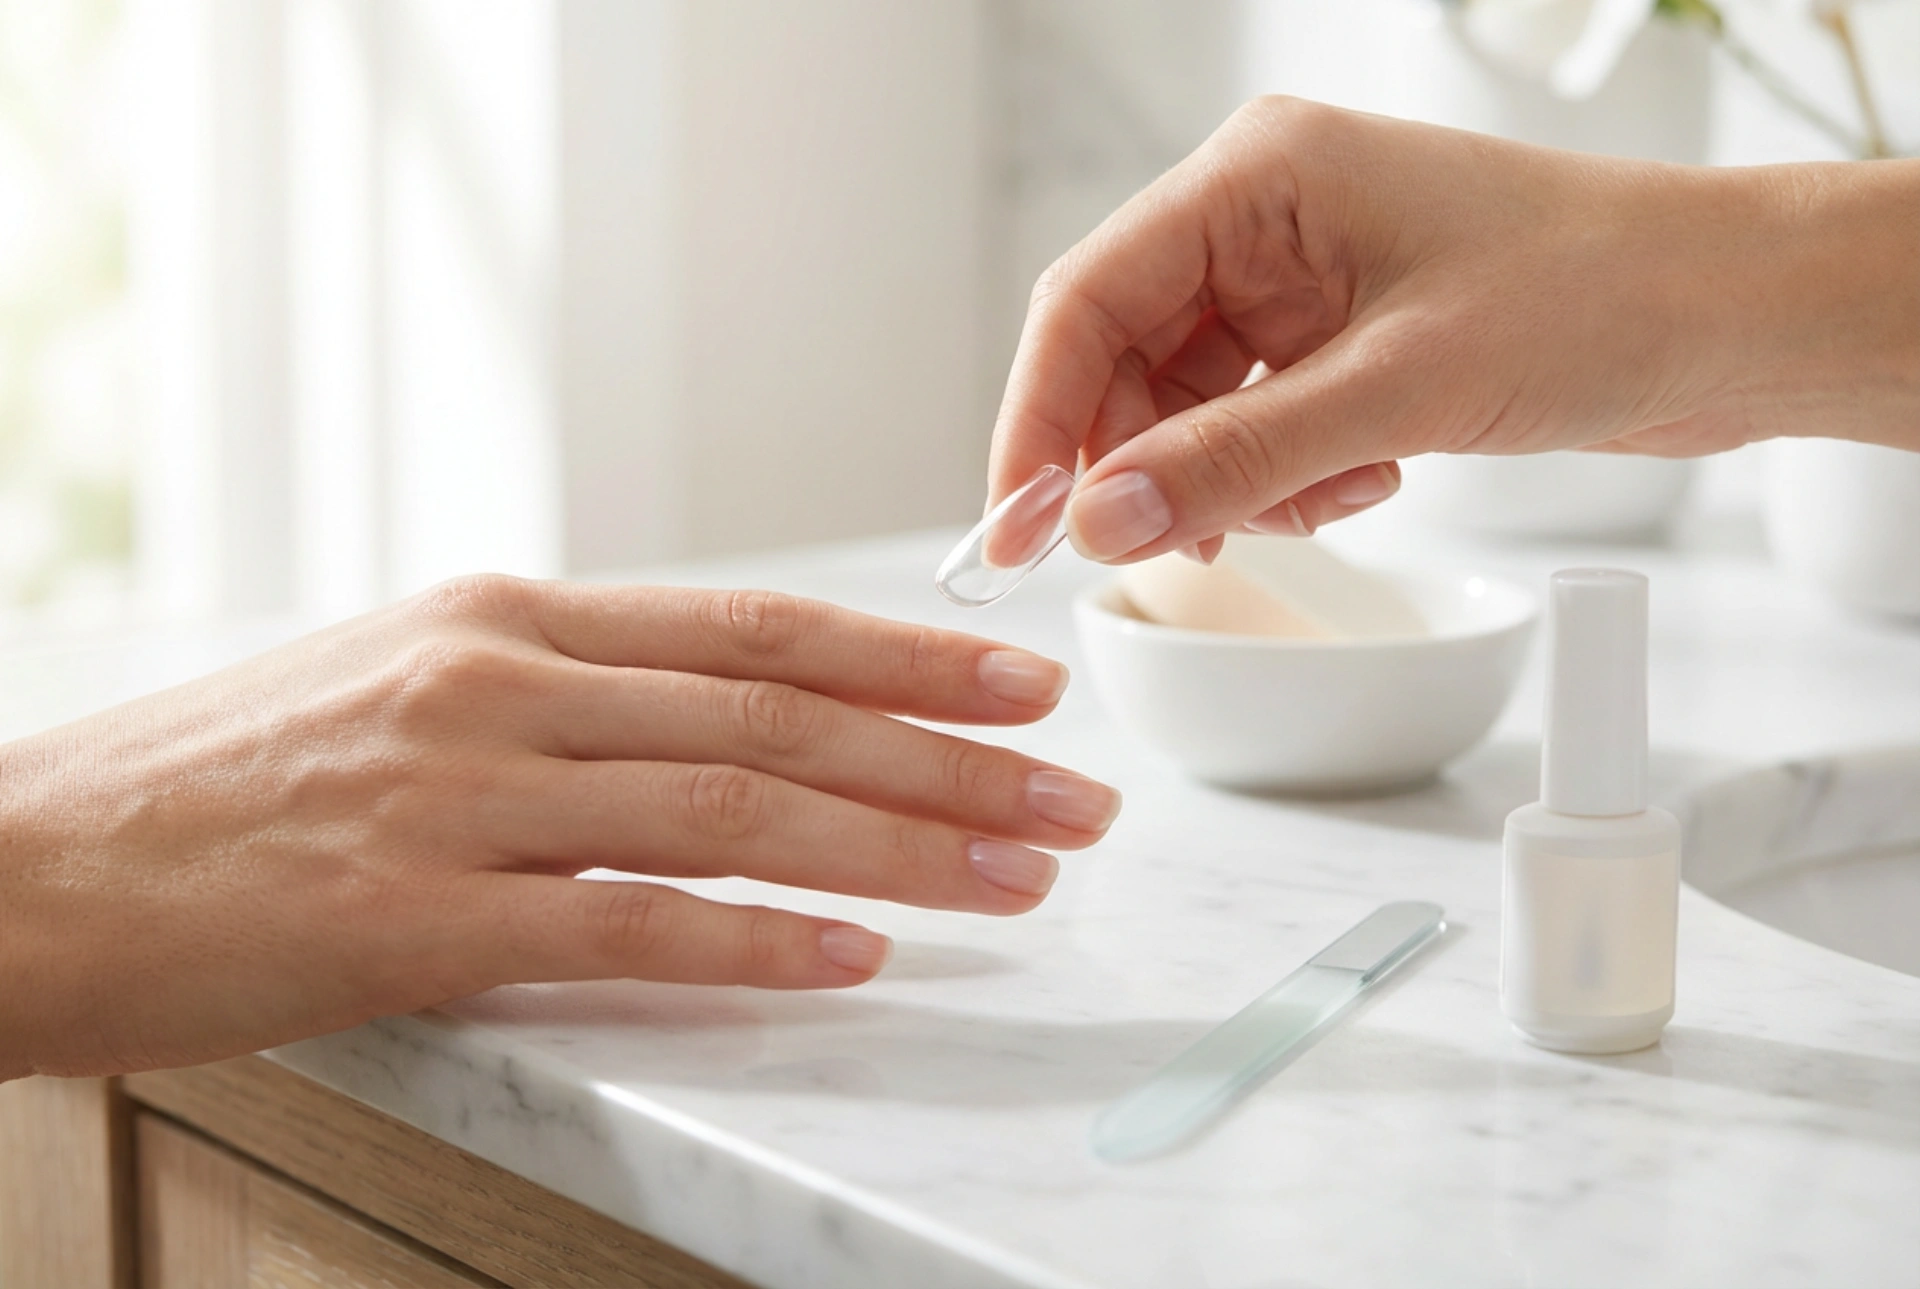


Achieving a salon-worthy manicure at home has never been easier, especially with the rising popularity of gel nail tips. Sitting at a clean, modern vanity bathed in soft natural light, holding a clear gel tip and preparing to transform your nails is a wonderfully therapeutic beauty ritual. With the right techniques, you can create elegant, long-lasting extensions that beautifully complement your natural hands. This guide will walk you through the essential steps of choosing, applying, shaping, and styling gel tips in the comfort of your own home.
Choosing the Right Shape for Your Hands
Before you begin the application process, it is crucial to select the correct nail shape and size for each finger. Gel tips come in various styles, including almond, square, coffin, and round. Matching the tip to your natural nail bed ensures a secure fit and a more natural appearance.
Understanding Nail Shapes
- Almond: This elegant shape features slim sides that taper towards a rounded point. It is highly flattering and tends to elongate the fingers, making it ideal for shorter hands.
- Square: Characterised by straight edges and a flat top, the square shape offers a modern, clean look. It works exceptionally well for individuals with long fingers and wide nail beds.
- Coffin: This style mimics the shape of a ballerina's slipper, tapering slightly towards a flat, square tip. It is perfect for those who love longer nails with a touch of contemporary drama.
- Round: Following the natural curve of the fingertip, round nails are classic, low-maintenance, and less prone to snagging, making them highly practical for daily wear.
When selecting your gel tips, ensure that each tip fits perfectly from one side of the nail wall to the other. If a tip is slightly too wide, you can gently file the edges for a bespoke fit, but never use a tip that is too small, as this will lead to premature lifting.
Preparing the Natural Nail Plate
The secret to a durable manicure lies in the preparation. Skipping this step can cause air bubbles to form, compromising the bond between the natural nail and the gel tip. Start by thoroughly washing your hands to remove any oils or dust.
Next, use a gentle cuticle pusher to push back the cuticles carefully. Gently buff the surface of your natural nails with a soft buffer to remove the natural shine. This step creates a slightly textured surface, allowing the adhesive gel to grip effectively. Wipe the nails with a dehydrating solution to remove any remaining residue and ensure a pristine canvas for application.
The Art of Applying Gel Tips Correctly
Once your natural nails are prepped and the correctly sized tips are laid out, you can begin the application process. At-home gel tips are typically applied using a clear, brush-on builder gel or a specialised tip adhesive gel.
Apply a thin layer of base gel to your natural nail and cure it under a suitable lamp. Next, apply a small amount of the adhesive gel to the well of the gel tip. Hold the tip at a forty-five-degree angle at the cuticle line and slowly lower it onto the nail plate. Pressing gently from the cuticle to the free edge helps expel any air bubbles.
While holding the tip firmly in place, cure it under the light for a few seconds to secure it. Once all fingers are temporarily secured, cure the entire hand fully to ensure a complete and strong bond. This precise method prevents lifting and keeps your nails looking flawless for weeks.
Shaping, Buffing, and Styling Your Gel Nails
With the gel tips securely bonded, you can now customise their length and texture. Even pre-shaped tips usually require a touch of personalisation to blend seamlessly with your hands.
Use a medium-grit file to refine the edges and adjust the length to your liking. Gently file the area where the gel tip meets your natural nail near the cuticle. Blending this transition zone with a soft buffer makes the extension look completely natural and prevents any harsh ridges.
After wiping away any filing dust, your canvas is ready for styling. You can apply your favourite gel colours, experiment with minimalist nail art, or simply finish with a high-shine top coat for a clean, classic look. Remember to cure each layer thoroughly to lock in the colour and shine.
Maintaining Your At-Home Gel Manicure
To keep your home manicure looking fresh, simple daily care is essential. Apply nourishing cuticle oil daily to keep the skin around your nails hydrated, which helps prevent peeling and hangnails. Always wear protective gloves when doing household chores or washing dishes, as prolonged exposure to hot water and harsh cleaning agents can weaken the adhesive bond. With proper care, your beautifully crafted at-home gel tips will remain stunning and secure.




