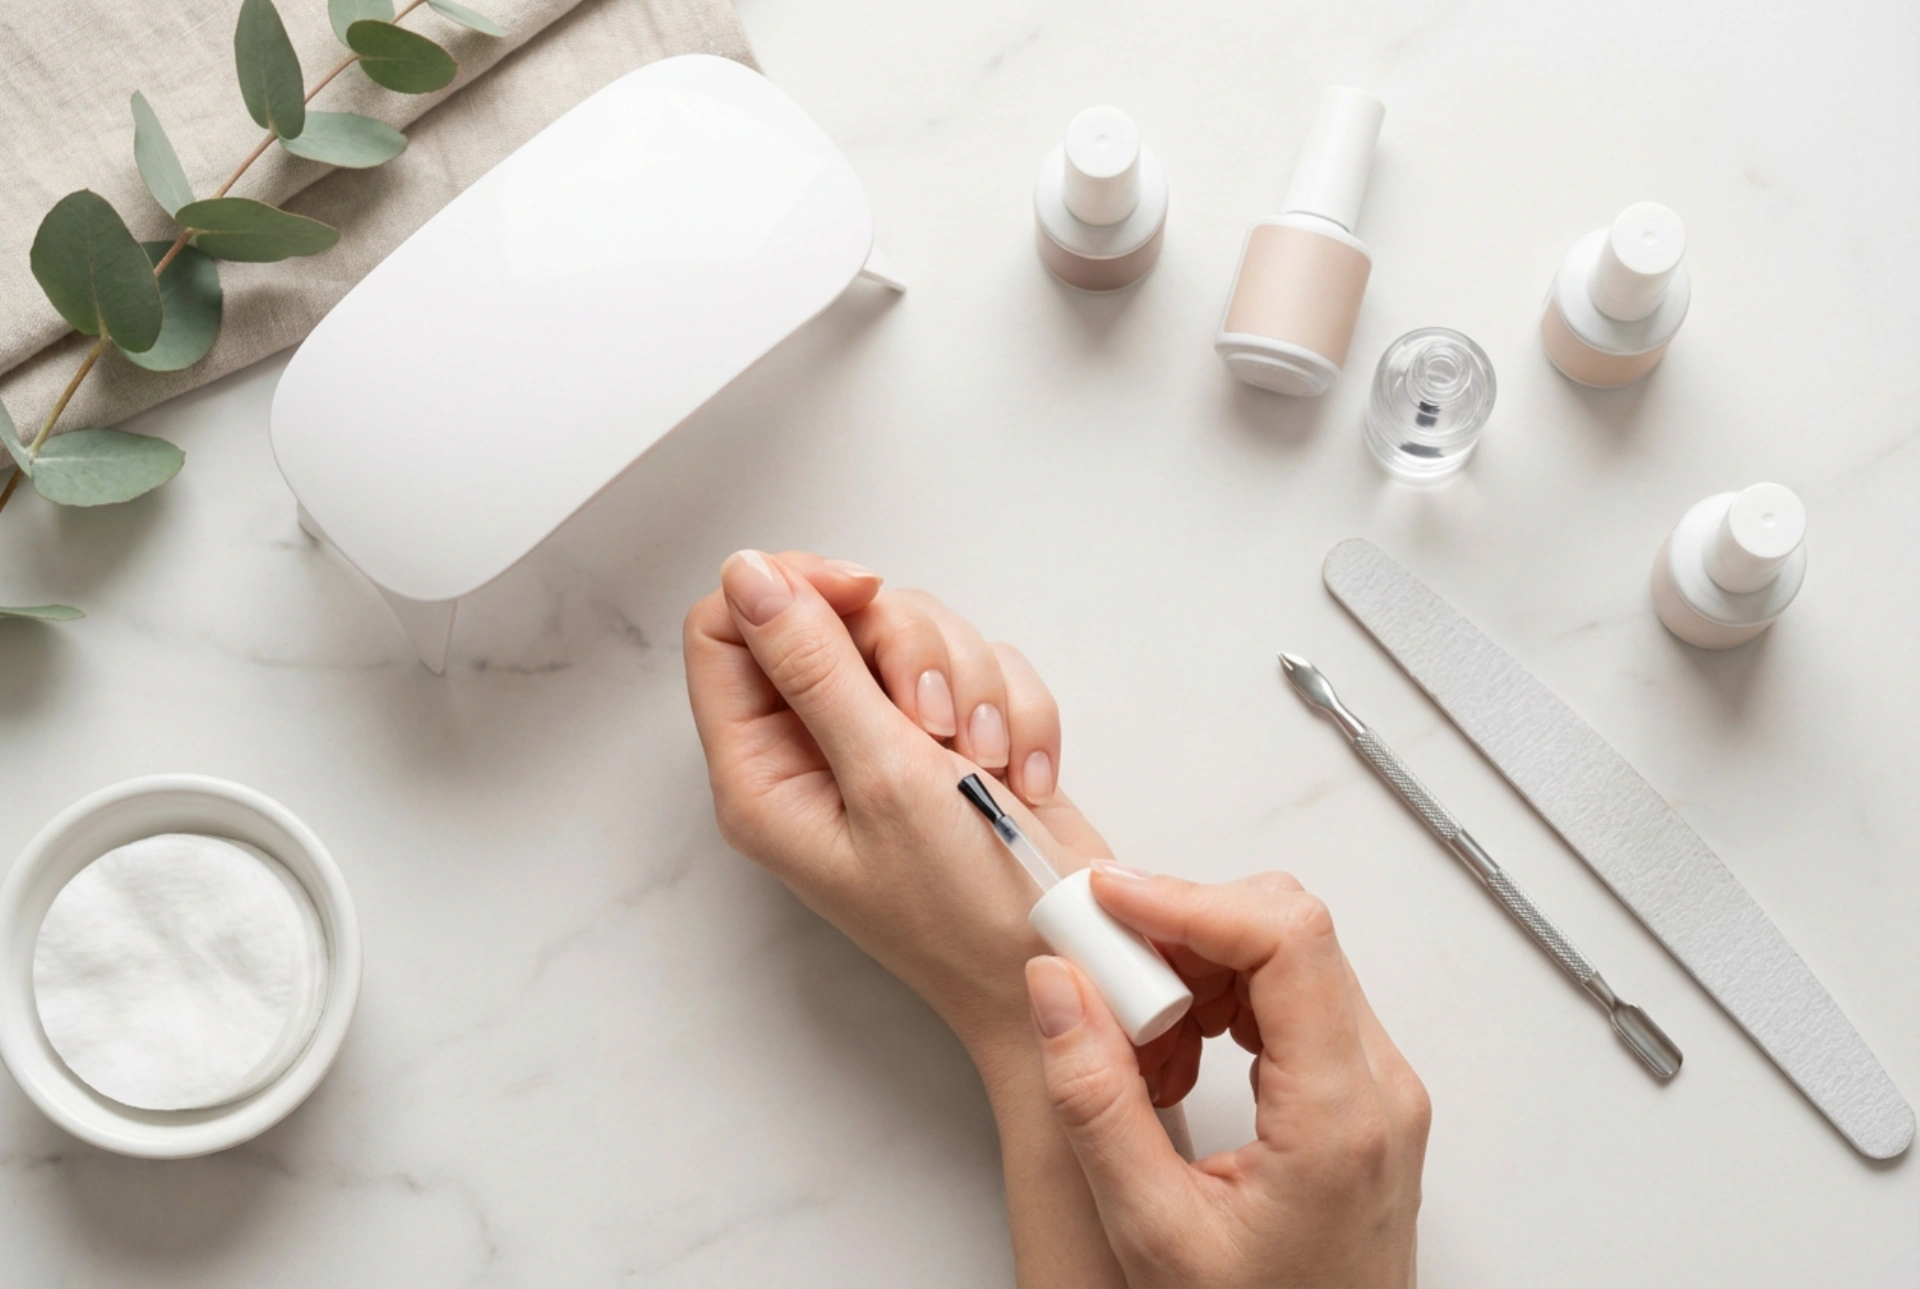


Creating a beautiful, long-lasting manicure at home has never been more accessible. With a basic gel nail starter kit, you can transform your nails into a chic, polished accessory in the comfort of your own living room. The visual of a neat flat lay featuring a mini UV lamp, basic files, and elegant unbranded polishes evokes a sense of a calm, modern self-care ritual. Embarking on your first home gel styling journey can be highly satisfying, provided you follow the correct sequence of steps to ensure both a beautiful finish and the health of your natural nails.
What Should Your Gel Nail Starter Kit Contain?
Before you begin your first application, it is essential to familiarise yourself with the tools of the trade. A standard home starter kit is designed to provide all the essentials for a complete manicure cycle, from preparation to finishing touches. Understanding the purpose of each item ensures a smoother application process.
- The UV/LED Lamp: This is the heart of the kit, responsible for curing (hardening) the gel layers. Compact designs are highly practical for home use.
- Base and Top Coats: These clear formulas sandwich the colour gel. The base coat ensures adhesion, while the top coat provides shine and protection.
- Gel Polishes: Typically, starter kits include a few neutral or classic shades to help you master the basic technique.
- Prep Tools: These include a nail file, a buffer block, cuticle sticks, and lint-free wipes alongside a gentle dehydrator or cleanser.
Step 1: Preparing the Natural Nail Plate
The secret to a durable gel manicure lies entirely in the preparation. Skipping this stage or rushing through it often leads to lifting and peeling within a few days. Always start by thoroughly washing and drying your hands.
Use a wooden cuticle stick to gently push back the cuticles from the nail plate. This creates a clean surface and prevents the gel from touching the skin. Next, shape the free edge of your nails with a fine file, keeping the motion in one direction to avoid splitting. Use a soft buffer block to gently remove the natural shine from the nail surface. This texture helps the base coat adhere properly. Finally, wipe the nails with a lint-free pad soaked in a gentle dehydrator to remove any lingering oils and dust.
Step 2: Applying the Base and Curing
Once the nails are completely dry and clean, apply a very thin layer of the base coat. It is crucial to avoid touching the cuticles or the skin surrounding the nail, as this can cause the gel to lift prematurely. Make sure to cap the free edge—this means running the brush gently along the very tip of the nail to seal the layer.
Place your hand under the UV/LED lamp for the recommended curing time, which usually ranges between thirty to sixty seconds, depending on the lamp's power. The cured base coat will remain slightly sticky; this is perfectly normal and helps the subsequent colour layer bond to it.
Step 3: Building Colour and the Top Coat
Now comes the creative part. Choose your desired gel polish and apply a thin, even coat. It is always better to apply two thin coats rather than one thick layer, as thick layers may not cure properly in the middle, leading to bubbling or peeling. Cure the first colour layer under the lamp, then apply the second layer and cure it as well.
To finish and protect your styling, apply a thin layer of the top coat. Again, remember to seal the free edge. After curing the top coat, you may notice a sticky residue on the nails. Simply wipe this away with a lint-free wipe soaked in a gentle cleanser to reveal a high-gloss, dry finish.
Essential Tips for Beginners
When performing your first home manicure, patience is your best ally. To ensure a beautiful and safe result, keep these practical tips in mind:
- Keep layers thin: Excess product is the most common cause of styling failures. Wipe the brush against the bottle neck before applying.
- Avoid skin contact: If any gel gets onto your skin or cuticle line, wipe it away with a clean cuticle stick before curing under the lamp.
- Moisturise post-styling: After completing the manicure, apply a drop of nourishing cuticle oil and massage it into the skin to restore hydration.




