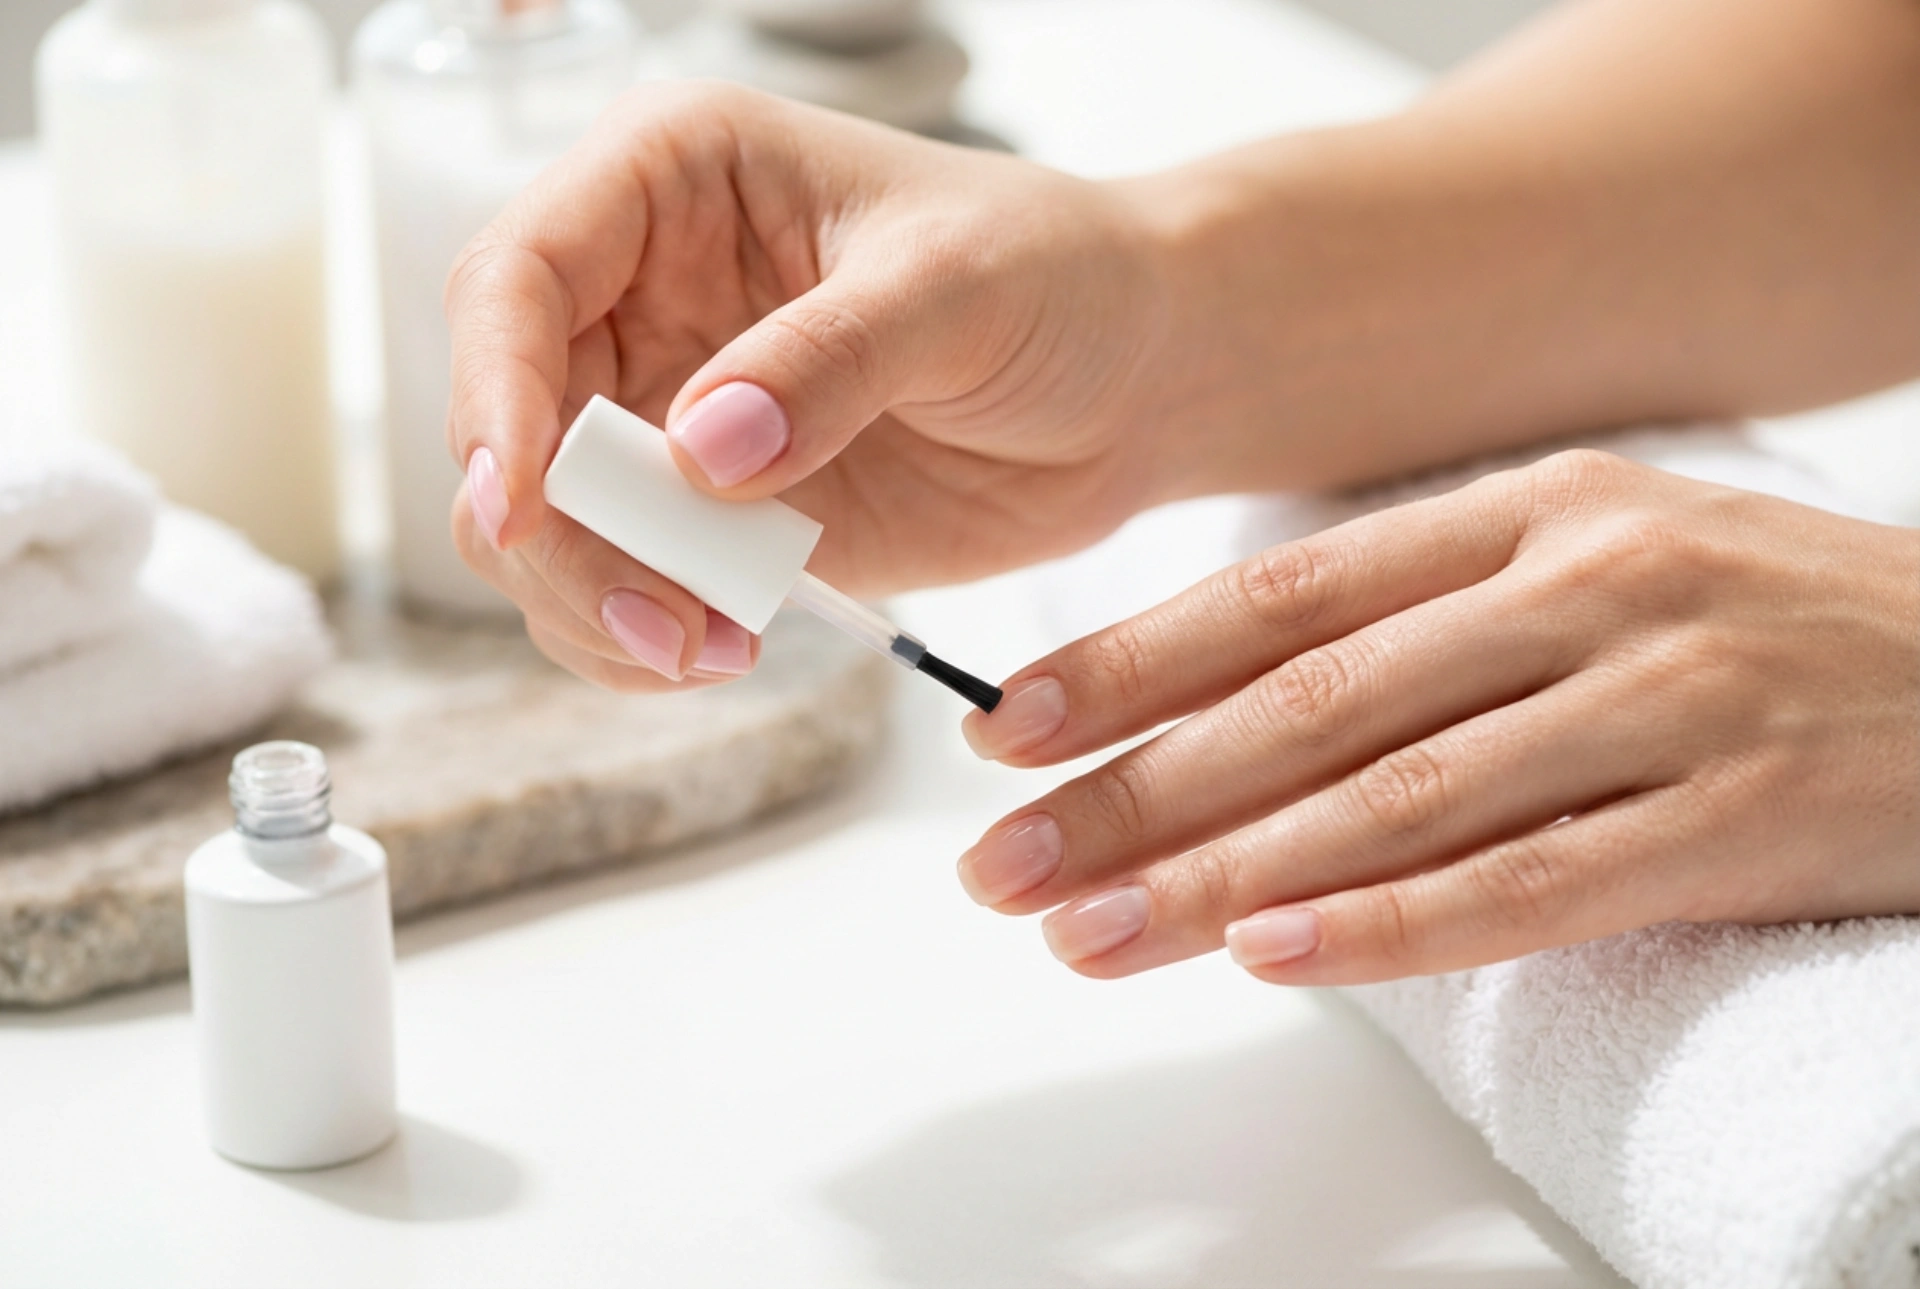


Elegant hands with a glossy, flawless manicure are a hallmark of contemporary beauty. When performing a home manicure, achieving that perfect, clean transition between the nail plate and the surrounding skin can sometimes be challenging. A generic gel polish brush, when guided with the correct technique, can yield stunning, professional-looking results under soft, natural light. To master this art, it is vital to understand what makes gel polish unique and how to apply it with absolute precision.
Understanding Gel Polish and Its Unique Properties
Gel polish differs significantly from traditional nail varnish in both formulation and application. Unlike classic air-drying lacquers, gel polish consists of liquid acrylic monomers and oligomers that require exposure to a specific light source to cure and harden. This process creates a highly durable, flexible, and glossy layer that can withstand daily wear for weeks. Because gel polish does not dry in the open air, you have ample time to manipulate the product on the nail plate, making it highly forgiving for beginners who want to perfect their stroke before curing.
The Importance of Thorough Nail Preparation
The secret to preventing gel polish from running into the lateral folds and cuticles lies in meticulous preparation. Any leftover cuticle skin on the nail plate acts as a bridge, drawing the liquid gel away from the nail and onto the surrounding skin. Start by gently pushing back the cuticles with a wooden stick or a dedicated pusher. Ensure the nail plate is completely clear of invisible cuticle residue. Next, gently buff the surface of the nail with a fine-grit buffer to remove natural oils, and cleanse the area thoroughly with a dehydrating solution. A dry, clean, and smooth surface ensures the base coat adheres perfectly, minimising the risk of the product sliding during application.
How to Apply Gel Polish Without Flooding the Cuticles
Applying gel polish requires a completely different brush control technique compared to traditional nail polish. The most common mistake is loading too much product onto the brush. When you withdraw the brush from the bottle, wipe one side completely clean against the neck, leaving only a small, controlled bead of polish on the tip of the other side.
To apply, place the brush in the centre of the nail plate, approximately two millimetres away from the cuticle line. Gently push the brush backwards towards the cuticle, allowing the bristles to fan out naturally. Stop just before the brush touches the skin. This leaves a micro-gap that is virtually invisible but crucial for preventing the product from flooding. Once the brush is positioned near the cuticle line, glide it smoothly down to the free edge of the nail. Repeat this process for the left and right sides of the nail plate, keeping the layer as thin as possible.
Essential Techniques for a Professional Finish
Achieving a clean, modern aesthetic relies on applying multiple thin layers rather than one thick coat. Thick coats not only flood the cuticles easily but also run the risk of wrinkling or curing unevenly. If any polish accidentally touches the skin or cuticle during application, always wipe it away immediately using a clean brush dipped in a small amount of cleanser or a precise wooden manicure stick before curing. Once cured, any gel on the skin will lift quickly, compromising the longevity of the entire manicure.
Finally, always remember to cap the free edge of the nail with each layer. This sealing technique protects the tip from chipping and ensures the glossy finish remains intact. Once the final top coat is cured and any sticky layer is wiped away, apply a drop of nourishing cosmetic oil to the cuticles to restore hydration and enhance the overall polished appearance.




