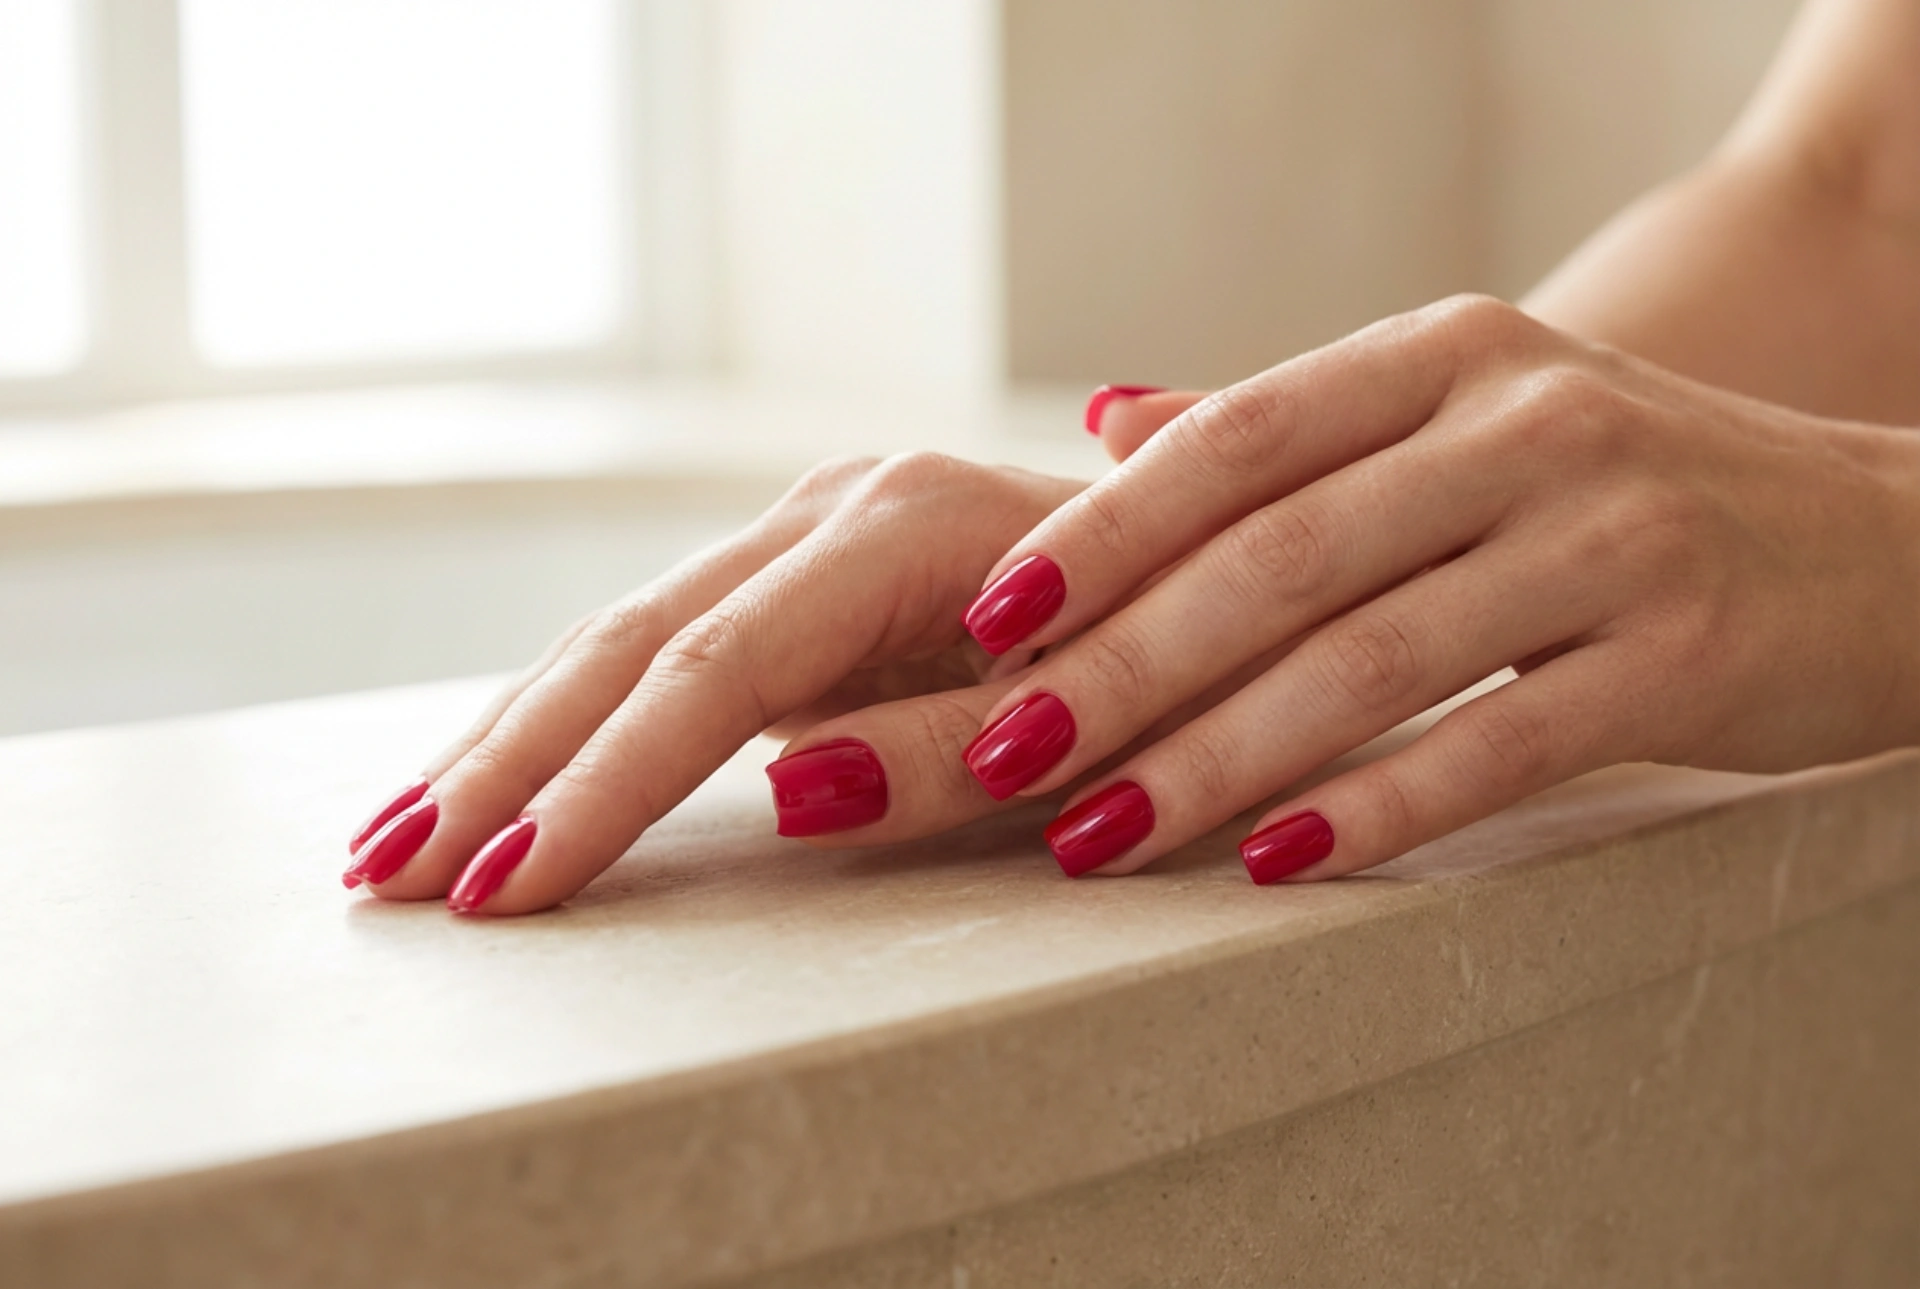


Beautifully manicured hands have a timeless appeal, and nothing embodies this classic elegance quite like glossy red square nails. The crisp, clean lines of a square shape combined with a vibrant crimson hue create a powerful statement of sophisticated beauty. When caught in soft, natural light, the flawless finish of perfectly filed edges looks both modern and endlessly stylish. Achieving this professional look at home requires patience, the right tools, and an understanding of the proper techniques for filing and painting without compromising nail health.
Achieving the Perfect Square Shape
The foundation of any stunning manicure lies in the shape of the nails. For square nails, the goal is to achieve straight, sharp edges that run parallel to the finger, capped with a perfectly flat top. Unlike rounded shapes, square nails demand precision to prevent them from looking uneven or blunt. To begin, always ensure your nails are completely dry before filing, as wet nails are more prone to splitting and tearing under the pressure of a file.
When selecting a file, opt for a high-quality glass file or a fine-grit emery board. Metal files can be too harsh on natural nails, often leading to peeling and micro-damage. Hold the file perpendicular to the nail edge and move it in one direction only. Sawing back and forth weakens the nail structure and can cause fraying. Work on the sides first, filing them straight and parallel to the nail bed. Once the sides are straight, place the file flat against the free edge and file in a straight, horizontal motion to create the signature square top.
To prevent the corners from being overly sharp or catching on delicate fabrics, gently round the very tip of each corner. Just one or two soft strokes with the file will soften the edge without compromising the square silhouette. This subtle adjustment ensures durability and a comfortable, wearable shape.
Preparing the Nail Plate for Vibrant Colour
Red polish is notoriously unforgiving when it comes to surface imperfections. Any ridges, bumps, or uneven textures on the nail plate will be magnified once the glossy colour is applied. Therefore, meticulous preparation is essential for a smooth, professional finish. Start by gently pushing back the cuticles using a wooden stick or a soft silicone tool. Avoid cutting the cuticles, as they protect the nail matrix from environmental damage.
Next, use a soft buffing block to gently smooth the surface of each nail. This removes natural oils and flattens minor ridges, creating an ideal canvas for the polish. Be careful not to over-buff, as thinning the nail plate can lead to weakness. After buffing, wipe the nails with a lint-free pad soaked in a dehydrating prep solution or simple rubbing alcohol to remove any residual dust and oils.
The final preparatory step is the application of a high-quality base coat. A base coat serves two crucial purposes: it prevents the highly pigmented red polish from staining your natural nails, and it acts as an adhesive layer that helps the colour stick, significantly extending the life of your manicure.
The Art of Painting Red Polish
Applying a bold red polish requires a steady hand and a structured approach. To avoid clumping and uneven streaks, always work with thin layers. It is far better to apply two or three thin coats than one thick coat that will struggle to dry and be prone to bubbling. Before starting, remove excess polish from the brush by wiping it against the inside of the bottle neck; you want just enough polish on one side of the brush to cover a single nail.
Use the classic three-stroke method to apply the colour smoothly:
- Place the brush a fraction of a millimetre away from the cuticle, push it gently towards the cuticle line without touching the skin, and then sweep down the centre of the nail to the tip.
- Go back to the base and sweep down the left side, following the contour of the nail.
- Repeat the sweep down the right side to complete the coverage.
An essential step often overlooked is capping the free edge. Gently run the brush horizontally along the very tip of the square nail. This seals the polish over the edge, protecting it from premature chipping and ensuring the crisp square shape remains defined. If any polish touches the surrounding skin or cuticles, clean it up immediately using a small, flat brush dipped in polish remover.
Locking in the Glossy Finish and Maintenance
The defining characteristic of sophisticated red square nails is their high-shine, mirror-like finish. To achieve and preserve this look, a top coat is non-negotiable. Once your second coat of red polish has dried for a few minutes, apply a generous layer of a glossy top coat. This layer not only enhances the depth of the red colour but also acts as a protective shield against daily wear and tear.
To maintain your manicure and keep the edges looking sharp, consider these daily habits:
- Apply a drop of nourishing cuticle oil to the surrounding skin every evening to keep the cuticles hydrated and prevent hangnails.
- Wear protective gloves when washing dishes or using cleaning agents, as prolonged exposure to water and chemicals can dull the gloss and cause lifting.
- Reapply a thin layer of top coat every two to three days to refresh the shine and reinforce the tips against chipping.
By following these steps, your classic red square manicure will retain its crisp definition, vibrant colour, and sophisticated elegance for days on end, reflecting the beauty of a professional salon finish right at home.




