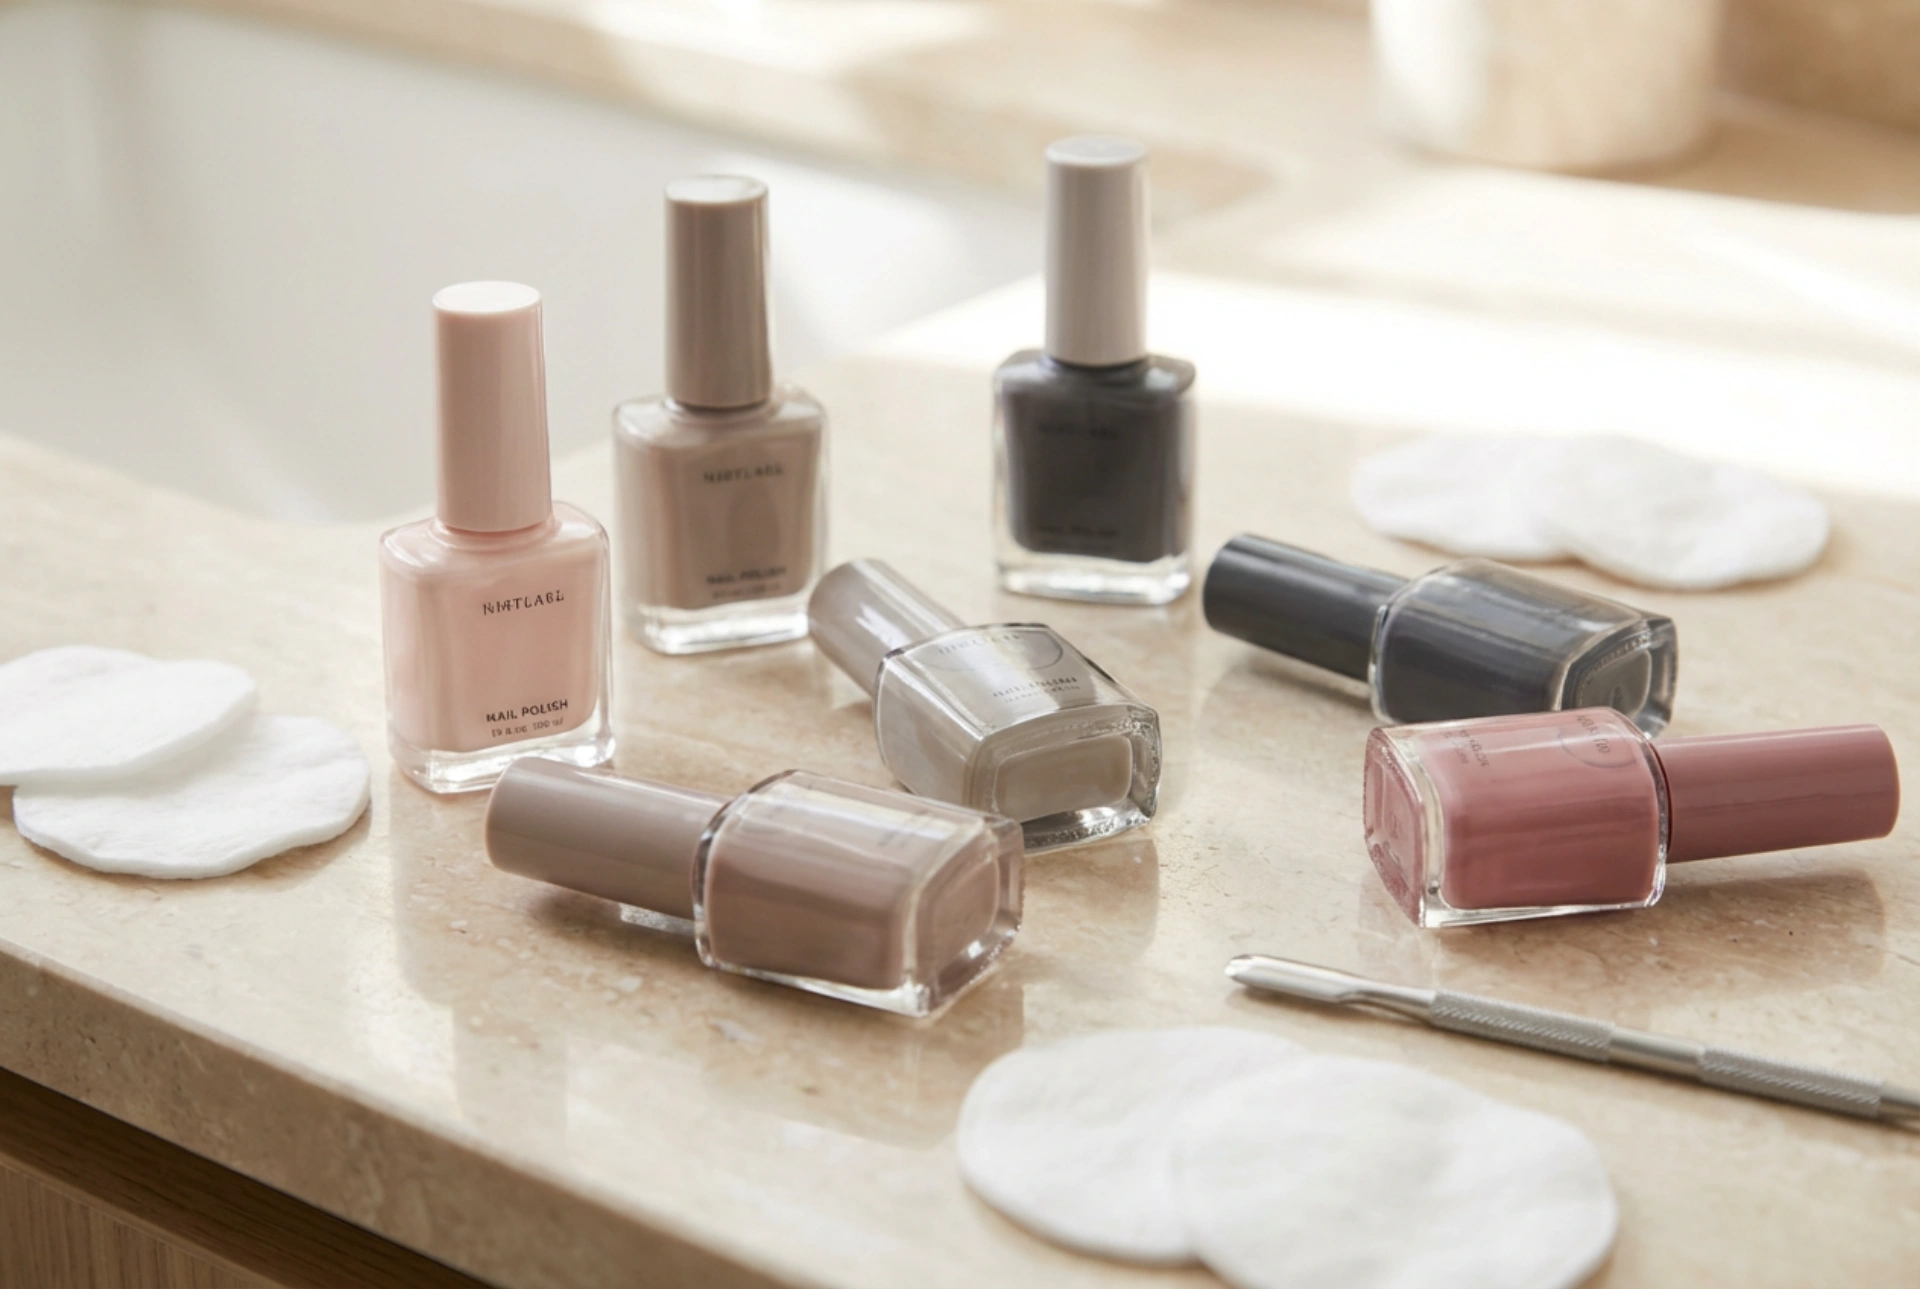


Achieving a flawless, salon-quality manicure at home has become highly accessible thanks to the evolution of modern nail care. A beautifully curated selection of elegant, muted nail polish bottles on a minimalist vanity reflects a sophisticated approach to personal grooming. Among the various options available, professional-grade gel polishes stand out as a premier choice for those seeking durability, intense shine, and a polished finish. Understanding what makes these formulations unique and how to apply them correctly can transform your routine, offering long-lasting results that protect and beautify the natural nail plate.
What Sets Professional Gel Polishes Apart
Unlike traditional solvent-based nail polishes, gel polishes (often referred to as hybrid polishes) are formulated with photo-reactive ingredients that cure under a UV or LED lamp. This polymerisation process creates a hard, resilient wear layer that can withstand daily activities without chipping or peeling. High-quality professional formulations are distinguished by several key characteristics:
- Pigmentation and Coverage: Professional gel polishes contain a higher density of premium pigments, meaning they offer rich, opaque colour in just one or two thin layers.
- Self-Levelling Properties: A superior gel polish should spread evenly across the nail surface without pooling into the cuticles, smoothing out any minor ridges on the natural nail.
- Optimal Consistency: The viscosity is carefully balanced; it is neither too runny nor too thick, allowing for maximum control during application.
- Ergonomic Brushes: The design of the brush is crucial. Professional bottles feature flat, rounded-tip brushes that mimic the natural shape of the cuticle area for precise, clean application.
Preparing the Nail Plate for Optimal Adhesion
The secret to a durable manicure lies not in the application itself, but in the meticulous preparation of the natural nail. Without proper preparation, even the highest-quality gel polish will struggle to adhere, leading to premature lifting. Follow these essential, non-invasive steps to prepare your nails:
1. Shaping and Gentle Buffing
Begin by filing the nails into your desired shape using a fine-grit nail file. Always file in one direction to prevent splitting. Next, use a soft buffer block to gently remove the natural shine from the nail surface. This step creates a microscopic texture that helps the base coat grip the nail plate securely. It is vital to use a light hand to avoid thinning the natural nail.
2. Cleansing and Dehydrating
Once the nails are shaped and buffed, use a lint-free wipe soaked in a professional nail cleanser or isopropyl alcohol to remove all traces of dust, oil, and moisture. This step is critical because any residual natural oils can act as a barrier, preventing the gel from bonding effectively. Avoid touching your nails after this step to prevent transferring oils from your fingertips back onto the clean surface.
Step-by-Step Application Guide
Working with professional gel polishes requires patience, precision, and a steady hand. The key rule of gel manicures is that thin layers always outperform thick ones. Thick layers can lead to uneven curing, bubbling, and lifting.
Applying the Base Coat
Apply a very thin layer of a dedicated base coat. The base coat acts as a double-sided tape, bonding to the natural nail on one side and the colour coat on the other. Be sure to seal the free edge of the nail (the very tip) to prevent moisture from getting underneath. Cure this layer under your LED or UV lamp according to the manufacturer’s instructions.
Applying the Colour Coat
Stir the gel polish bottle gently by rolling it between your palms rather than shaking it, which can introduce air bubbles. Apply the first colour coat in three smooth strokes: one down the centre of the nail and one on each side. Maintain a tiny gap between the polish and your cuticles. Before curing, seal the free edge again. Cure the first layer, then apply a second thin layer for complete, vibrant opacity and cure once more.
Applying the Top Coat
Finish your manicure with a protective top coat. This layer seals the colour, provides a high-gloss finish, and prevents scratches. After applying and sealing the free edge, cure this final layer. If your top coat has a tacky inhibition layer, wipe it away gently using a lint-free wipe and a specialised nail cleanser to reveal a brilliant, dry shine.
Common Mistakes to Avoid
Even with high-quality products, certain common errors can compromise the longevity of your gel manicure. Being aware of these pitfalls will help you achieve a flawless finish every time:
- Flooding the Cuticles: If gel polish touches the skin or cuticles and is then cured, it will lift almost immediately. Always clean any excess gel off the skin with an orange wood stick or a clean brush dipped in cleanser before curing.
- Curing for Too Short or Too Long: Under-curing leaves the gel soft and prone to peeling, while over-curing can make it brittle. Always follow the specific curing times recommended for your lamp's wattage.
- Skipping the Free Edge: Neglecting to cap the tip of the nail leaves the edge vulnerable to chipping during daily activities.
- Using Incorrect Removal Methods: Never peel, scrape, or pick off gel polish, as this strips away the delicate top layers of your natural nail. Always use a gentle, professional soaking method.
Aftercare for Healthy Nails and a Long-Lasting Shine
Maintaining the beauty of your manicure extends beyond the application process. Simple daily habits can significantly prolong the wear of your gel polish while keeping your hands and cuticles looking healthy. Apply a nourishing cuticle oil daily to keep the skin hydrated and prevent hangnails. When performing household chores, washing dishes, or working with cleaning agents, always wear protective gloves to shield your nails from harsh chemicals and excess water exposure. By treating your hands with care, you can enjoy an elegant, glossy manicure that remains pristine for weeks.




