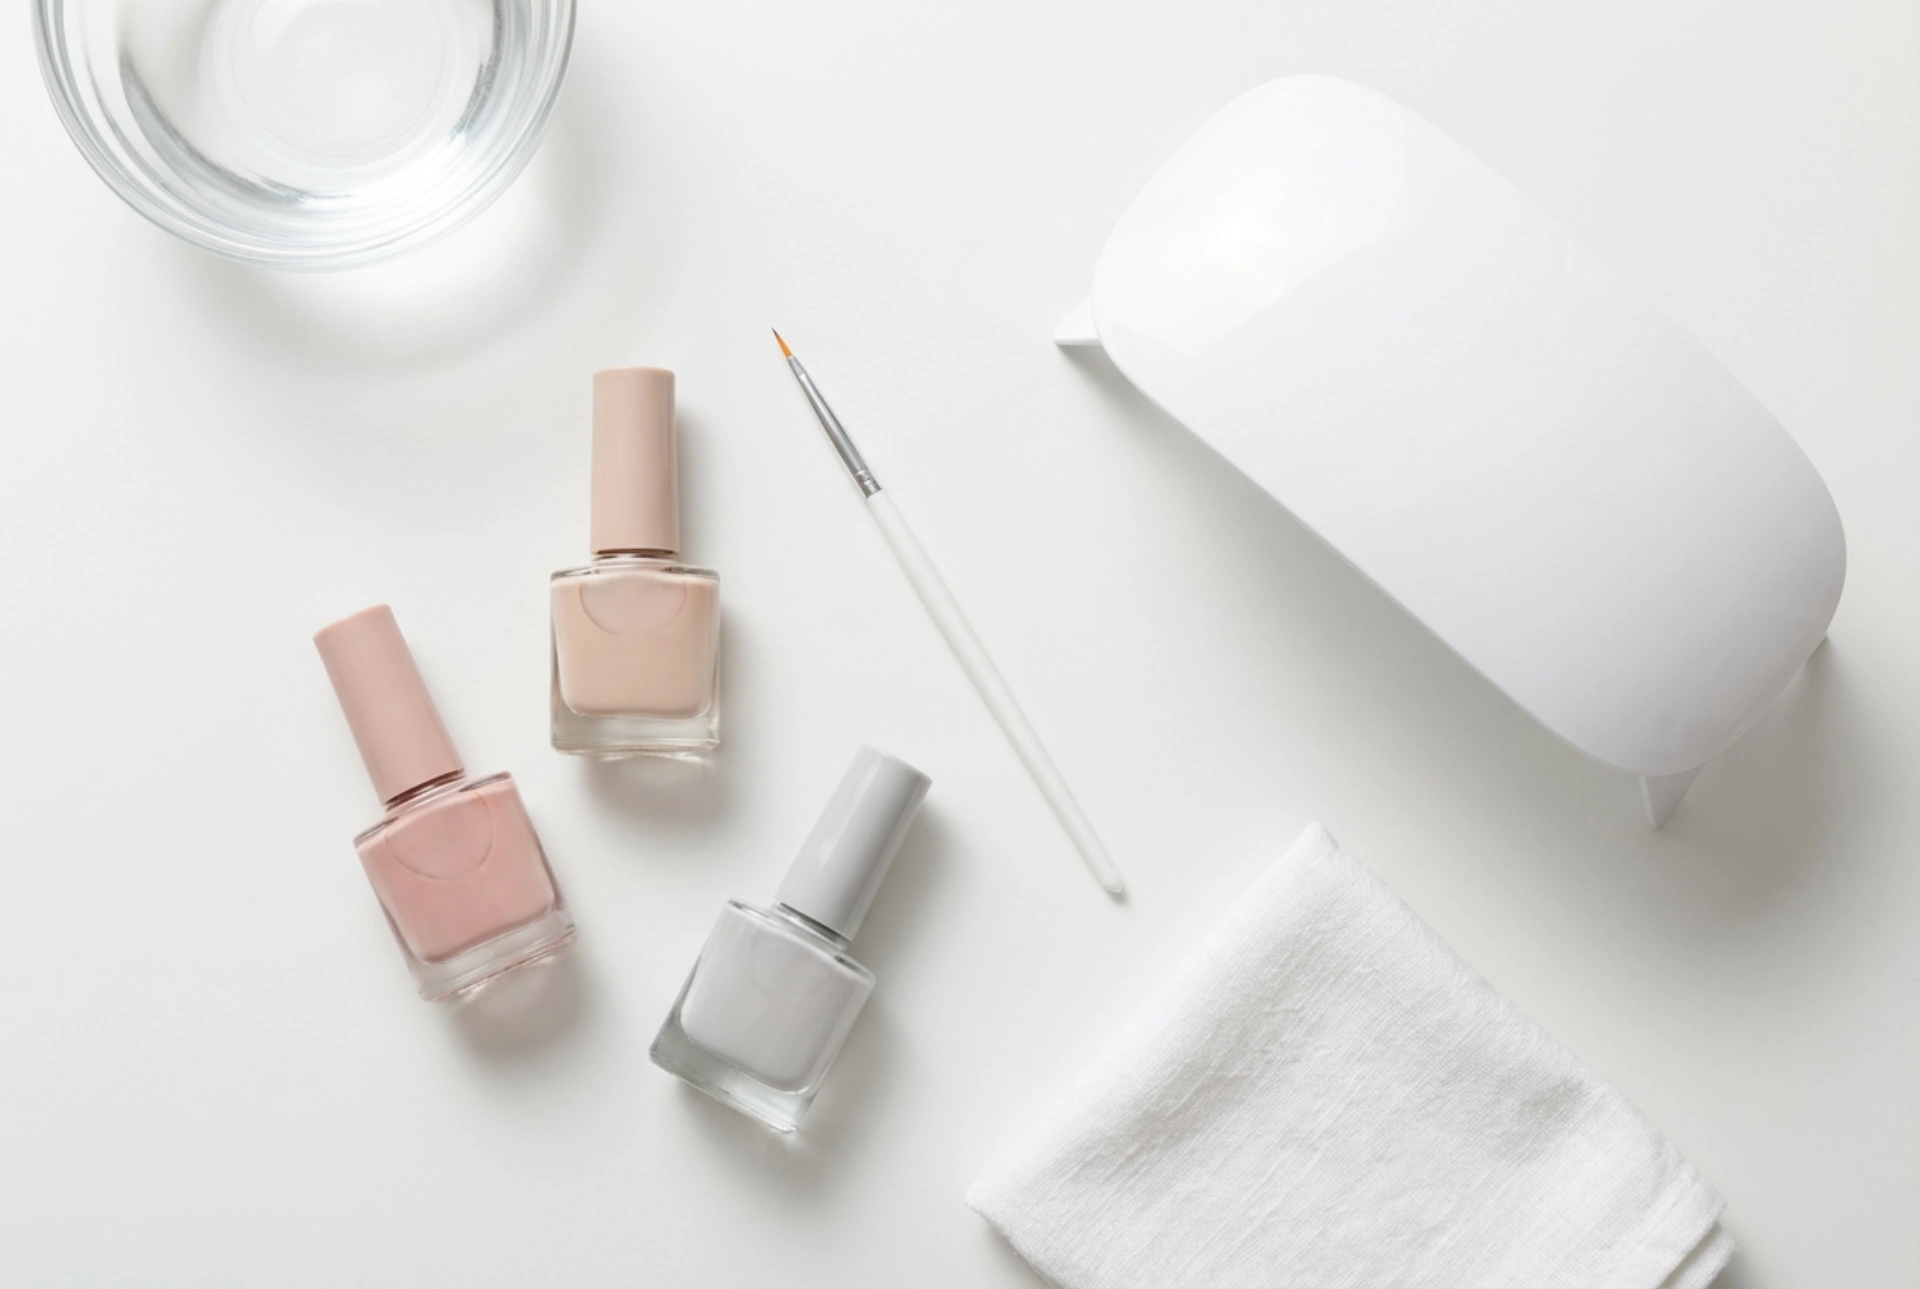


Achieving a flawless, long-lasting manicure at home has become a cherished self-care ritual for many. A serene setup featuring minimalist bottles of gel polish in subtle, elegant hues, alongside a fine detailing brush and a modern UV/LED lamp, sets the perfect stage for precision. This clean, natural aesthetic reflects the modern approach to nail care: focused on quality, patience, and correct technique. Gel polish, often referred to as hybrid polish, offers the perfect compromise between the durability of professional enhancements and the ease of traditional lacquer. However, to achieve a salon-quality finish that remains pristine for weeks, it is essential to understand the tools required and master the application process step by step.
Essential Equipment for a Home Gel Manicure
Before beginning your manicure journey, gathering the correct tools is crucial for both aesthetic success and nail health. Unlike traditional polishes that air-dry, gel formulas require specific light wavelengths to cure and harden. Investing in a reliable, modern UV/LED lamp is the foundation of any home setup. LED lamps are generally preferred today as they cure products much faster, typically within thirty to sixty seconds per layer.
In addition to the curing lamp, you will need several preparation and finishing products. A dual-sided nail file (180/240 grit is ideal for natural nails) and a soft buffer block are necessary for shaping and removing shine. Wooden cuticle sticks help gently push back the cuticles without causing damage. For the liquid products, a professional nail cleanser (usually based on isopropyl alcohol) is indispensable for dehydrating the nail plate before application and removing the tacky dispersion layer afterward. Finally, the core trio of polishes is required: a dedicated base coat to protect the natural nail, your chosen colour coat, and a sealing top coat to provide high-gloss shine and scratch resistance.
Choosing the Right Formulas and Colours
Selecting the right products can make a significant difference in how easily the gel polish applies and how long it lasts. For beginners, self-levelling formulas are highly recommended. These polishes slightly spread out on their own after application, helping to eliminate brush strokes and creating a perfectly smooth surface before entering the lamp. The consistency of the polish should be medium-thick; formulas that are too runny tend to flood the cuticles, while overly thick polishes can be difficult to apply in even, thin layers.
When it comes to colours, subtle, neutral hues such as soft pinks, warm nudes, and delicate beiges are highly versatile and forgiving during application. They provide a sophisticated, clean look that complements any style. Additionally, consider the type of base coat you use. While a classic thin base coat is excellent for healthy, strong nails, a slightly thicker builder base can help level out ridges on the nail plate and provide extra reinforcement for weaker nails.
Step-by-Step Gel Polish Application
Proper preparation is the single most important factor in preventing lifting and ensuring your manicure lasts. Begin by shaping your nails with a file, always moving in one direction to prevent splitting. Gently push back the cuticles using a wooden stick. Next, use the buffer block to lightly remove the natural shine from the nail surface. This creates a microscopic texture that allows the base coat to adhere securely. Wipe the nails thoroughly with a lint-free wipe soaked in nail cleanser to remove all dust, oils, and moisture.
Once the nails are completely dry and prepped, apply a very thin layer of base coat. It is vital to avoid touching the cuticles or the skin surrounding the nail. Before curing, ensure you seal the free edge of the nail by running the brush along the very tip. Cure this layer under your UV/LED lamp according to the manufacturer's recommended time.
Next, apply your chosen colour polish. The golden rule of gel manicures is to apply multiple thin layers rather than one thick layer. Apply the first thin coat, seal the free edge, and cure. Repeat with a second coat to achieve full depth of colour and opacity, curing once again. Finally, apply a generous but controlled layer of top coat, sealing the tip once more, and perform the final cure. If your top coat leaves a sticky residue, wipe it away gently with a cleanser-soaked wipe to reveal a high-gloss, dry finish.
Common Mistakes and How to Avoid Them
Even with high-quality products, certain common errors can compromise the durability of your home manicure. The most frequent mistake is applying coats that are too thick. When gel polish is applied heavily, the light from the lamp cannot penetrate to the bottom of the layer. This leads to incomplete curing, which causes the polish to wrinkle, bubble, or peel off within a few days. Always wipe excess product off the brush before touching the nail.
Another common pitfall is flooding the cuticles or lateral nail folds with polish. If gel cures on the skin, it will inevitably lift as the nail grows and the skin moves, allowing water and debris to get underneath. If you accidentally touch the skin with polish, use a clean wooden stick or a fine brush dipped in cleanser to wipe it away entirely before placing your hand under the lamp. Lastly, never skip sealing the free edge; this simple step creates a protective barrier that prevents chips at the tips of the nails.
Safe Removal and Gentle Nail Care
Maintaining healthy natural nails depends heavily on how you remove the gel polish. You must never scrape, peel, or pull the polish off, as this rips away the delicate top layers of your natural nail plate, leaving them thin, brittle, and damaged. Instead, use a gentle soak-off method. Gently file the shiny top coat off the surface of the nails to allow the removal liquid to penetrate. Soak small pieces of cotton wool in a cosmetic acetone-based remover, place them on the nails, and wrap each finger in aluminium foil. Leave them for about ten to fifteen minutes.
Once the polish has softened and cracked, gently slide it off using a wooden cuticle stick. If any spots remain stubborn, re-wrap them for a few more minutes rather than forcing the product off. After successful removal, wash your hands thoroughly and apply a nourishing cuticle oil and a rich hand cream to restore moisture to the skin and nail plate, keeping your hands looking elegant and healthy.




