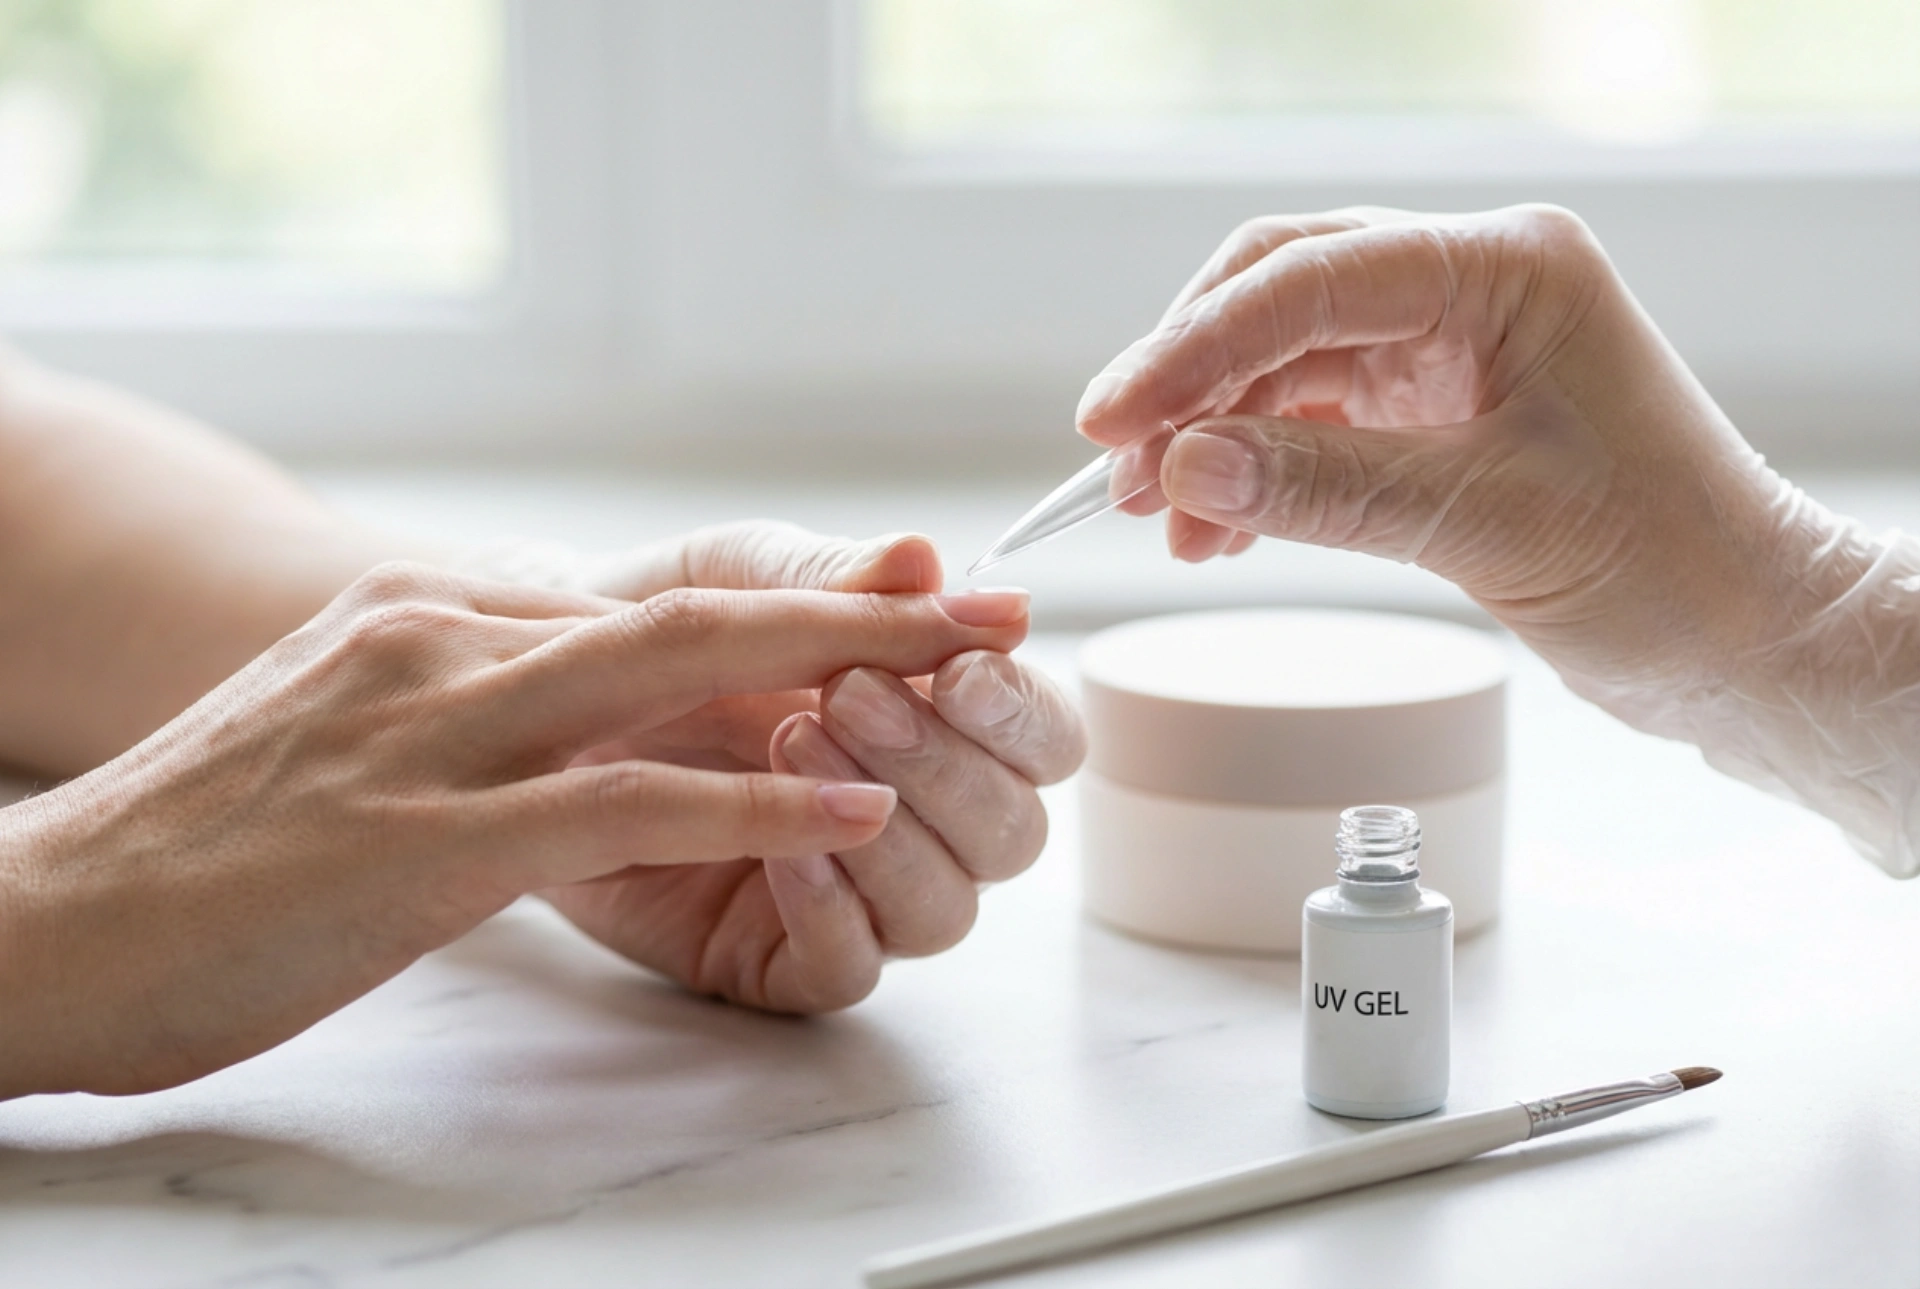


Creating beautiful, long-lasting nail extensions is an art that combines precision, patience, and the right technique. When observing elegant hands meticulously crafting a set of extensions, the process looks seamless—from a clear tip poised above a finger to the fine-brush application of gel polish on a pristine, minimalist surface. Achieving professional-looking results at home requires understanding each step of the journey, ensuring both the health of the natural nail and the durability of the extension.
Preparing the Natural Nail Plate for Extensions
The foundation of any successful nail extension lies in the preparation of the natural nail. Without proper preparation, even the highest quality tips and gels will fail to adhere correctly, leading to premature lifting. To begin, always ensure that your hands and tools are clean and sanitised.
- Gently push back the cuticles using a wooden stick or a cuticle pusher. Removing non-living tissue from the nail plate is crucial for adhesion.
- Lightly buff the surface of the natural nail with a fine-grit buffer to remove the natural shine. This creates a micro-rough texture that helps the adhesive bond.
- Cleanse the nail thoroughly with a dehydrator or a prep solution to remove any dust, oils, or residue. Avoid touching the nails after this step.
Choosing and Applying the Perfect Tips
Selecting the Right Size
Selecting the correct size of the clear tip is essential. A tip that is too small will pinch the nail and pop off, while a tip that is too large will overlap onto the skin, causing lifting. The tip should fit perfectly from sidewall to sidewall without requiring force to flatten it.
The Adhesion Process
Once the correct sizes are selected, apply a small drop of nail glue to the well of the tip. Hold the tip at a 45-degree angle to the free edge of your natural nail, rock it forward slowly to distribute the glue without trapping air bubbles, and hold it firmly in place for about 10 to 15 seconds. Precision during this step ensures a bubble-free, secure bond.
Blending and Shaping the Extension
After the glue has dried completely, use a tip cutter to shorten the extensions to your desired length. Next, use a medium-grit file to shape the free edge into your preferred silhouette, whether it is square, oval, almond, or coffin.
The most critical part of this stage is blending the seam where the tip meets the natural nail. Gently file the step of the tip until it sits flush with your natural nail plate. Be incredibly careful to file only the plastic of the tip and not your natural nail to avoid damage. Once blended, remove any dust with a soft brush and apply a primer to the exposed natural nail area.
Building the Overlay and Styling
With the structure in place, it is time to apply the overlay material, which provides strength and flexibility. A clear builder gel or a self-levelling overlay is typically applied using a fine brush in thin, controlled layers.
- Apply a thin base layer and cure it under a suitable lamp.
- Build the structure by placing a small bead of gel near the centre of the nail and gently guiding it towards the edges, ensuring it is thinner near the cuticles and free edges to maintain a natural look.
- Cure each layer thoroughly. Once cured, wipe away the sticky inhibition layer and refine the shape with a file, smoothing out any uneven areas.
After shaping, you can proceed with your creative styling. Apply your chosen gel polish colour in thin layers, curing between each, and finish with a high-shine top coat to lock in your beautiful work.
Essential Aftercare for Beautiful Extensions
To keep your newly styled extensions looking pristine, daily aftercare is highly recommended. Apply a nourishing cuticle oil twice a day to keep the skin around your nails hydrated and healthy. Wear gloves when performing household chores or using cleaning products, as harsh chemicals can degrade the overlay and cause lifting. By treating your hands with care, your extensions will remain stunning and intact for weeks.




