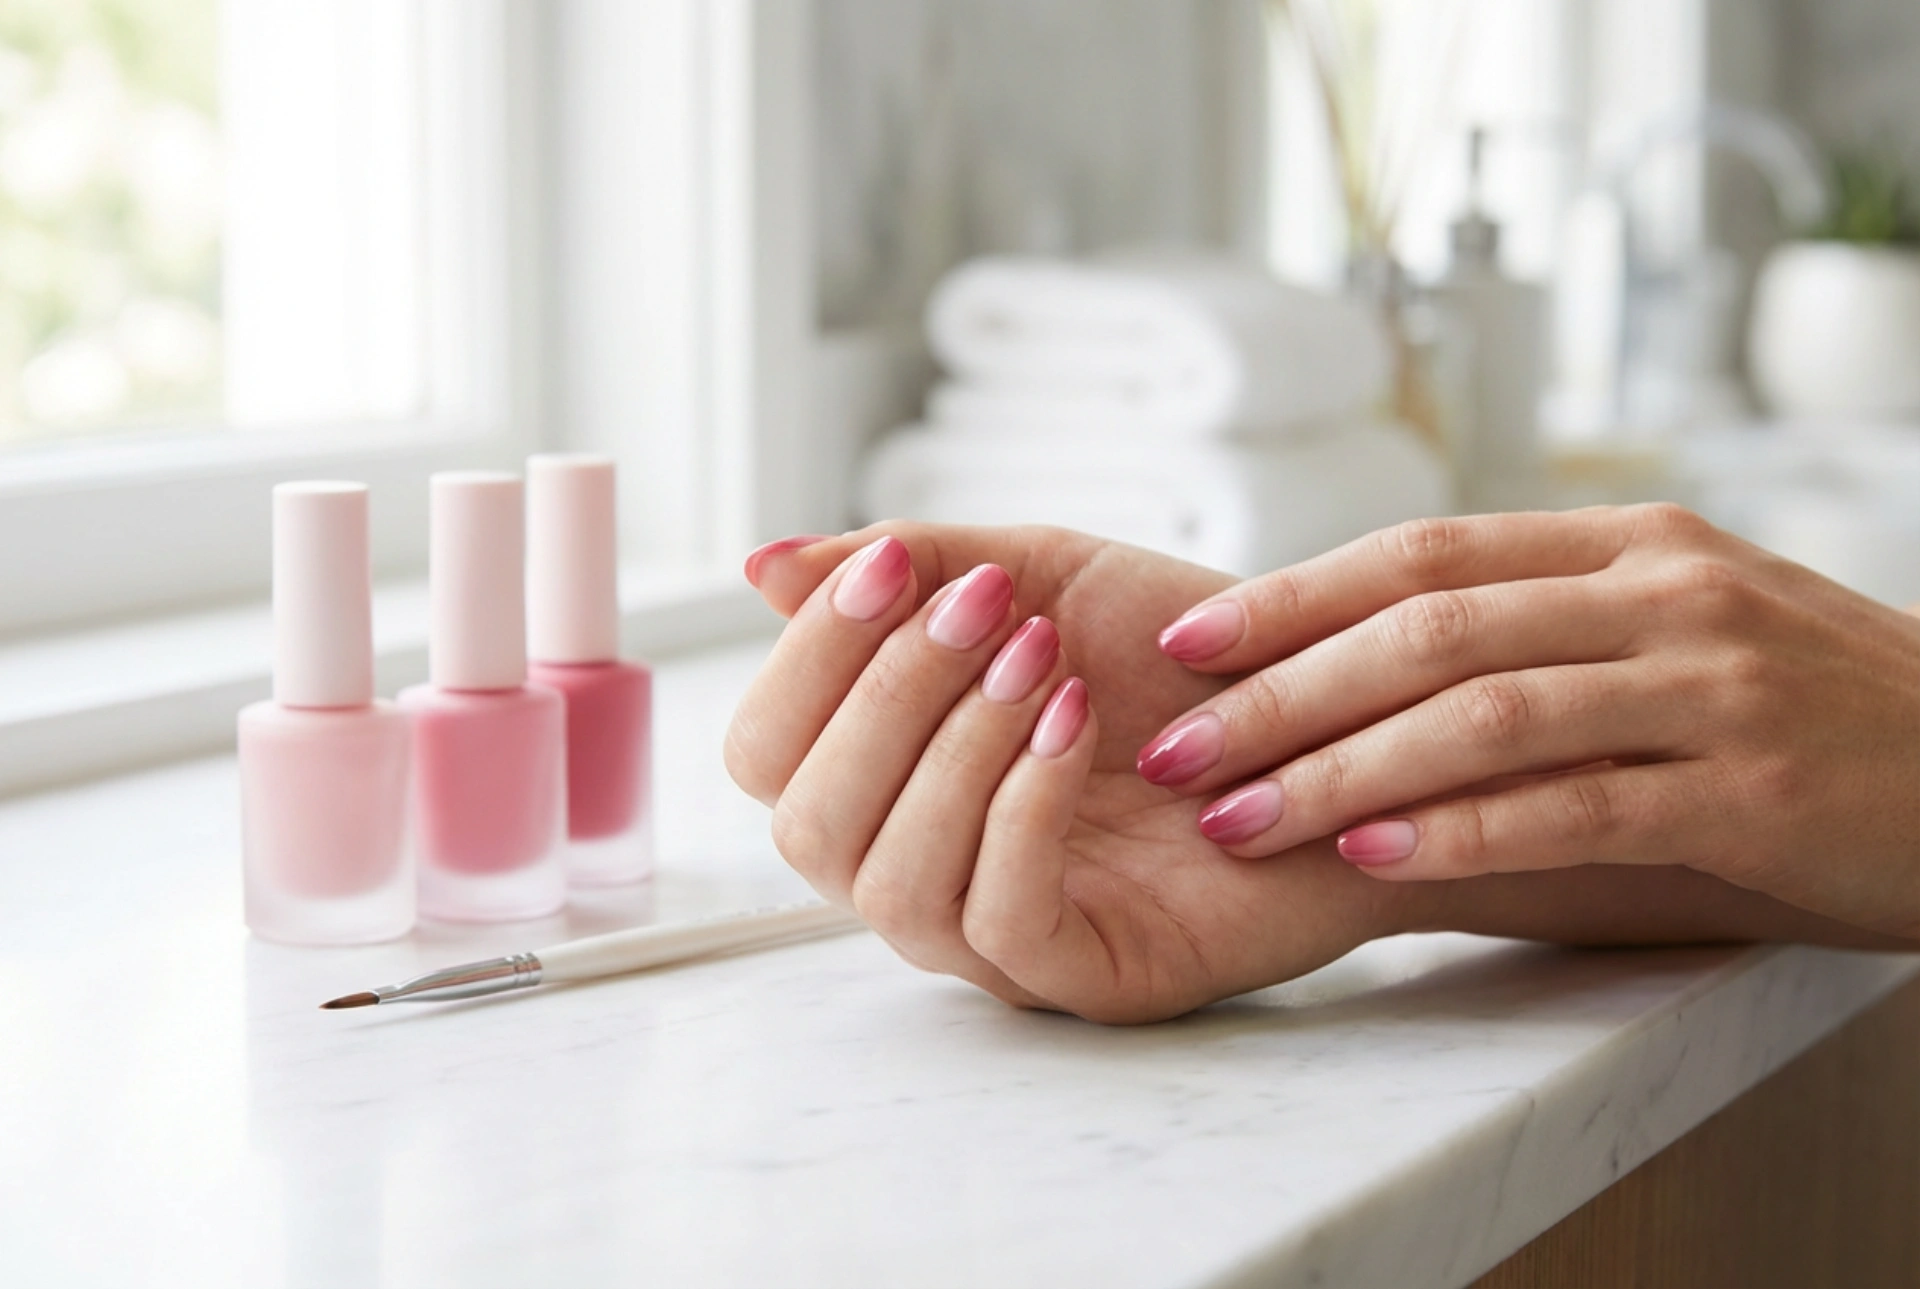


Beautifully manicured hands with a seamless colour transition can elevate any look, bringing a touch of modern elegance to your fingertips. A classic pink ombre manicure, gently shifting from a pale blush at the base to a vibrant rose at the tips, offers a sophisticated and versatile style that suits both casual days and formal events. Creating this flawless gradient at home is highly rewarding and, with the right technique, surprisingly straightforward. By utilizing basic tools like generic nail polishes, a small sponge, and a fine detailing brush arranged on a clean, minimalist surface, you can achieve a professional-looking finish on your natural nails.
The Appeal of Pink Ombre Nails
The ombre effect, characterised by a smooth blending of one colour into another, remains one of the most popular nail art trends. Unlike solid colours, a gradient manicure adds depth and visual interest, making the nails appear longer and more elegant. Pink is an exceptionally versatile choice for this technique because its spectrum ranges from the subtlest milky whites and soft blushes to rich carnations and striking magentas. This allows for endless customisation depending on your skin tone, personal style, or the season.
Choosing a pink gradient is also a practical option. Because the base colour near the cuticle is often a pale or sheer pink, nail regrowth is much less noticeable compared to dark, solid colours. This extends the wearable life of your manicure, keeping your hands looking pristine for longer. Whether you prefer a subtle, barely-there transition or a bold, contrasting statement, mastering the shading technique at home opens up a world of creative possibilities.
Essential Materials for Your Home Manicure
Before beginning your styling process, it is important to gather your materials on a clean, flat surface to ensure a smooth application. You do not need expensive salon equipment to achieve excellent results. Here is what you will need for a successful pink ombre manicure:
- Base Coat: A quality base coat protects your natural nail plate from staining and provides a smooth surface for the polish to adhere to.
- Two Shades of Pink Polish: Select a lighter shade (such as a pale pastel or soft blush) for the base, and a deeper shade (such as a rose or vibrant pink) for the tips. Ensure they have similar formulas for consistent blending.
- A Makeup Sponge: A dense, latex-free wedge sponge is perfect for dab-on shading. You can also use a small cosmetic sponge cut to the width of your nails.
- A Fine Detailing Brush: Essential for cleaning up the edges around your cuticles and refining the gradient if necessary.
- Top Coat: A glossy top coat is crucial because it merges the tiny dots left by the sponge, smoothing out the texture into a perfect, glossy gradient.
- Nail Polish Remover: For preparing the nails and cleaning up any stray polish on the surrounding skin.
Step-by-Step Shading Guide
To achieve a seamless colour transition, patience and thin layers are the keys to success. Follow these steps to create your own beautiful pink ombre nails:
Step 1: Preparation and Base Layer
Begin by shaping your nails with a file and gently pushing back your cuticles. Wipe the nail plates with a small amount of polish remover to remove any natural oils. Apply a thin layer of base coat and let it dry completely. Once dry, apply one or two thin coats of your lighter pink polish over the entire nail. This acts as the background colour and ensures the gradient looks vibrant. Allow this base layer to dry thoroughly before proceeding.
Step 2: Preparing the Sponge
Take your makeup sponge and damp it slightly with water, squeezing out any excess. A slightly damp sponge prevents the polish from absorbing too deeply into the foam, ensuring more product ends up on your nail. Paint a horizontal stripe of the lighter pink polish directly onto the edge of the sponge, followed by a parallel stripe of the darker rose shade right next to it, letting them overlap slightly in the middle.
Step 3: Stamping the Gradient
Gently press the sponge onto your nail, moving it slightly up and down to blend the area where the two colours meet. Do not press too hard, as this can create air bubbles or lift the base polish. It is better to use a light, bouncing motion. Work on one nail at a time. The first layer may look sheer or slightly textured, which is completely normal.
Step 4: Building the Intensity
Allow the first sponged layer to dry for a minute or two. Apply fresh polish to your sponge in the same pattern and repeat the stamping process. Two to three thin layers are usually sufficient to build a rich, opaque gradient. By building the colour gradually, you ensure a durable finish that dries thoroughly and resists chipping.
Step 5: Clean-up and Detailing
Ombre sponging can be messy, often leaving polish on the surrounding skin. Dip your fine detailing brush into nail polish remover and carefully clean up around the cuticle and side walls. This step instantly refines the look, giving your manicure a sharp, professional appearance.
Securing a Flawless and Long-Lasting Finish
The final, transformative step of the ombre manicure is the application of the top coat. When the sponged polish is dry but still slightly tacky, apply a generous layer of clear top coat. The top coat acts as a blending agent, magically smoothing out the textured look of the sponged polish into a glossy, fluid gradient. Swipe the brush gently over the nail to avoid smearing the blended colours.
To ensure your manicure lasts as long as possible, remember to cap the free edge of your nails with both the polish and the top coat. This seals the tips and prevents premature chipping. Over the following days, you can apply a fresh layer of top coat every few days and massage a nourishing cosmetic oil into your cuticles to keep your hands looking hydrated and elegant.
Tips for Customising Your Pink Palette
Once you master the basic shading technique, you can experiment with different colour combinations and styles. If you prefer a highly delicate look, try a baby pink paired with a soft milky white for a modern take on the French manicure. For summer, vibrant neon pinks paired with warm peach shades offer a cheerful, sun-kissed vibe. Adding a very fine layer of subtle shimmer or glitter top coat over the gradient can also add a touch of sparkle for festive occasions without overwhelming the design.




