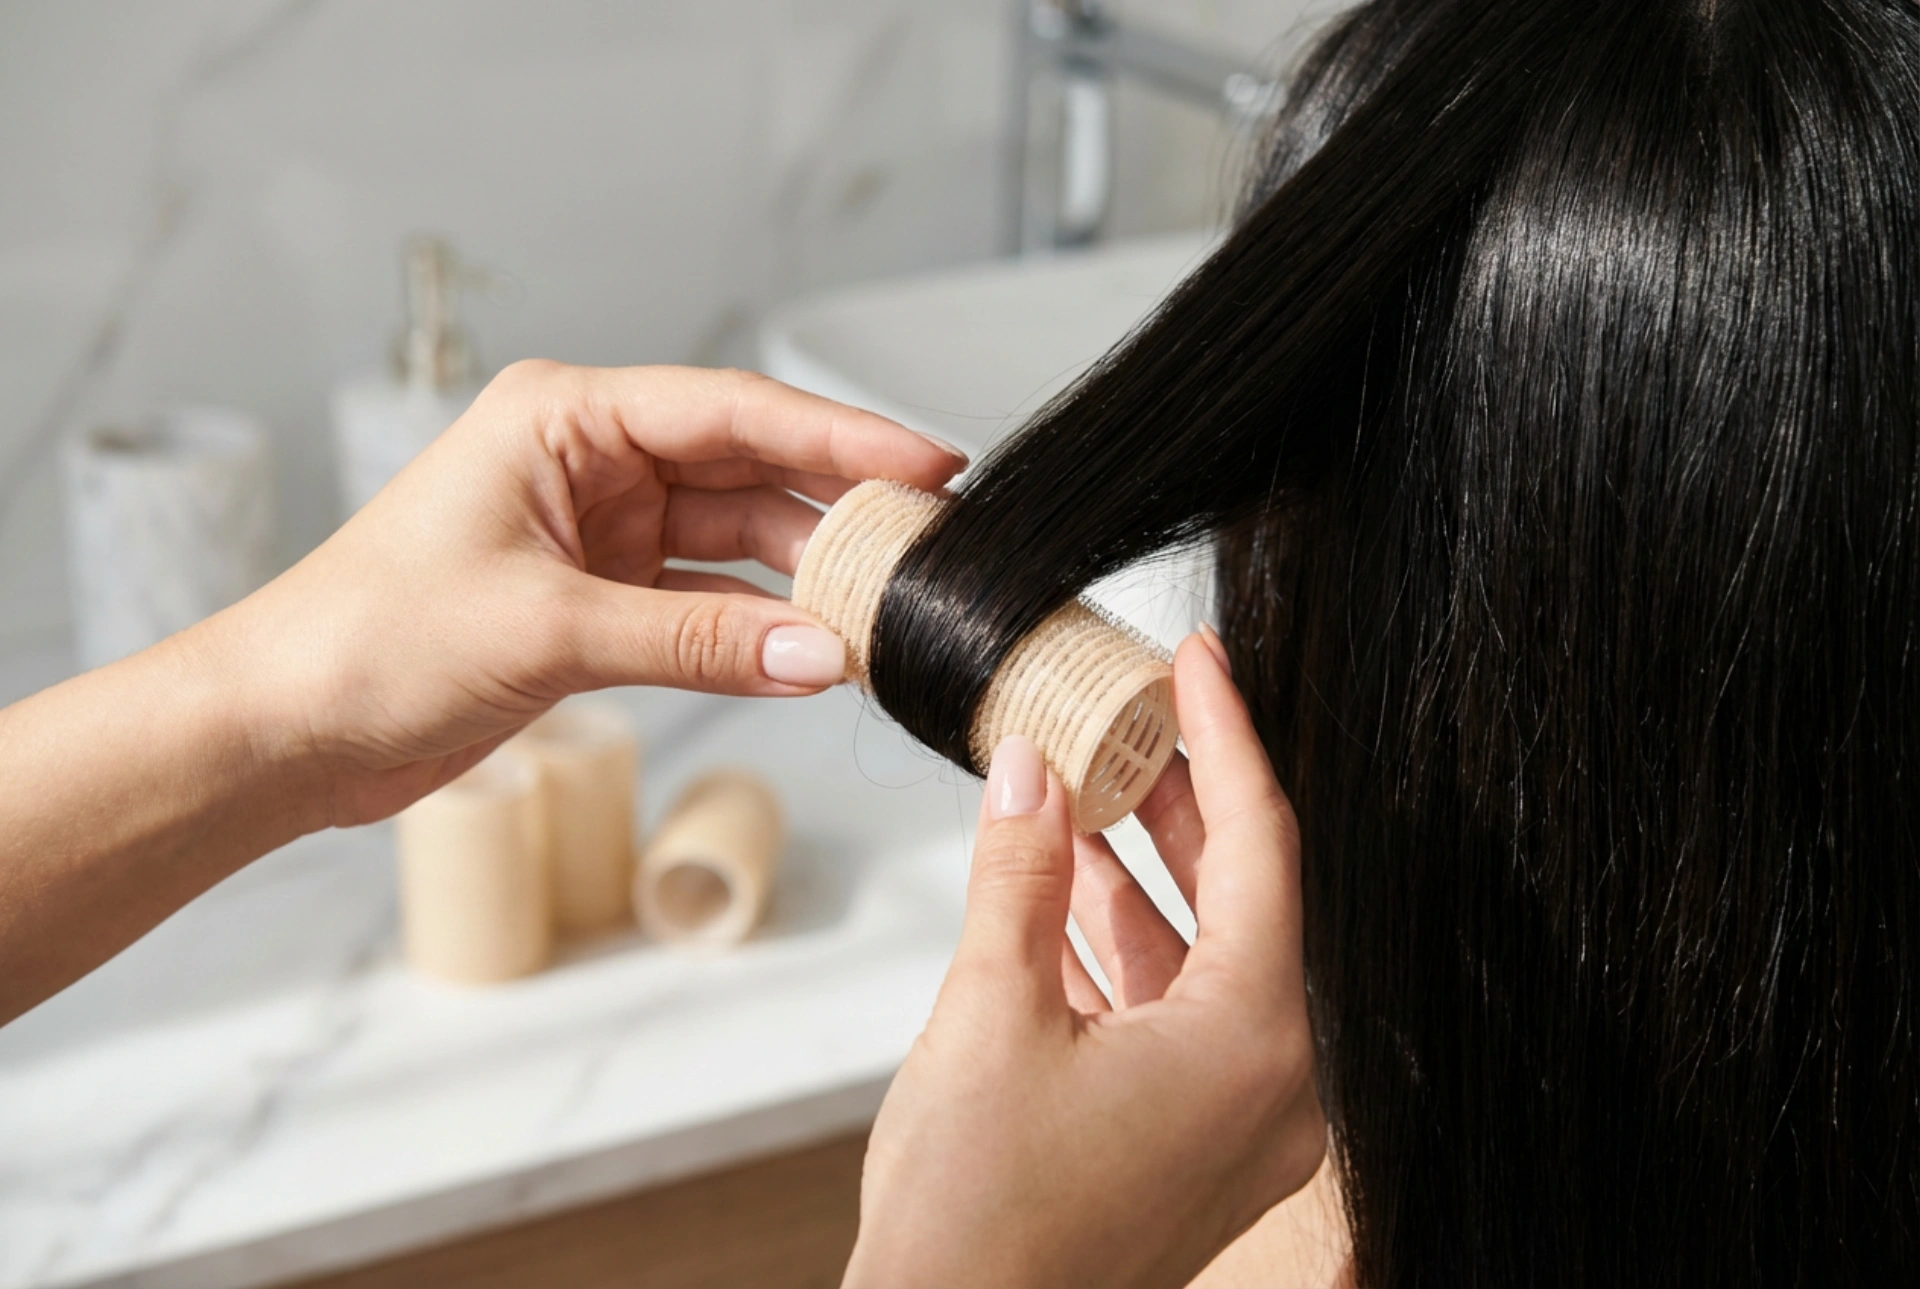


Achieving salon-worthy volume and bounce at home has never been easier, especially with the revival of classic beauty techniques. Using large hair rollers is a fantastic, heat-friendly way to introduce movement, lift, and a polished finish to your locks. When elegant hands carefully apply a large, generic hair roller to a section of smooth, shiny hair, the goal is always a flawless, creaseless styling technique. However, many find themselves struggling with unwanted dents, crimps, or frizzy ends. Mastering the precise method of rolling and securing your hair ensures a seamless, modern look without compromising the hair's natural shine.
Preparing Your Hair for Maximum Volume
The foundation of any successful roller set begins long before the rollers are actually placed in the hair. To achieve a smooth, creaseless finish, you must start with properly prepared strands. Wash your hair with a lightweight, volumising shampoo and conditioner that won't weigh down your roots. After washing, gently towel-dry your hair using a microfibre towel to prevent friction and static.
Before reaching for the rollers, apply a light styling mousse or a heat-protection spray if you plan to use heated rollers or rough-dry your hair first. For velcro or mesh rollers, hair should be slightly damp or completely dry, depending on the desired level of hold. If your hair is too wet, it will take hours to dry and may leave damp patches that drop instantly. If it is too dry, the curl might not hold. A general rule of thumb is to dry your hair to about eighty to ninety percent, leaving just a hint of moisture for the rollers to work their magic.
The Art of Sectioning and Wrapping
To avoid tangles and uneven results, systematic sectioning is essential. Divide your hair into manageable sections that correspond to the width of the rollers you are using. If a section of hair is wider than the roller itself, the outer edges will spill over, creating uneven tension and potential creasing.
- The Mohawk Section: Start by sectioning the hair along the top of your head, from the forehead to the crown. This area is crucial for creating height and root lift.
- The Sides: Section the hair on either side of your head into two or three horizontal layers, depending on your hair's thickness.
- The Back: Divide the remaining hair at the back of your head into horizontal rows.
When wrapping each section, hold the hair straight up from the scalp. This creates maximum lift at the root. Smooth the ends of the hair carefully around the roller first. Ensure the ends are completely flat and not bent or folded under, as this leads to fish-hooks or crimped ends. Keep a firm, even tension as you roll the cylinder down towards your scalp. The hair should wrap smoothly around the roller in a clean, uniform sheet.
Securing Rollers Without Creasing
One of the most common causes of unsightly dents in a roller set is the method used to secure the rollers in place. Traditional metal bobby pins or tight elastic clips can squeeze the hair too tightly, leaving permanent marks that ruin the smooth aesthetic.
To keep your rollers secure without leaving marks, opt for specialised professional clips. Double-pronged metal clips or plastic duckbill clips are ideal. When inserting the clip, place it at the very base of the roller, right against the scalp. Gently slide the clip through the underside of the roller, securing it to the roots of the hair underneath. Avoid clipping across the top or middle of the roller where the hair is wrapped tightly, as this is where pressure marks are most likely to form. If you are using self-gripping velcro rollers, they often stay in place without clips, but a single duckbill clip placed underneath the base can provide extra security without any visible creasing.
The Setting and Cooling Phase
Patience is the secret weapon when it comes to long-lasting, creaseless volume. If you are using heated rollers, they must be allowed to cool down completely before you attempt to remove them. The cooling process is what locks the hair molecularly into its new, voluminous shape. Removing the rollers while the hair is still warm will cause the curl to collapse and may introduce unwanted frizz.
For non-heated rollers applied to damp hair, ensure the hair is thoroughly dry. You can use a hair dryer with a diffuser attachment on a low, warm setting to gently speed up the drying process. Once the hair is warm, switch the dryer to the cool-shot setting for a few minutes. This rapid cooling mimics the setting effect of heated rollers, ensuring the shape holds perfectly once the rollers are removed.
Gentle Removal and Styling Techniques
How you take your rollers out is just as important as how you put them in. Pulling or yanking the rollers straight down will create friction, ruin the smooth texture, and potentially cause breakage. Instead, approach the removal process with care and precision.
First, remove all the clips or pins gently, placing them to one side. To remove a roller, hold the section of hair at the root with one hand and gently unroll the cylinder with the other. Follow the natural angle of the curl, letting the roller slide out naturally rather than forcing it. If you are using velcro rollers, unroll them slowly to prevent the tiny hooks from snagging the hair fibres.
Once all the rollers are removed, do not reach for a brush immediately. Instead, use your fingers to gently shake out the roots and separate the waves. This maintains the fullness and prevents the hair from flattening. If you prefer a sleeker look, use a wide-tooth comb to gently blend the sections together. Finish with a light mist of flexible-hold hairspray to lock in the volume and shine without adding stiffness.





