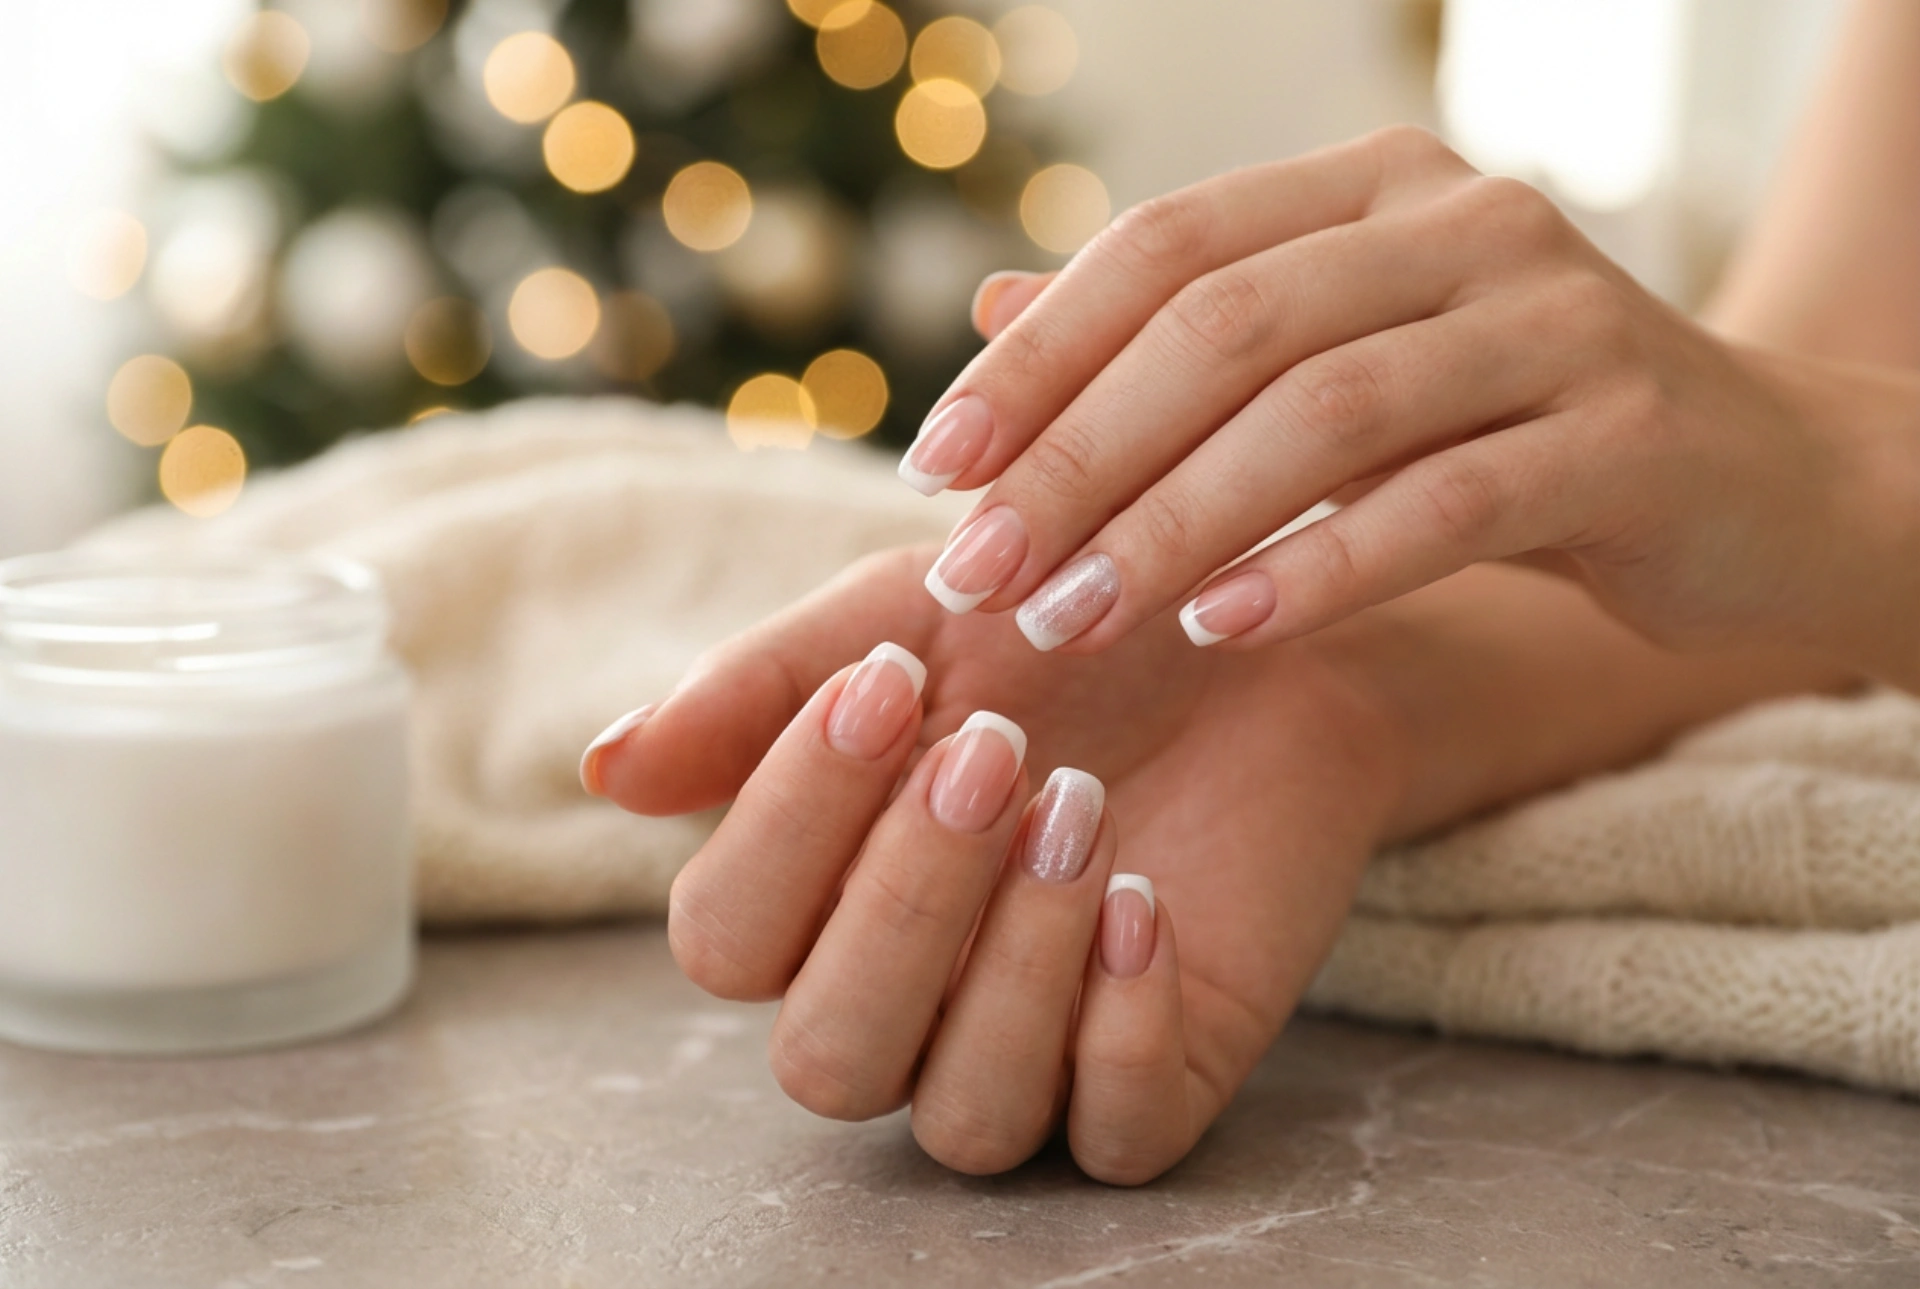


During the holiday season, elegant hands with an impeccably styled manicure become the ultimate accessory. A classic French manicure, subtly enhanced with delicate silver shimmer on classic white tips over a natural pink base, offers a sophisticated and timeless look. This seasonal variation brings a touch of festive magic to your fingertips, capturing the soft, diffused holiday lights perfectly. Creating this elegant look at home is surprisingly simple, and with the right techniques, you can ensure your festive nails remain flawless throughout the busy holiday celebrations.
Preparing the Nail Plate for Maximum Longevity
The secret to any long-lasting manicure lies in the preparation of the natural nail plate. Before applying any base coat or colour, it is essential to ensure that your nails are clean, dry, and free from natural oils. This preparation step creates the ideal canvas for nail polish to adhere to, significantly reducing the likelihood of premature chipping.
- Gently shape the nails: Use a fine-grit nail file to shape your nails into a classic oval, soft square, or almond shape. Filing in one direction prevents splitting.
- Soften and tidy the cuticles: Apply a cuticle softener and gently push back the cuticles with a wooden stick. Avoid cutting them, as they protect the nail matrix from impurities.
- Dehydrate the nail surface: Wipe the nail plates with a lint-free pad soaked in a nail cleanser or rubbing alcohol. This removes residual oils and dust.
- Apply a protective base coat: A thin layer of a nourishing base coat protects the natural nail from staining and helps the colour polish grip better.
Achieving the Perfect Festive French Tip
A beautiful festive French manicure begins with a flawless foundation. To achieve a natural look, opt for a soft pink, sheer beige, or milky rose base coat. Apply one or two thin layers, allowing each to dry completely. This creates a healthy-looking canvas that complements any skin tone and makes the white tips stand out beautifully.
Creating the classic white tip requires a steady hand, but there are several easy methods to achieve a clean line at home. You can use thin adhesive stencils designed for French manicures, or a fine nail art brush dipped in classic white polish. For a modern festive twist, keep the white tip relatively thin and slightly curved, mimicking the natural smile line of your nail. If you make a mistake, a small brush dipped in polish remover can easily clean up any uneven edges.
Adding a Touch of Festive Shimmer
What sets a holiday manicure apart from an everyday style is the addition of subtle, light-reflecting details. Once your classic white tips are dry, you can introduce a delicate silver shimmer to capture the essence of winter sparkle. There are a few elegant ways to incorporate this festive element:
- The shimmer top coat: Apply a sheer, micro-shimmer top coat over the entire nail. This diffuses the glitter beautifully and softens the transition between the pink base and the white tip.
- The glitter line: Using a very fine detailing brush, paint a ultra-thin line of silver glitter polish directly along the border where the white tip meets the pink base. This adds a sophisticated, jewelry-like detail.
- The frosted tip: Lightly dab a small amount of fine silver pigment or shimmer polish onto the white tip using a makeup sponge for a soft, gradient effect.
Simple Holiday Nail Art Ideas
If you wish to elevate your French manicure further, there are several simple yet striking designs you can try at home without needing professional tools. Subtlety is key to keeping the look sophisticated and cohesive with the French manicure aesthetic.
Delicate Snowflake Accents
Using a fine detail brush or even a toothpick, you can paint a simple, minimalist snowflake on one or two accent nails. Start with a tiny white dot in the centre, draw clean intersecting lines outwards, and add tiny branches to the ends. A tiny touch of silver shimmer in the centre of the snowflake adds beautiful depth.
Festive Stars and Dots
Elegant, four-pointed stars are incredibly easy to create and look highly professional. Paint a small cross with a fine brush, then gently pull the polish outwards from the centre to create soft points. Complement these stars with tiny white and silver dots scattered across the nail plate to mimic falling snow.
Sealing the Manicure and Everyday Care
To ensure your holiday nails survive the preparations, gift wrapping, and festive gatherings, the final sealing step is paramount. A high-quality, glossy top coat acts as a shield, protecting your design from chips and wear while enhancing the overall shine of your manicure.
When applying the top coat, make sure to cap the free edge of the nail. This means running the brush along the very edge and underside of the nail tip, which seals the polish and prevents lifting. To maintain the manicure’s durability and keep your hands looking picture-perfect, apply a fresh layer of top coat every two to three days. Additionally, massage a drop of nourishing cuticle oil into your cuticles daily to keep the skin hydrated and prevent hangnails, ensuring your festive hands remain soft and beautiful throughout the season.




