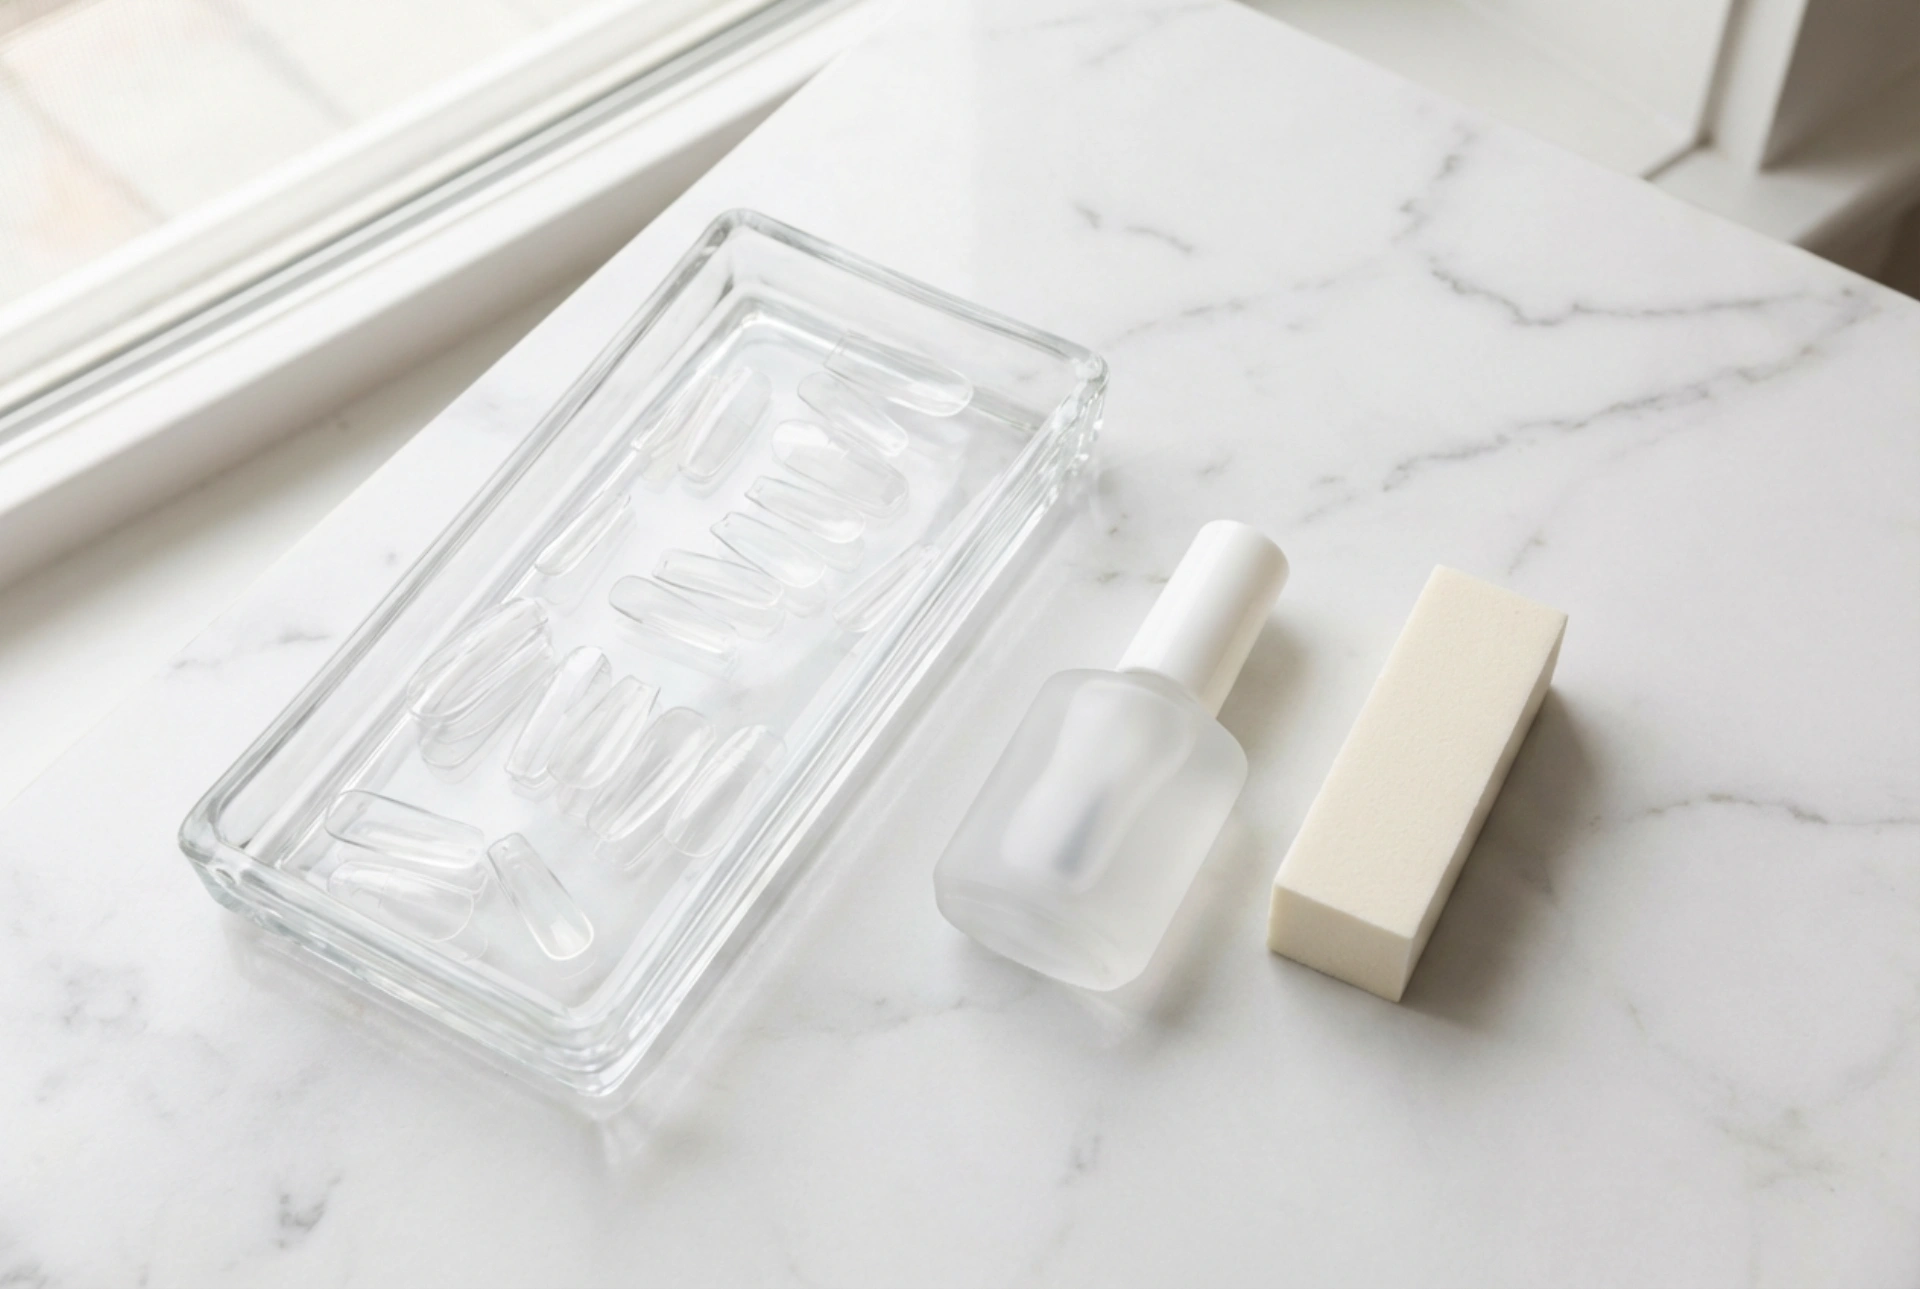


Beautifully manicured hands often start with the right tools, laid out neatly like a serene flatlay on a clean vanity. When transitioning to DIY home manicures, using clear nail tips, a sleek glue bottle, and a gentle buffer can help you achieve a polished look from the comfort of your own home. Achieving a flawless finish requires understanding what essentials to include in your kit and mastering the technique of applying adhesive without creating unsightly streaks, clouds, or air bubbles underneath the tip. With a bit of patience and the right method, you can enjoy durable, seamless extensions that look incredibly natural.
Essential Components of a Home Nail Extension Kit
To begin your journey with nail extensions, it is vital to assemble a kit that prioritises nail health and ease of application. Having the right tools arranged on your workspace not only makes the process more enjoyable but also ensures precision at every step. Here are the core essentials you should look for when putting together your kit:
- Nail Tips: Opt for high-quality, flexible ABS plastic tips. They should come in a variety of sizes to ensure a perfect fit for each individual nail bed. Clear tips are excellent for a modern, clean look, while natural-coloured tips provide a classic base.
- Nail Glue: Look for a professional-grade, fast-bonding cosmetic nail glue. A formula with a brush-on applicator is often easier for beginners to control, reducing the risk of excess adhesive and streaks.
- Nail Buffer and Files: A fine-grit buffer (around 180/240 grit) is essential for gently removing the natural shine from your nails, while a stronger file helps shape the extensions.
- Dehydrator and Cleanser: A simple dehydrating solution or isopropyl alcohol wipes are necessary to strip away natural oils and moisture from the nail plate before application.
- Tip Cutters: Standard nail clippers can crack plastic tips. Specially designed tip cutters allow you to adjust the length safely and cleanly in one swift motion.
Step 1: Preparing the Natural Nail Plate
The secret to long-lasting nail extensions lies entirely in the preparation. Any moisture, oil, or dust left on the natural nail will prevent the glue from bonding correctly, leading to early lifting and moisture entrapment. Start by washing your hands thoroughly and drying them completely.
Gently push back your cuticles using a wooden stick. Next, take your gentle buffer and lightly run it over the surface of each nail. The goal is not to thin the nail, but merely to remove the natural shine and create a slightly textured surface for the adhesive to grip onto. Once buffed, wipe the nails clean with a dehydrating solution. Avoid touching your nails with your fingers after this step, as your skin carries natural oils that can instantly recontaminate the clean surface.
How to Apply Nail Glue Without Streaks and Bubbles
Applying nail tips without streaks or trapped air is the most challenging part of the process, but it can be easily mastered with the correct technique. Air bubbles not only look unprofessional under clear tips, but they can also trap moisture, which is undesirable for nail health.
Choosing the Right Size
Before applying any glue, select the correct size of tip for each finger. The tip must fit perfectly from side wall to side wall of your nail bed. If the tip is too small, it will pinch the nail and pop off quickly; if it is too large, it will overlap onto the skin. If you are between sizes, choose the larger option and gently file the sides down to fit.
The "Roll-On" Application Method
To avoid air bubbles, you must apply the tip at an angle rather than pressing it flat down onto the nail. Apply a small drop of glue to the well (the recessed area) of the nail tip. Gently hold the tip at a 45-degree angle against the free edge of your natural nail. Slowly slide the tip up until the well meets the edge of your nail, then gently rock the tip down onto the nail plate in a rolling motion. This motion pushes any air bubbles out towards the free edge, ensuring a smooth, streak-free bond.
Holding and Setting
Once the tip is in place, hold it firmly for 10 to 15 seconds. Do not shift your grip or wiggle the tip, as this will introduce air and cause streaks. Wipe away any excess glue that squeezes out from the sides immediately using a lint-free wipe.
Shaping and Blending the Extensions
After all the tips are securely glued and the adhesive has fully dried, you can proceed to customise their length and shape. Use your tip cutters to trim them to your preferred length, keeping in mind that it is always better to leave them slightly longer than your target length so you have room to file them into shape.
To make the extension look like a natural continuation of your nail, you need to blend the seam where the plastic tip meets your natural nail. Using a fine-grit file, gently buff the step of the tip until it sits flush with your natural nail plate. Be extremely careful to only file the plastic tip and avoid filing your natural nail. Once the seam is smooth and invisible, wash your hands to remove the dust, and your nails are ready for your favourite regular polish or safe, home-use top coat.
Crucial Care Tips for Long-Lasting Results
To keep your home extensions looking immaculate and to protect your natural nails underneath, follow these simple care practices. Always wear protective gloves when doing household chores or washing up, as prolonged exposure to hot water and harsh detergents can weaken the glue bond. Keep your cuticles moisturised by applying a drop of nourishing cuticle oil daily, rubbing it gently around the nail walls. When it is time to remove the extensions, never peel or force them off, as this will tear the layers of your natural nail. Instead, use a gentle cosmetic remover designed to break down nail glue safely.




