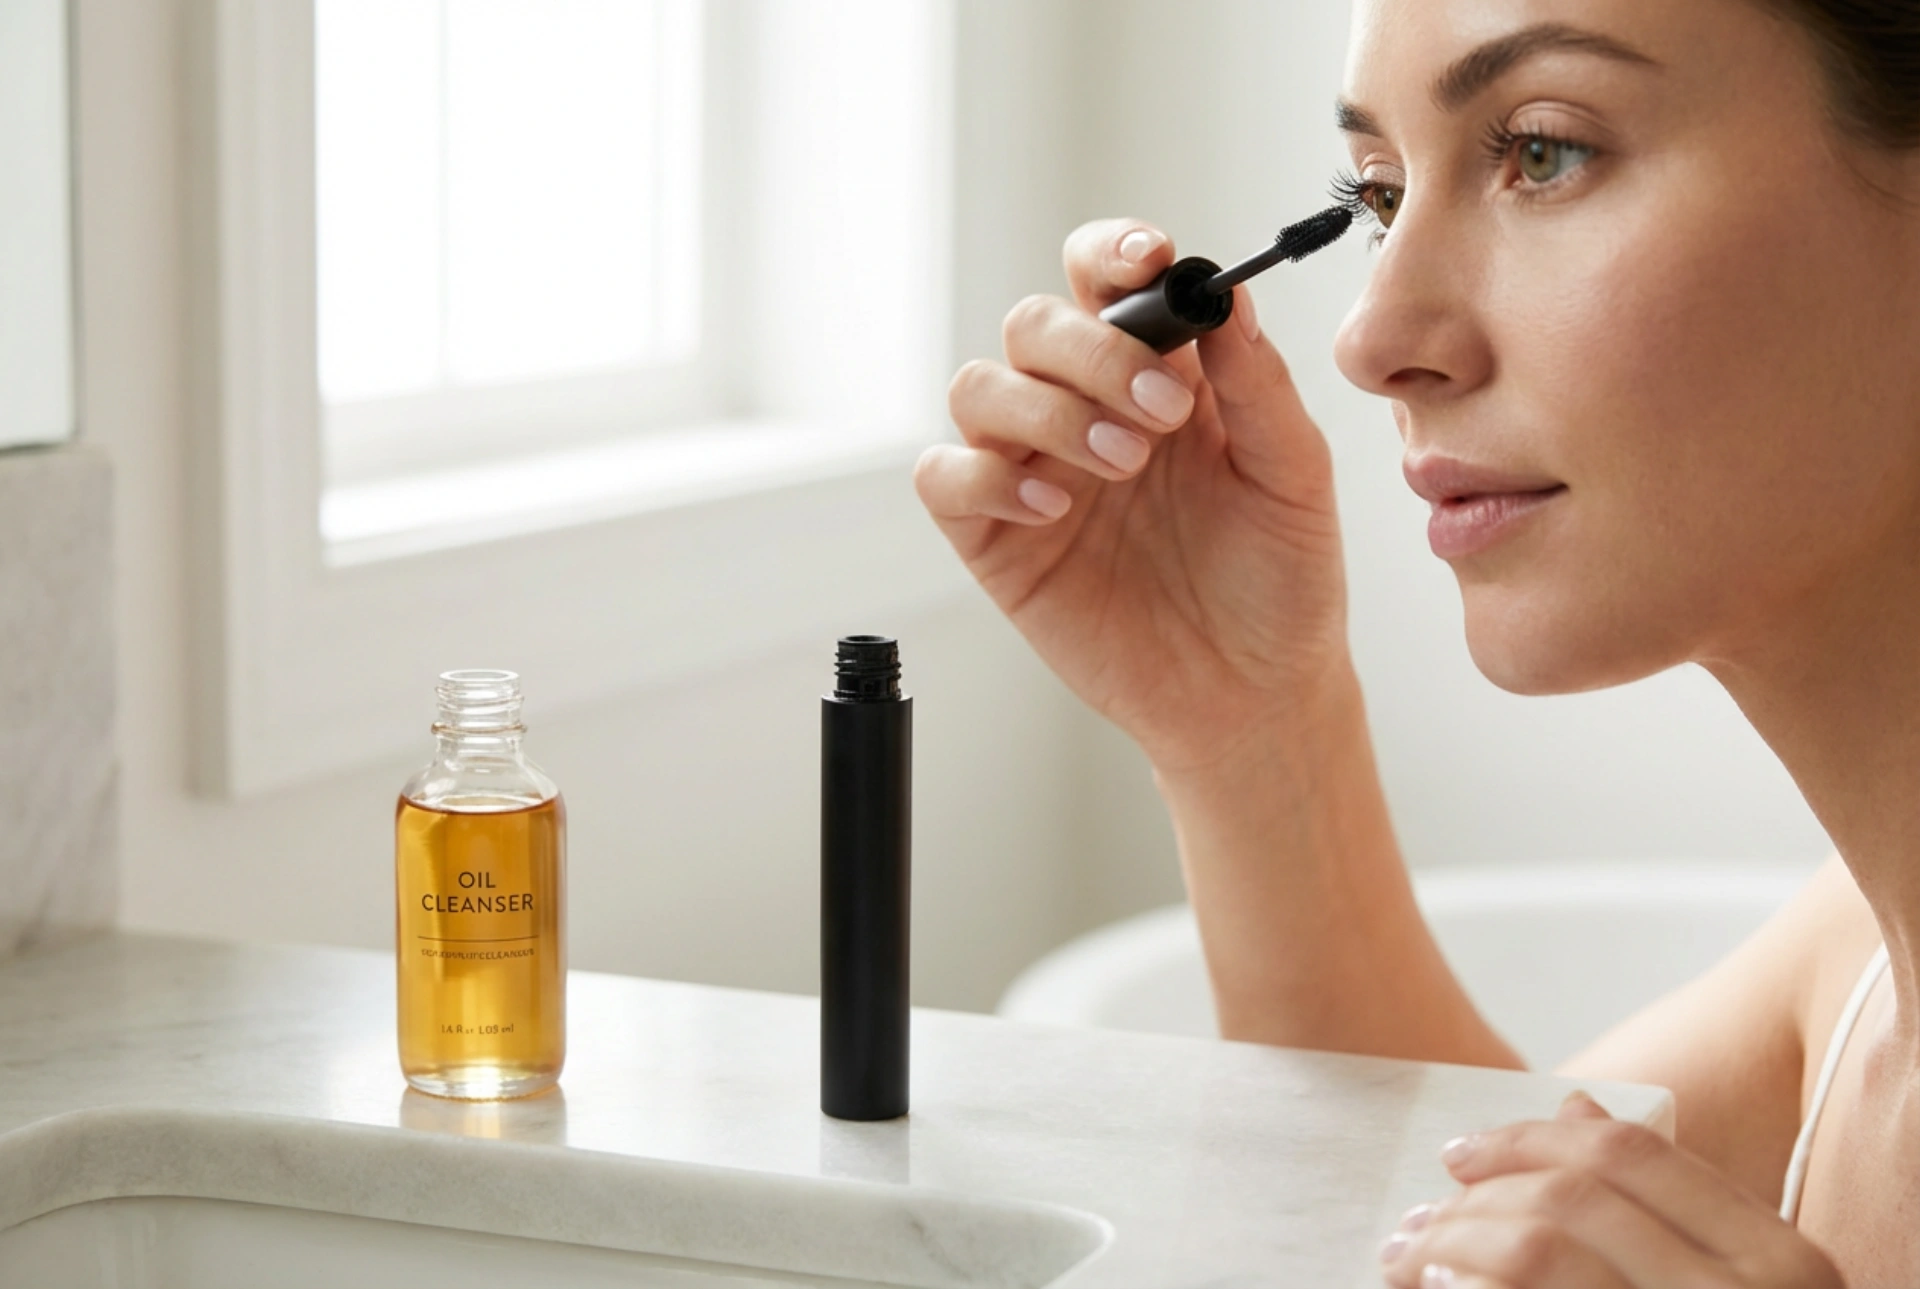


Achieving perfectly defined, voluminous lashes that withstand rain, tears, and long days is a staple of modern beauty routines. Waterproof mascara offers an incredibly durable solution, keeping your lashes beautifully curled and dark regardless of the weather or humidity. However, the very qualities that make it smudge-proof also make it challenging to apply smoothly without clumping and equally demanding when it comes to removal. Incorporating a gentle, mindful approach to both application and removal can transform your daily makeup ritual into a seamless and damage-free experience.
The Art of Clump-Free Waterproof Mascara Application
Applying waterproof mascara requires a slightly different technique compared to standard formulas. Because waterproof products dry much faster, speed and precision are essential to avoid the dreaded clumped look. By preparing your lashes and mastering the application process, you can achieve beautifully separated, long lashes every time.
Step 1: Start with Clean, Prepped Lashes
Before reaching for your mascara wand, ensure your eyelashes are completely free of any residual oils, moisture, or leftover makeup from the previous day. Oil acts as a natural barrier, which can prevent the waterproof formula from adhering properly, leading to flaking later on. If you use an eyelash curler, do so before applying any product. Curling wet or mascara-coated lashes can cause them to stick to the tool, leading to breakage and uneven curl patterns.
Step 2: Control the Amount of Product
One of the most common causes of clumping is having too much product on the mascara brush. When you pull the wand out of the tube, gently wipe any excess formula onto a clean tissue rather than the rim of the tube. Wiping it on the rim causes dried product to build up, which then gets pushed back into the bottle, spoiling the formula and introducing air that dries it out prematurely.
Step 3: The Wiggle-and-Sweep Technique
To achieve maximum definition, place the mascara wand at the very base of your lash line. Gently wiggle the brush from side to side as you sweep it upward to the tips of your lashes. This technique deposits the majority of the product at the roots, creating the illusion of thicker, fuller lashes, while ensuring the tips remain lightweight, fine, and separated. Work quickly, and if you want to apply a second coat, do so while the first coat is still slightly damp to prevent flaking.
Why Oil-Based Cleansing is Essential for Removal
While waterproof mascara is excellent for longevity, removing it can often feel like a chore. Using harsh rubbing motions or inadequate cleansers can lead to lash loss and irritate the delicate skin around the eyes. This is where the power of natural oil-based cleansing comes into play.
Waterproof formulas are specifically designed to repel water, meaning standard water-based face washes or regular micellar waters will not easily dissolve them. Oil, on the other hand, naturally breaks down the stubborn polymers and waxes found in waterproof makeup. By using a dedicated cleansing oil or a natural botanical oil, you can effortlessly melt away the product without any physical stress on your delicate eye area.
Step-by-Step Guide to Safe and Gentle Lash Removal
Adopting a gentle removal routine is crucial for maintaining the health and density of your eyelashes. Follow these simple steps to ensure a clean, irritation-free finish every evening:
- Saturate your pad: Apply a generous amount of cleansing oil or a dual-phase remover to a soft cotton pad. Ensure the pad is damp but not dripping wet.
- Hold and press: Place the soaked cotton pad gently over your closed eye. Instead of rubbing, press it lightly against your lashes and hold it there for 30 to 45 seconds. This pause allows the oil to fully penetrate and dissolve the waterproof bonds.
- Sweep downwards: After letting the oil do its work, gently sweep the cotton pad in a downward motion following the natural direction of lash growth. Avoid rubbing side-to-side or using circular motions, as this can pull lashes out and cause fine lines.
- Rinse and cleanse: Once the makeup is dissolved, rinse your face with lukewarm water and follow up with your regular gentle water-based cleanser to remove any remaining oily residue.
Nourishing Your Lashes After Makeup Removal
Just like the hair on your head, your eyelashes benefit from regular conditioning, especially when subjected to daily waterproof makeup. After completing your evening cleansing routine, consider applying a tiny drop of a gentle, natural oil like castor oil or sweet almond oil to the tips of your lashes using a clean spoolie or your fingertips. This simple, natural step helps restore lost moisture, keeps the lashes flexible, and reduces the likelihood of breakage, ensuring your lashes remain strong, healthy, and ready for your next beauty application.





