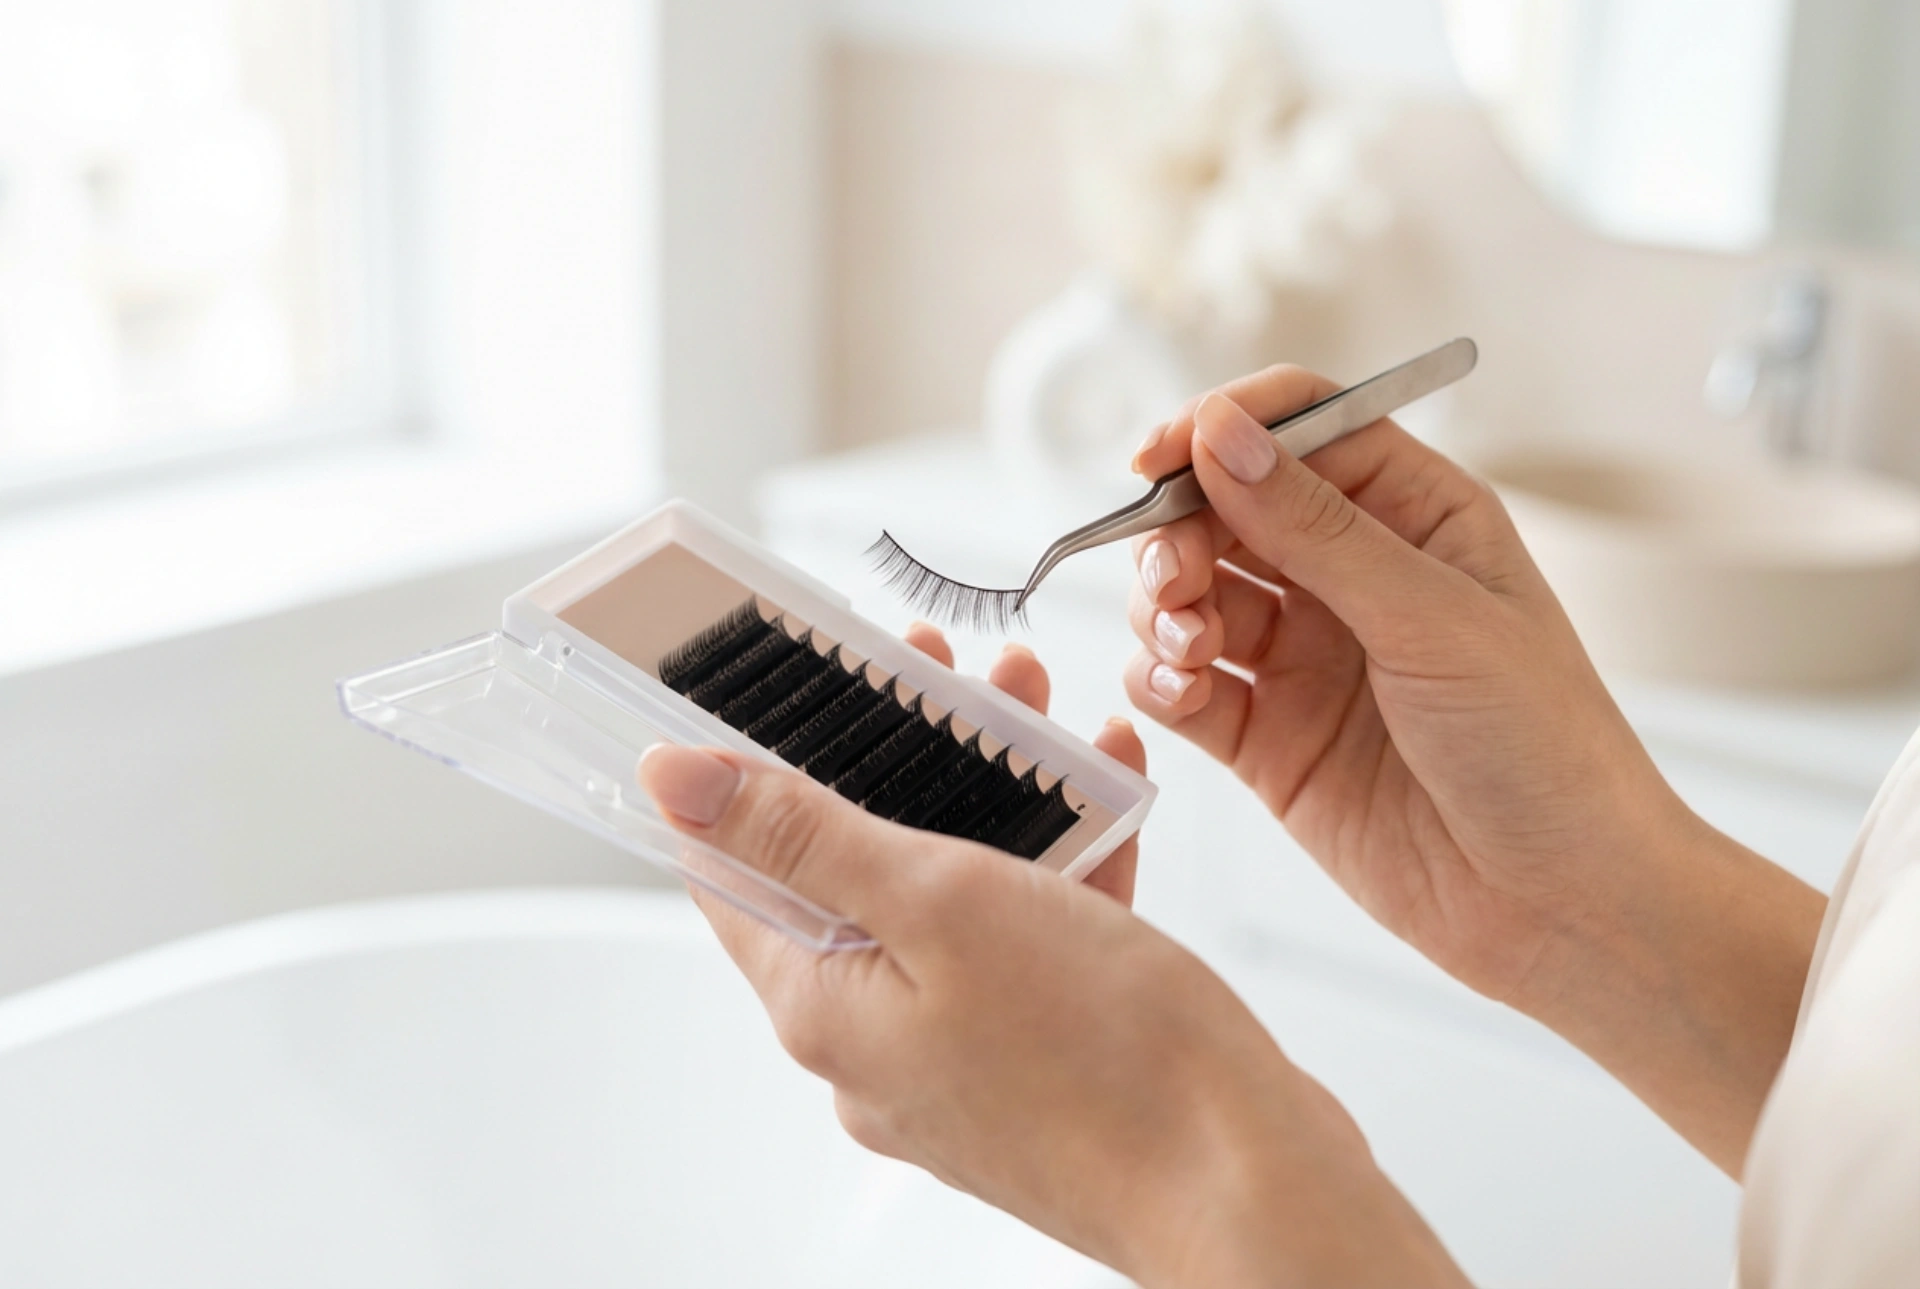


Applying false eyelashes is a subtle art that can instantly transform any makeup look, adding depth, volume, and elegance to the eyes. While the process may seem daunting at first, mastering the technique of customising the length and alignment of the lash strip is the secret to achieving a seamless, natural-looking finish. When you observe the delicate process of preparing a lash strip with a pair of fine-tipped tweezers, it becomes clear that precision and patience are key. With the right approach and a few simple adjustments, false eyelashes can feel as comfortable as they look beautiful. Taking the time to tailor the strip to your unique eye shape ensures that the lash band sits comfortably along your natural lid, preventing irritation and ensuring longevity throughout the day or evening.
Understanding Eye Shapes and Lash Selection
Before beginning the application process, it is essential to understand that eye shapes vary significantly, and false eyelashes are not a one-size-fits-all beauty accessory. Choosing a style that complements your natural features is the first step towards a successful application. For instance, almond-shaped eyes can carry almost any style, while hooded eyes benefit from lashes that are longer in the centre to create an opening, brightening effect. If you have round eyes, selecting a style with longer outer corners can help to elongate the eye shape, creating a subtle wing effect.
Furthermore, the material and band thickness of the strip lashes play a crucial role in how easily they bend and adhere to your natural lash line. Beginners often find flexible, clear bands much easier to manipulate than thick, black bands, as they conform more readily to the natural curvature of the eyelid. By selecting a lash style that harmonises with your natural eye structure, you lay a solid foundation for a flawless and comfortable fit.
The Crucial Step of Measuring and Trimming
One of the most common mistakes when applying false eyelashes is placing the strip straight from the packaging onto the eyelid without adjusting its size. Because standard lash strips are designed to accommodate a wide range of eye shapes, they are almost always too long for the average eye. An untrimmed lash band can poke the inner corner of your eye, causing watering, discomfort, and eventual lifting of the adhesive. To avoid this, customising the length is a step that should never be skipped.
How to Measure Your Lash Strip
Begin by gently removing the lash strip from its tray using fine-tipped tweezers. Hold the strip against your natural lash line, starting slightly away from the inner corner of your eye. The inner corner is highly sensitive, so placing the band too close to the tear duct will cause irritation. The lash band should begin where your natural lashes start to become denser, and it should end a few millimetres before the outer corner of your eye to prevent a drooping appearance.
Trimming for a Perfect Fit
- Always trim from the outer edge of the lash strip to maintain the natural graduation of lash length, as the inner lashes are designed to be shorter.
- Use sharp beauty scissors to make precise cuts. It is always best to trim less than you think you need first; you can always cut more later if required.
- Cut between the individual lash clusters rather than cutting through the synthetic fibres, which helps preserve the neat appearance of the band.
- Save any trimmed outer pieces, as these can sometimes be used later as individual accent lashes on the outer corners for a subtle, daytime lift.
Securing the Lash Line: Step-by-Step Application
With your custom-trimmed lashes ready, the next step is preparation and application. Before applying any adhesive, it is helpful to gently flex the lash band in a horseshoe shape or wrap it around a makeup brush handle for a few seconds. This simple trick softens the band, helping it to mimic the natural curve of your eyelid and preventing the corners from popping up once applied.
Preparing Your Natural Lashes
Before applying the false strip, prepare your natural lashes by curling them and applying a light coat of mascara. This provides a supportive shelf for the false eyelashes to rest on and helps to blend the natural and synthetic fibres together, creating a unified look. Ensure the mascara is completely dry before moving on to the adhesive step to prevent smudging.
Applying the Adhesive
Apply a thin, even layer of lash adhesive along the entire length of the band. Pay extra attention to the inner and outer ends, as these are the areas most prone to lifting. The most important rule of lash application is to wait. Never apply the strip to your eye while the glue is wet. Allow the adhesive to dry for about thirty to forty seconds until it becomes tacky. Tacky glue ensures the lash strip grips immediately upon contact, rather than sliding around your eyelid and causing a mess.
Precision Placement
Using tweezers or a dedicated lash applicator, hold the strip by the centre of the lashes. Looking downwards into a mirror placed flat on a table helps to expose the entire lash line. Place the band directly in the middle of your natural lash line, as close to the roots of your real lashes as possible. Once the centre is secured, use your tweezers to gently press down the outer corner, followed by the inner corner. Finally, use your fingers or tweezers to gently pinch your natural lashes and the false strip together, ensuring a seamless, gap-free transition.
Maintaining Lash Comfort and Safe Removal
Wearing false eyelashes should never feel heavy or uncomfortable. If you experience pinching or itching, the band may be too long or placed too close to the inner corner. Taking the time to properly custom-trim your lashes as outlined ensures a featherlight, comfortable experience. When it comes to removing your lashes at the end of the day, gentle care is essential to preserve both your natural lashes and the reusable strip.
Never pull or yank the lashes off, as this can damage your natural lash follicles. Instead, moisten a cotton pad with a gentle, oil-free makeup remover or warm water and hold it over your closed eye for a few moments to soften the adhesive. Gently sweep the lash strip away from the outer corner inwards. Once removed, peel away any remaining glue residue from the band with tweezers and store the lashes in their original tray to maintain their curved shape for future use.





