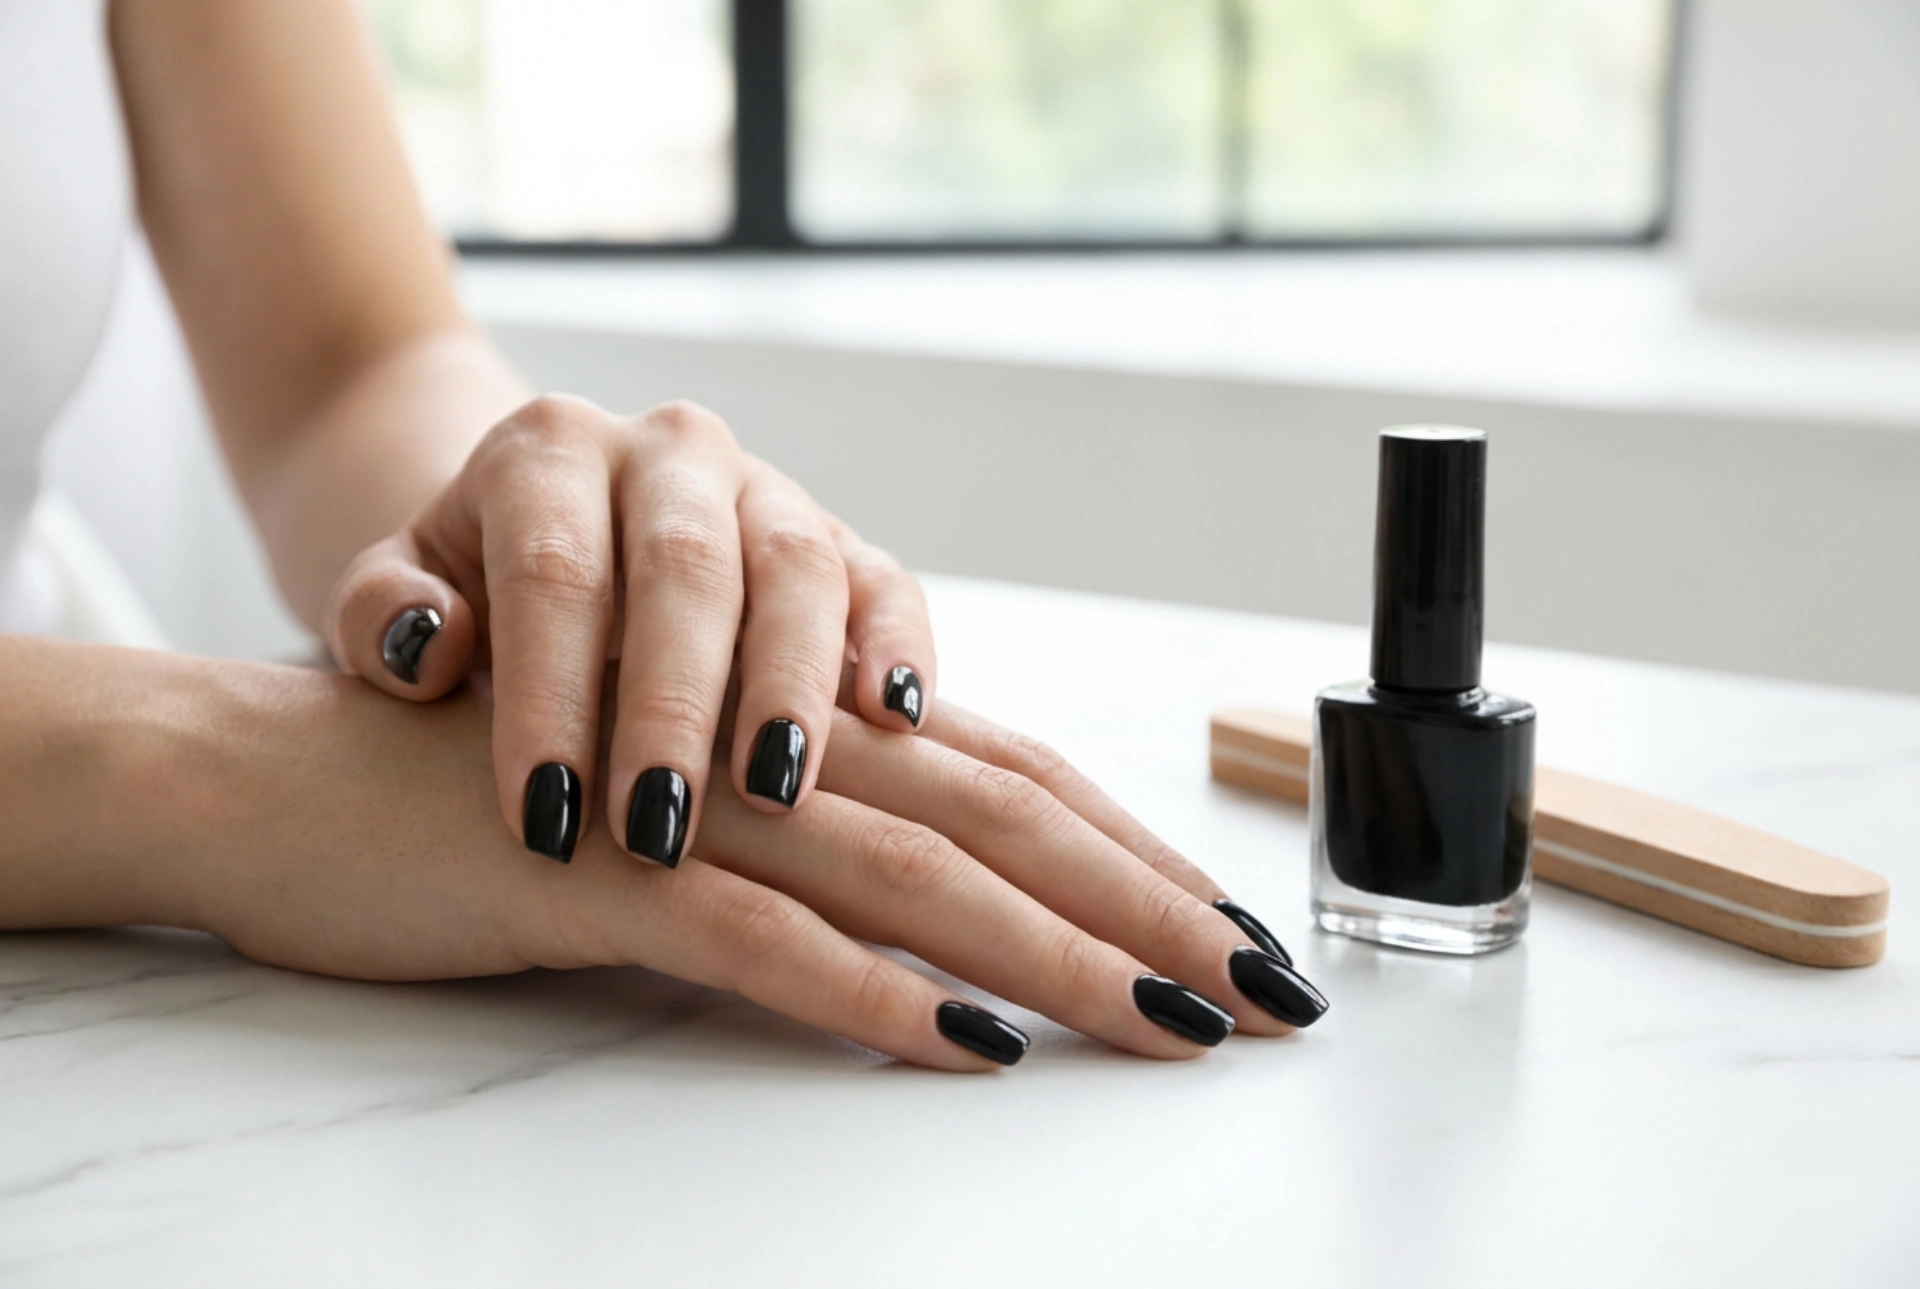


A flawless black manicure is the epitome of modern elegance, offering a sophisticated and minimalist aesthetic that suits any occasion. When executed perfectly, glossy black nails capture the light beautifully, presenting a clean, high-fashion look. However, achieving a completely streak-free finish with black gel polish can be notoriously challenging. Because black is highly pigmented, any slight imperfection in application, uneven thickness, or poor surface preparation becomes instantly visible. To master this classic look at home, one must pay meticulous attention to nail plate preparation and adhere to the rule of applying two thin, even coats.
The Importance of Thorough Nail Plate Preparation
The foundation of any successful gel manicure lies in the preparation of the natural nail plate. For highly pigmented shades like black, this step is non-negotiable. Any leftover cuticle, dust, or natural oils on the nail will prevent the gel polish from adhering properly, leading to pooling, lifting, and uneven distribution of colour.
1. Shaping and Buffing the Nails
Begin by shaping your nails using a fine-grit file, ensuring all edges are smooth and symmetrical. Once the desired shape is achieved, gently buff the surface of each nail plate with a high-quality buffer. This step removes the natural shine and any microscopic ridges, creating a slightly textured surface that the base coat can grip. Be careful not to over-buff, as this can thin and weaken the natural nail. After buffing, use a dry, lint-free wipe or a soft manicure brush to completely remove all dust. Avoid using your fingers or blowing on the nails, as this can reintroduce moisture and oils.
2. Cuticle Care and Dehydration
Carefully push back the cuticles using a wooden stick or a metal pusher. Gently remove any dead tissue adhering to the nail plate, as gel polish applied over cuticle tissue is guaranteed to lift prematurely. Once the cuticles are tidy, cleanse the nails thoroughly with a professional dehydrator or prep solution. This step removes all traces of dust, oil, and moisture, leaving a perfectly clean slate for the base coat. Avoid touching your nails after this step to keep them completely clean.
Laying the Foundation with a Perfect Base Coat
The base coat acts as a double-sided adhesive, bonding the natural nail to the gel polish while smoothing out any minor surface imperfections. When working with black gel polish, a perfectly flat base is crucial for preventing streaks. Apply a very thin, even layer of base coat, making sure not to touch the surrounding skin or cuticles. Always cap the free edge of the nail by running the brush along the very tip to seal it. Cure the base coat completely under your lamp according to the recommended duration. If the base coat is applied too thickly, it can self-level unevenly, which will cause the subsequent black layers to pool and streak.
The Secret to Streak-Free Black Gel Polish Application
The golden rule of applying black gel polish is to work in multiple thin layers rather than one thick coat. Black pigments absorb a significant amount of light, which means UV or LED rays struggle to penetrate deep layers. Thick coats of highly pigmented polish often fail to cure fully in the centre, leading to wrinkling, bubbling, and premature peeling.
The First Coat: Creating the Outline
When applying the first coat of black gel polish, do not worry if it looks slightly sheer, patchy, or uneven. The goal of the first layer is to define the boundaries of the manicure and establish a uniform base layer of colour. Wipe excess product off the brush on the neck of the bottle so that the brush holds only a minimal amount of polish. Place the brush a millimetre away from the cuticle, gently push it towards the cuticle line without touching the skin, and glide it smoothly down to the tip in long, even strokes. Keep the brush almost parallel to the nail plate to avoid scraping off the product. Cure this first layer thoroughly.
The Second Coat: Building Opacity and Depth
The second coat is where the magic happens, transforming the semi-sheer base into a rich, deep, and completely opaque black. Apply the second layer using the same light-handed technique. The additional layer will naturally fill in any minor streaks or sheer spots left by the first coat. Pay close attention to the sides of the nails and the free edge, ensuring complete coverage. Once applied, cure the second coat completely to ensure the pigment is locked in place.
Securing the Shine with a Top Coat
To achieve that mirror-like, glossy finish that makes a black manicure so striking, a high-quality top coat is essential. Apply an even layer of top coat over the entire nail, ensuring you completely cover the black polish to protect it from daily wear and tear. Be sure to seal the free edge once more. After curing, if you are using a traditional top coat with a sticky inhibition layer, allow the nails to cool for a minute before wiping them with a gentle cleanser. This prevents the surface from turning dull. For an ultra-modern alternative, you can also experiment with a matte top coat, which gives black nails a chic, velvety texture.
Post-Manicure Aftercare for Longevity
No manicure is truly complete without proper hydration. Once your gel polish is fully cured and cleansed, apply a nourishing cuticle oil to the skin surrounding your nails. Gently massage the oil in to restore lost moisture and promote healthy nail growth. Regular use of hand cream and cuticle oil will keep your hands looking as elegant and refined as your newly polished, streak-free black nails.




