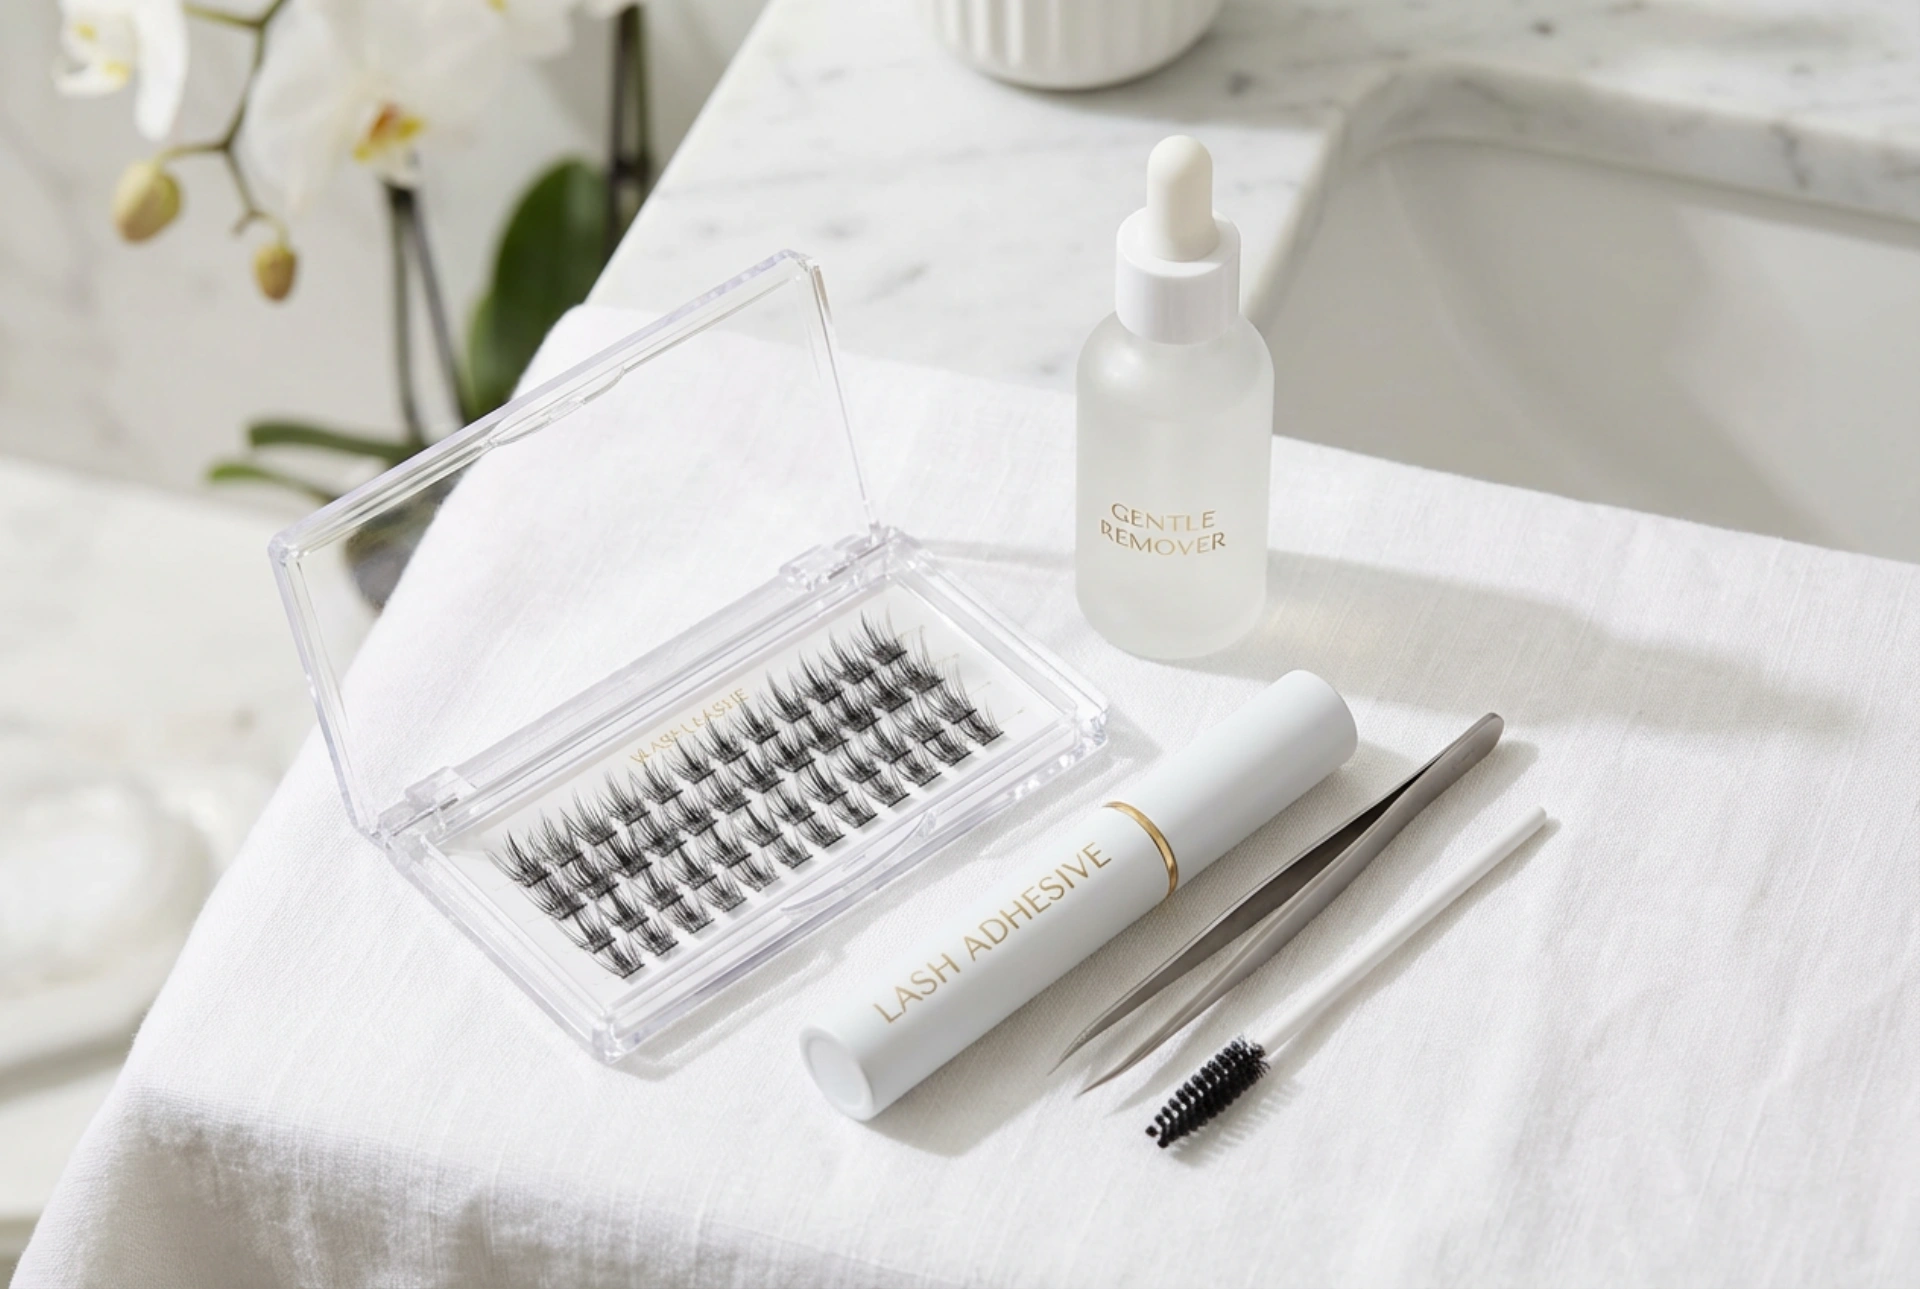


Achieving a customised, expressive gaze from the comfort of home has never been easier, thanks to the evolution of pre-made lash clusters. Displayed elegantly alongside a gentle remover and a high-quality adhesive on a clean vanity table, these versatile beauty tools allow you to design your own lash look with extreme precision. Unlike traditional strip lashes, individual clusters blend seamlessly with your natural eyelashes, offering a comfortable, lightweight alternative that can be tailored to any occasion, from subtle daytime elegance to dramatic evening glamour. By mastering the art of density selection, proper adhesive utilisation, and safe removal, you can enjoy beautiful lashes without compromising the health of your natural hairs.
Understanding lash cluster densities and lengths
When selecting pre-made lash clusters, understanding the density is the first step towards achieving your desired aesthetic. Clusters are generally categorised by the number of individual hairs joined at a single, ultra-thin base. This is often denoted by numbers followed by the letter 'D', such as 10D, 20D, or even 30D. A lower density cluster, like 10D, features fewer, finer hairs and is perfect for adding gentle volume and length that mimics natural lash growth. Higher density options, such as 20D or 30D, offer a much denser, fluffier appearance, ideal for creating a striking, multi-dimensional effect.
In addition to density, you should consider the length and curl of the clusters. Most home kits offer a variety of lengths, typically ranging from 8mm to 14mm. To create a flattering, natural-looking shape, it is best to mimic the natural growth cycle of your own eyelashes. This involves applying shorter clusters near the inner corners of the eyes and gradually increasing the length as you move towards the outer edges, creating a beautifully lifted, feline silhouette.
Choosing the ideal lash adhesive
The success and longevity of your home lash application heavily depend on the adhesive you choose. Lash glues for individual clusters are formulated differently from standard strip lash adhesives; they are designed to offer a stronger, more flexible hold that can last for several days. When selecting an adhesive, it is essential to focus on gentle, skin-friendly formulas that minimise the risk of irritation around the sensitive eye area.
- Clear vs. Black adhesive: Clear glue dries completely invisible, making it highly forgiving for beginners and perfect for a clean, minimalist makeup look. Black adhesive, on the other hand, dries to a dark finish, blending seamlessly with black lash bands and mimicking the appearance of a subtle eyeliner.
- Drying time: For beginners, a slightly slower-drying adhesive is highly beneficial, as it allows for minor adjustments during placement. Experienced users may prefer a fast-drying formula that sets in seconds to speed up the application process.
- Sensitivity: Always opt for formulas free from harsh chemicals and strong fumes. Since these clusters are applied close to the lash line, a hypoallergenic, latex-free adhesive is the safest choice to maintain eye comfort.
Step-by-step home application technique
To ensure a flawless and comfortable finish, begin by thoroughly cleansing your natural eyelashes. Any residual oils, makeup, or skincare products can prevent the adhesive from bonding correctly. Use an oil-free cleanser and ensure your lashes are completely dry before you start. Prepare your workspace by laying out your lash clusters, tweezers, and adhesive on a clean, well-lit surface.
Before applying, it is highly recommended to do a quick dry-run. Position the lashes near your eyes without glue to map out your plan. For instance, you might choose to apply three 12mm clusters on the outer third of the eye, followed by two 10mm clusters in the middle, and a single 8mm cluster near the inner corner. This planning ensures a symmetrical, balanced result on both eyes.
Using a pair of fine-tip tweezers, gently grasp a lash cluster near its base and lift it from the tray. Pour a small drop of adhesive onto a clean glass palette or silicone pad. Dip the very tip of the lash cluster base into the glue; a tiny bead of adhesive is all that is required. Avoid saturating the cluster, as excess glue can cause clumping and discomfort.
Place the cluster underneath your natural lashes, about one millimetre away from the wet waterline. This gap is crucial, as placing the cluster directly on the skin of the eyelid can cause irritation and inhibit natural lash movement. Gently press the cluster upward against your natural eyelashes using the flat side of your tweezers to secure the bond. Repeat this process, working from the outer corner inward, until you achieve your desired volume.
Safe and painless removal at home
Removing your lash clusters safely is just as important as the application process itself. Pulling or ripping the clusters off dry will inevitably damage your natural lashes. To maintain the health and density of your natural eyelashes, a dedicated, gentle lash remover should always be used. These removers are specially formulated to break down the adhesive bonds quickly and painlessly.
To begin the removal process, saturate a soft cotton pad with a gentle, oil-based lash remover or a specialised adhesive-dissolving fluid. Hold the damp pad over your closed eyelid for approximately thirty seconds. This allows the remover to penetrate the adhesive and soften the bond. Gently swipe the pad downward in a slow, smooth motion. The clusters should slide off effortlessly without any pulling sensation.
If some clusters remain stubborn, do not force them. Instead, apply a small amount of oil-based cleanser or cosmetic oil directly to a cotton bud and gently sweep it along the base of the clusters. Once all lashes are removed, cleanse your eye area with a mild, oil-free face wash to remove any oily residue, and apply a nourishing lash serum to condition your natural eyelashes.
Maintaining your lash clusters for prolonged wear
With proper care, your DIY lash clusters can look fresh and beautiful for several days. To extend the life of your application, it is important to practice excellent hygiene and avoid certain habits. For the first twenty-four hours after application, avoid exposing your lashes to direct water, steam, or high humidity, as the adhesive requires time to cure fully.
When cleansing your face, navigate carefully around the eye area. Use a damp cloth or cotton pad with oil-free micellar water to clean your eyelids, avoiding any oil-based products near the lash line, as oils will prematurely dissolve the adhesive. Gently comb through your lashes daily with a clean spoolie brush to keep them aligned, fluffy, and free of dust. By incorporating these simple, gentle habits into your daily beauty routine, you can enjoy a flawless, professional-looking gaze day after day.





