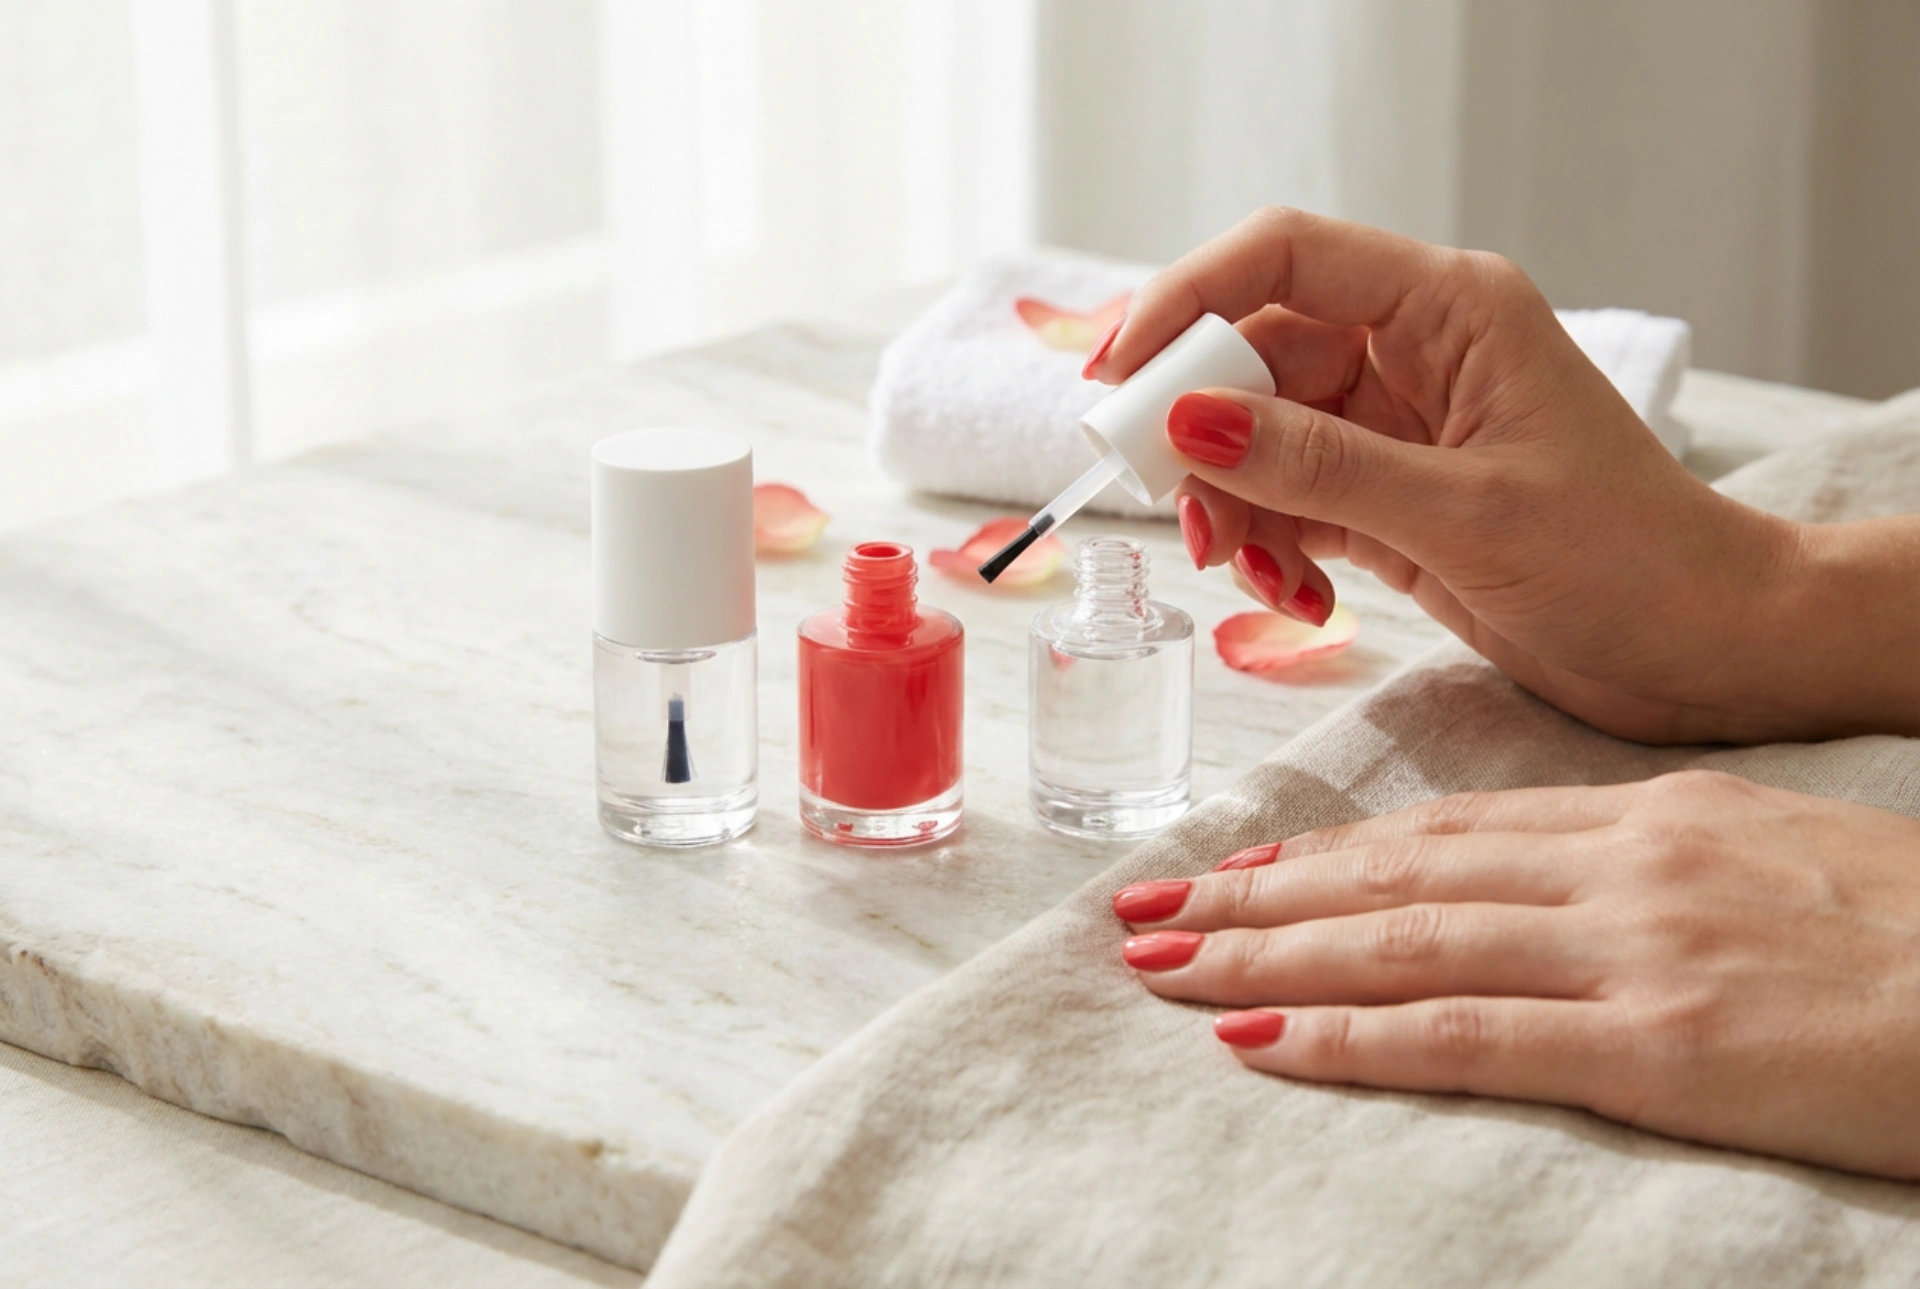


An elegant flat lay featuring minimalist bottles of base coat, vibrant colour polishes, and glossy top coats captures the modern approach to nail styling. Having a well-manicured hand with a flawless, high-shine finish is no longer exclusive to professional salons. With the right tools and a structured approach, achieving a long-lasting, beautifully cured gel manicure at home is entirely attainable. Understanding the function of each product layer and the science behind the curing process is key to preventing premature lifting and ensuring nail health.
The Essential Foundation: The Base Coat
The journey to a perfect gel manicure always begins with a high-quality base coat. This initial layer serves multiple vital purposes. Firstly, it acts as a protective barrier between the natural nail plate and the highly pigmented colour polishes, preventing unsightly staining. Secondly, the base coat is designed to chemically bond with both the keratin in the natural nail and the subsequent colour coats, acting as a powerful double-sided adhesive.
When applying the base coat, the absolute rule is to keep the layer thin and even. Overloading the brush can cause the product to flood the cuticles and side walls, which inevitably leads to lifting within a few days. Before curing, it is beneficial to use a clean brush or a wooden stick to remove any excess product that has touched the skin. Curing the base coat creates a slightly sticky surface, known as the inhibition layer. This tacky layer should not be wiped away, as it is crucial for helping the next layer adhere properly.
Mastering the Colour Application
Applying the colour polish is where creativity meets precision. To achieve a rich, streak-free hue, it is always recommended to apply two thin coats rather than one thick layer. Thick coats of gel polish struggle to cure thoroughly, as the pigments block the light from reaching the deepest parts of the layer. This can lead to wrinkling, bubbling, and a sticky residue underneath a seemingly dry surface.
For a seamless application, start by placing a small bead of colour in the middle of the nail, slightly away from the cuticle line. Gently push the brush towards the cuticle without touching the skin, and then sweep down to the free edge of the nail. One of the most critical steps in this process is capping the free edge. This involves sweeping the brush horizontally along the very tip of the nail. Capping seals the layers together, protecting the manicure from water penetration and daily friction, which are the main culprits of premature chipping.
The Final Shield: The Glossy Top Coat
The top coat is the ultimate protector of your manicure. Its primary function is to seal the colour, shield it from scratches, and provide a brilliant, glassy shine that lasts for weeks. Depending on your aesthetic preference, you can choose between ultra-glossy finishes, subtle satin sheens, or velvety matte textures. Regardless of the finish, the application method remains consistent.
Just like the previous steps, the top coat must be applied carefully, ensuring the entire coloured surface is covered. Ensure you cap the free edge once more during this stage to lock in the manicure completely. Many traditional top coats leave a sticky dispersion layer after curing. This must be wiped away gently using a lint-free wipe soaked in a mild cleanser once the nails have cooled down from the lamp. Newer "no-wipe" formulas bypass this step, offering instant shine straight out of the curing unit.
The Science of Proper Curing
Curing is not merely drying; it is a chemical process known as polymerisation, where liquid photo-initiators in the gel react to ultraviolet (UV) or light-emitting diode (LED) light, transforming into a hard, durable plastic. To achieve this transformation successfully, the light source must be appropriate for the products used. LED lamps are highly popular due to their rapid curing times, typically ranging from 30 to 60 seconds, whereas traditional UV lamps may require up to two full minutes per layer.
Proper hand placement inside the lamp is essential for uniform curing. The hand should lie completely flat on the bottom plate, ensuring the thumbs are not tilted away from the light source. Tilting the hand can cause the gel to pool to one side and receive insufficient light exposure. Under-cured gel is a common cause of skin sensitivity and peeling, while over-curing can make the nails brittle and difficult to remove later. Always refer to the manufacturer's guidelines for specific curing times associated with each product.
Step-by-Step Best Practice for Home Styling
To consistently achieve professional results at home, establishing a structured routine is beneficial. Adhering to these steps will ensure optimal durability and a neat finish:
- Preparation: Gently push back cuticles, shape the nail using a fine-grit file, and lightly buff the nail plate to remove natural oils. Cleanse the nail thoroughly with a dehydrating solution.
- Base Coat: Apply a very thin, even layer of base coat, ensuring to cap the free edge, and cure according to your lamp's specifications.
- Colour Coat: Apply the first thin layer of colour, cure, then apply the second thin layer and cure again to build up opacity.
- Top Coat: Apply a protective top coat over the entire nail, seal the free edge, and cure. If using a wipe formula, wait thirty seconds before removing the sticky layer.
- Nurture: Complete the process by massaging a nourishing cuticle oil into the surrounding skin to restore moisture.
By treating each stage of the manicure with patience and precision, you can enjoy strong, beautiful nails that maintain their lustrous finish for up to three weeks, keeping your hands looking elegantly manicured and healthy.




