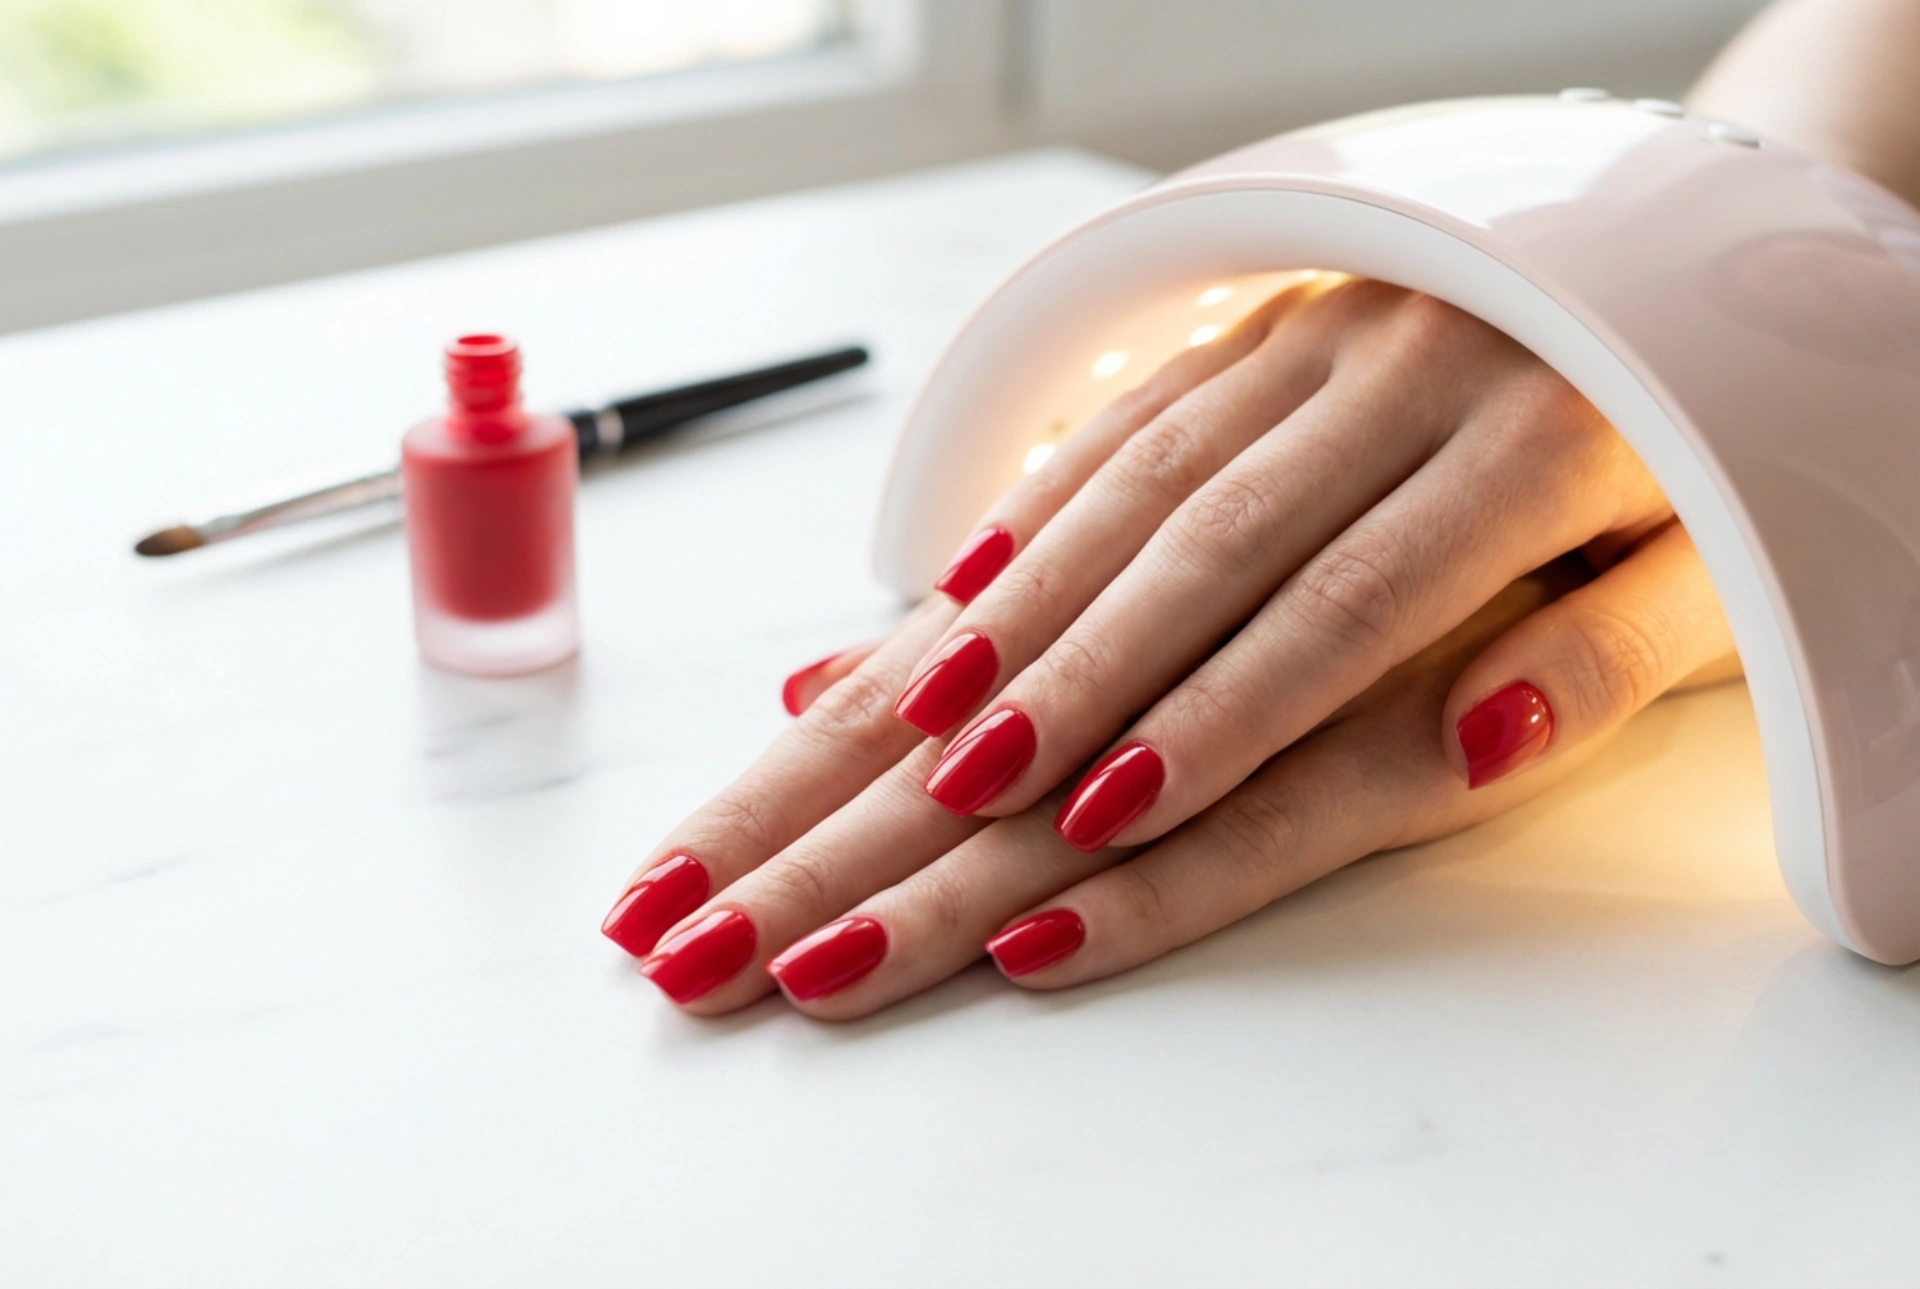


Achieving a flawless, vibrant red gel manicure at home requires precision, patience, and a solid understanding of the application process. The sight of elegant, freshly painted red nails drying under the soft light of an LED lamp is synonymous with classic beauty and professional care. To recreate this sophisticated look that lasts for weeks without chipping, every step—from the initial preparation of the natural nail plate to the final curing process—must be executed with attention to detail. This guide provides a comprehensive overview of how to achieve stunning, salon-quality red gel nails at home.
The Importance of Nail Plate Preparation
The foundation of any long-lasting gel manicure lies in how well the natural nail plate is prepared. Skipping this crucial phase often leads to lifting, peeling, or premature chipping of the gel polish. Begin by thoroughly washing and drying your hands. Gently push back the cuticles using a wooden stick or a metal pusher. It is essential to remove any dead skin from the nail surface, as gel polish will not adhere to skin or cuticles.
Essential Preparation Tools
- Fine-grit nail file
- High-grit buffer
- Wooden cuticle pusher
- Nail dehydrator solution
- Lint-free wipes
Once the cuticles are tidy, shape the free edge of your nails using a fine-grit nail file. Next, gently buff the surface of each nail with a high-grit buffer. The goal here is not to thin the nail plate, but to remove the natural shine and oils, creating a slightly textured surface that the gel base coat can cling to. Finally, wipe the nails with a lint-free wipe soaked in a professional nail dehydrator or prep solution. This step removes all traces of dust and residual oils, ensuring a clean canvas for the gel application.
Applying the Base Coat: The Essential First Step
Before applying the eye-catching red gel polish, a high-quality base coat must be applied. The base coat acts as a protective barrier between the natural nail and the highly pigmented red polish, preventing staining and promoting adhesion. Apply a very thin, even layer of base coat, starting near the cuticle but without touching the skin. It is vital to leave a tiny gap around the cuticle and sidewalls to prevent lifting later on.
An important technique during this step is sealing or capping the free edge of the nail. Swipe the brush horizontally along the very tip of the nail to seal the edge. Once the base coat is applied to all nails, place them under the LED lamp to cure. Follow the manufacturer's instructions for curing times, which typically range from 30 to 60 seconds depending on the lamp's power.
Applying the Vibrant Red Gel Polish
Vibrant red is a timeless and bold colour choice, but it can be unforgiving if applied unevenly. The key to a perfect finish is applying multiple thin layers rather than one thick layer. Thick layers of gel polish can bubble, wrinkle, or fail to cure properly in the middle, leading to a weak manicure.
Shake or roll the gel bottle beforehand to ensure the pigment is evenly distributed. Wipe excess product off the brush back into the neck of the bottle; you only need a small amount on the tip of the brush. Place the brush in the centre of the nail near the cuticle, gently push it towards the cuticle line without making contact with the skin, and then sweep down to the tip. Paint the sides in a similar manner. Seal the free edge with each coat of red gel. Place your hand under the LED lamp to cure. Repeat this process for a second coat to achieve full, rich opacity.
Curing and Applying the Glossy Top Coat
Once the red colour layers are cured and vibrant, it is time to protect your work with a durable top coat. The top coat provides that signature glass-like shine and seals the colour against scratches, household chemicals, and daily wear. Apply the top coat in a thin, even layer, making sure to cap the free edge once again. Cure this final layer thoroughly under the LED lamp, usually for 60 to 90 seconds to ensure a complete cure.
If you are using a traditional top coat, a sticky inhibition layer will remain on the surface after curing. To remove this tacky residue, saturate a clean, lint-free wipe with a gentle finishing wipe or isopropyl alcohol, and wipe each nail firmly. If you are using a no-wipe top coat, this step is unnecessary, and your manicure will be instantly dry and shiny.
Post-Manicure Care and Maintenance
Once the application and curing are complete, it is essential to restore moisture to your hands and cuticles. The preparation and curing process can dry out the surrounding skin. Apply a nourishing cuticle oil around each nail and massage it in gently. This not only hydrates the skin but also helps to keep the gel flexible, preventing cracking. Regular application of hand cream and cuticle oil will maintain the fresh, polished look of your red gel nails for weeks to come.
To ensure the longevity of your manicure, avoid using your nails as tools to open cans or peel labels. When performing household chores that involve water or cleaning agents, consider wearing protective gloves. This simple habit will protect the gel surface from losing its high shine and prevent premature lifting.




