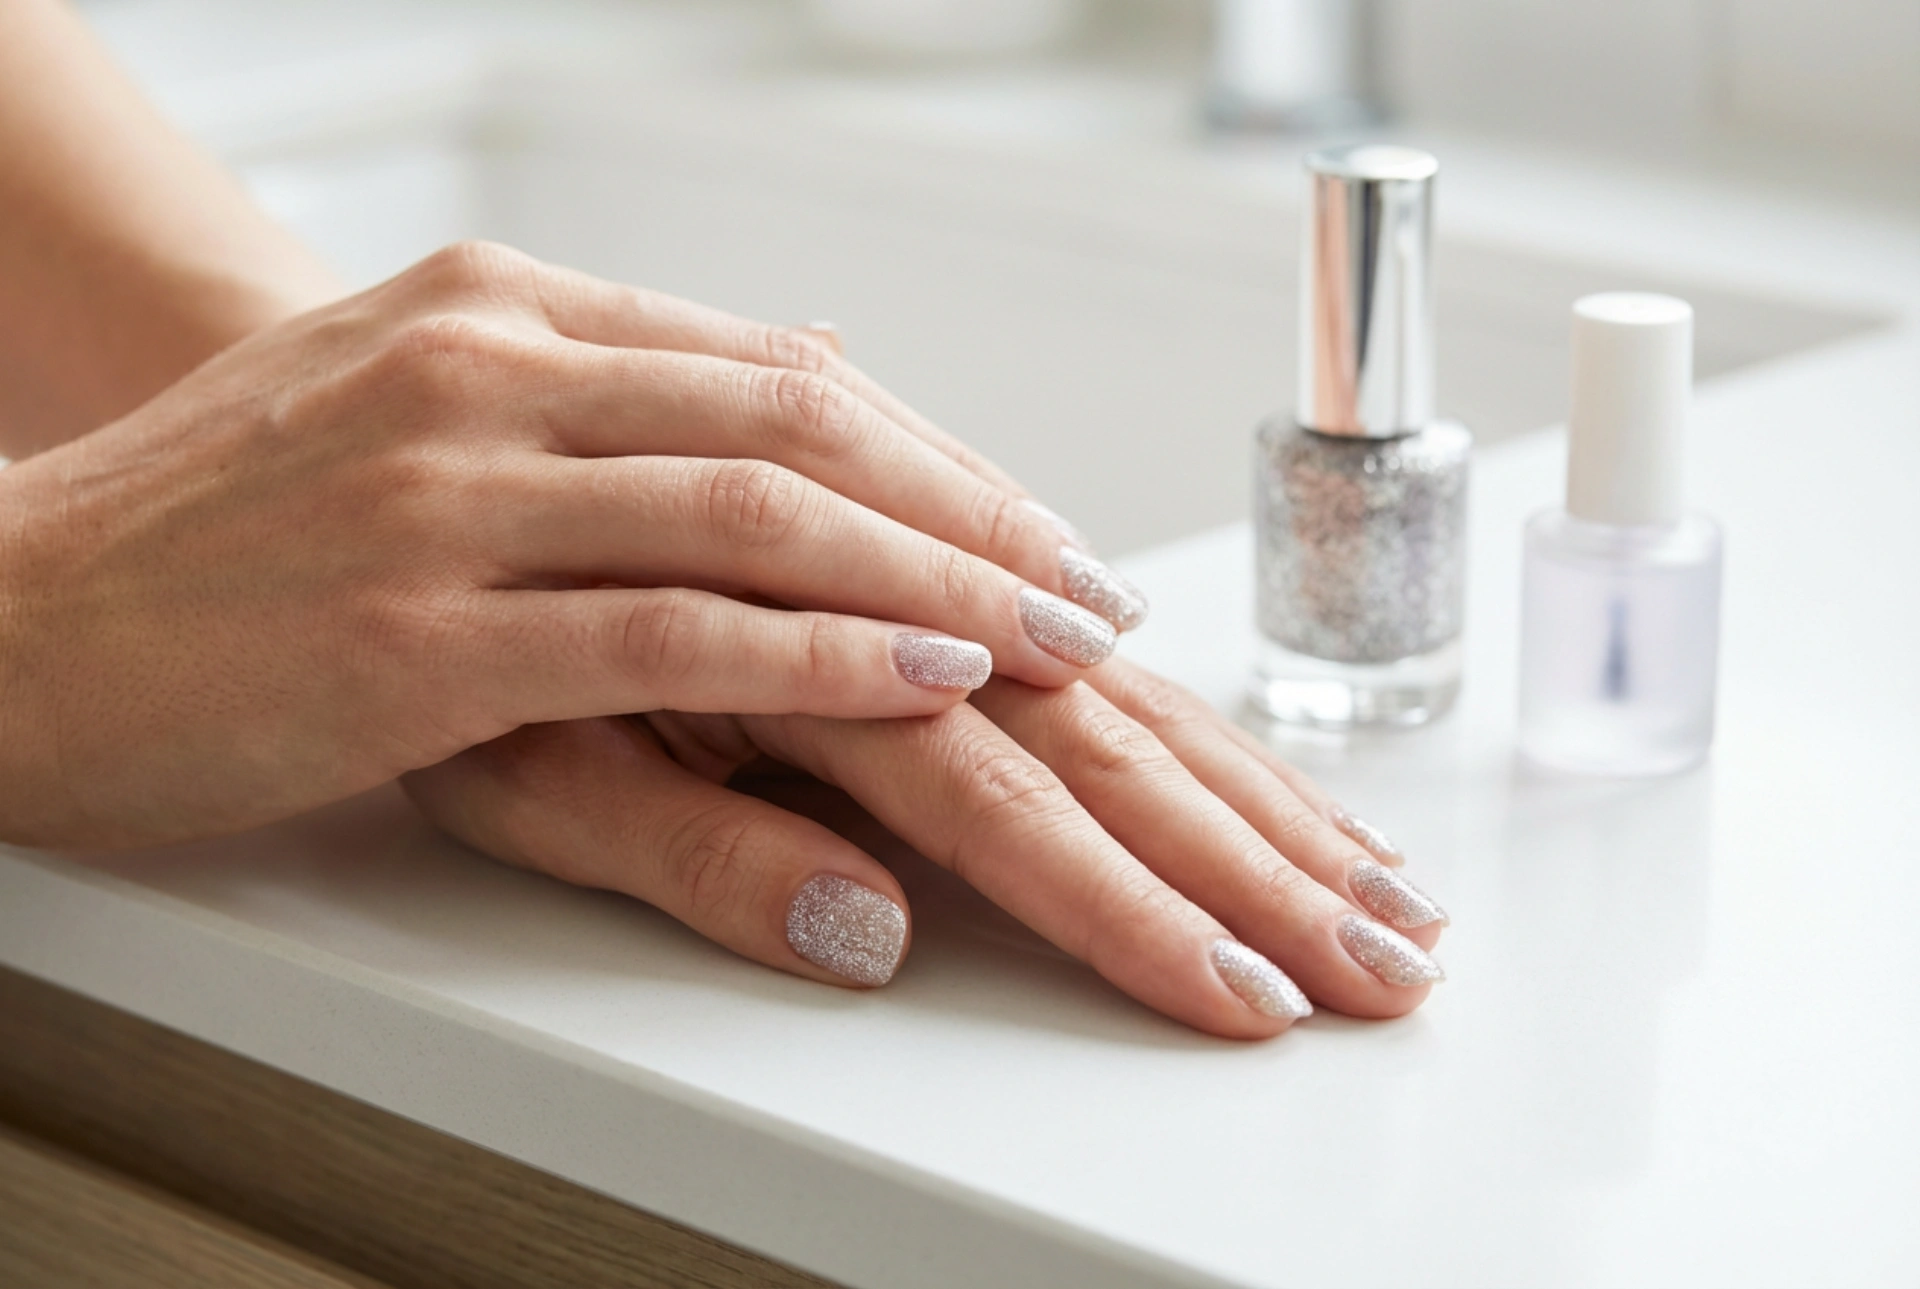


Beautifully manicured hands with a touch of sparkle can elevate any look, reflecting soft light and adding elegance to everyday style. Shimmering glitter gel nail polishes are exceptionally popular, yet they often pose a unique set of challenges during application. Achieving a perfectly flat, smooth surface without any bumpy texture requires specific techniques and a thorough understanding of how glitter particles behave in a gel medium. This guide explores the best methods to apply glitter gel polish evenly and achieve a flawless, smooth finish.
Understanding the Structure of Glitter Gel Polishes
Unlike classic solid colours, glitter gel polishes contain suspended particles of various sizes, shapes, and weights. These particles do not self-level as easily as standard pigments. When applied to the nail, they can cluster together, create uneven ridges, or stick out from the surface. To prevent a rough finish, it is essential to prepare the nail plate meticulously and understand how to manipulate the suspension. Choosing a high-quality product with an even distribution of shimmer is the first step towards an effortless application.
Step-by-Step Guide to Even Glitter Application
The key to a flawless glitter manicure lies in the technique of layering and dispersing the shimmer evenly across the nail plate. Here is how to achieve the best results step by step:
Prepping the Nail Base
Always start with a high-quality base coat. A smooth, well-applied base acts as the foundation for the glitter particles, preventing them from sinking into natural nail imperfections and providing a level canvas for the subsequent layers.
Stirring the Polish Correctly
Before application, do not shake the bottle vigorously, as this introduces air bubbles that can ruin the smooth finish and create tiny pockets of air under the cured gel. Instead, gently roll the bottle between your palms to distribute the settled glitter particles evenly throughout the formula.
Thin Layers and Patting Motions
Apply the glitter polish in very thin layers. Instead of using long, sweeping strokes as you would with solid colours, use gentle patting or dabbing motions with the brush to place the glitter where it is needed most. This prevents the particles from dragging and gathering at the free edge of the nail.
Using a Detail Brush
For precise placement, especially near the cuticles and the sidewalls, a fine detail brush can be incredibly useful. You can pick up individual glitter pieces from the brush and place them exactly where there are gaps, ensuring an even distribution of sparkle without overloading the nail with excess gel product.
Techniques for Smoothing the Surface
Once the glitter is applied, achieving that glassy, smooth finish requires additional steps before and after curing the final layers. Here are three effective techniques to level your manicure:
- The Floating Technique: When applying the topcoat, use a slightly thicker layer and 'float' the brush over the nail without applying direct pressure. This allows the product to fill in the gaps between the glitter particles naturally without wiping them out of place.
- Double Topcoat Method: If you are using chunky glitter, one layer of topcoat may not be enough. Apply a thin, flexible base coat or a dedicated builder gel over the cured glitter layer to level the surface, cure it, and then finish with a final glossy topcoat for maximum durability.
- Buffing the Imperfections: If some glitter pieces still stick out after curing the first layer of topcoat, gently wipe the sticky residue away with a cleanser and use a soft buffer to smooth out the bumps. Wipe away the dust and apply a final topcoat for a flawless, reflective shine.
Choosing the Right Topcoat
The choice of topcoat plays a crucial role in the final look. A thicker, self-levelling topcoat is highly recommended for glitter manicures. It fills in the microscopic valleys between the glitter pieces, creating a uniform, mirror-like surface. Ensure the topcoat is compatible with your gel system for the best adherence and to prevent premature chipping.
Common Mistakes to Avoid
To ensure longevity and aesthetic appeal, avoid these frequent pitfalls during your manicure routine:
- Applying coats that are too thick: This leads to incomplete curing, trapping wet gel underneath, which can cause peeling, lifting, and uneven textures.
- Neglecting to cap the free edge: This can cause the glitter to chip quickly and expose the natural nail, leading to premature wear.
- Using worn-out brushes: Brushes that are stiff or splayed cannot distribute particles evenly, resulting in clumping and a patchy appearance.
Achieving Longevity and Radiance
A well-applied glitter gel manicure not only looks spectacular but also offers great durability. Because glitter particles add structural strength to the gel layers, when applied correctly, your manicure can last for weeks without losing its lustre. Taking your time during the application process, ensuring each layer is cured completely under the lamp, and using proper finishing techniques will yield professional-looking results every time.
By mastering these simple techniques, you can enjoy a dazzling, elegant glitter manicure at home. The secret lies in patience, thin layers, and the right smoothing methods, ensuring your nails catch the light beautifully with a perfectly smooth, professional finish.




