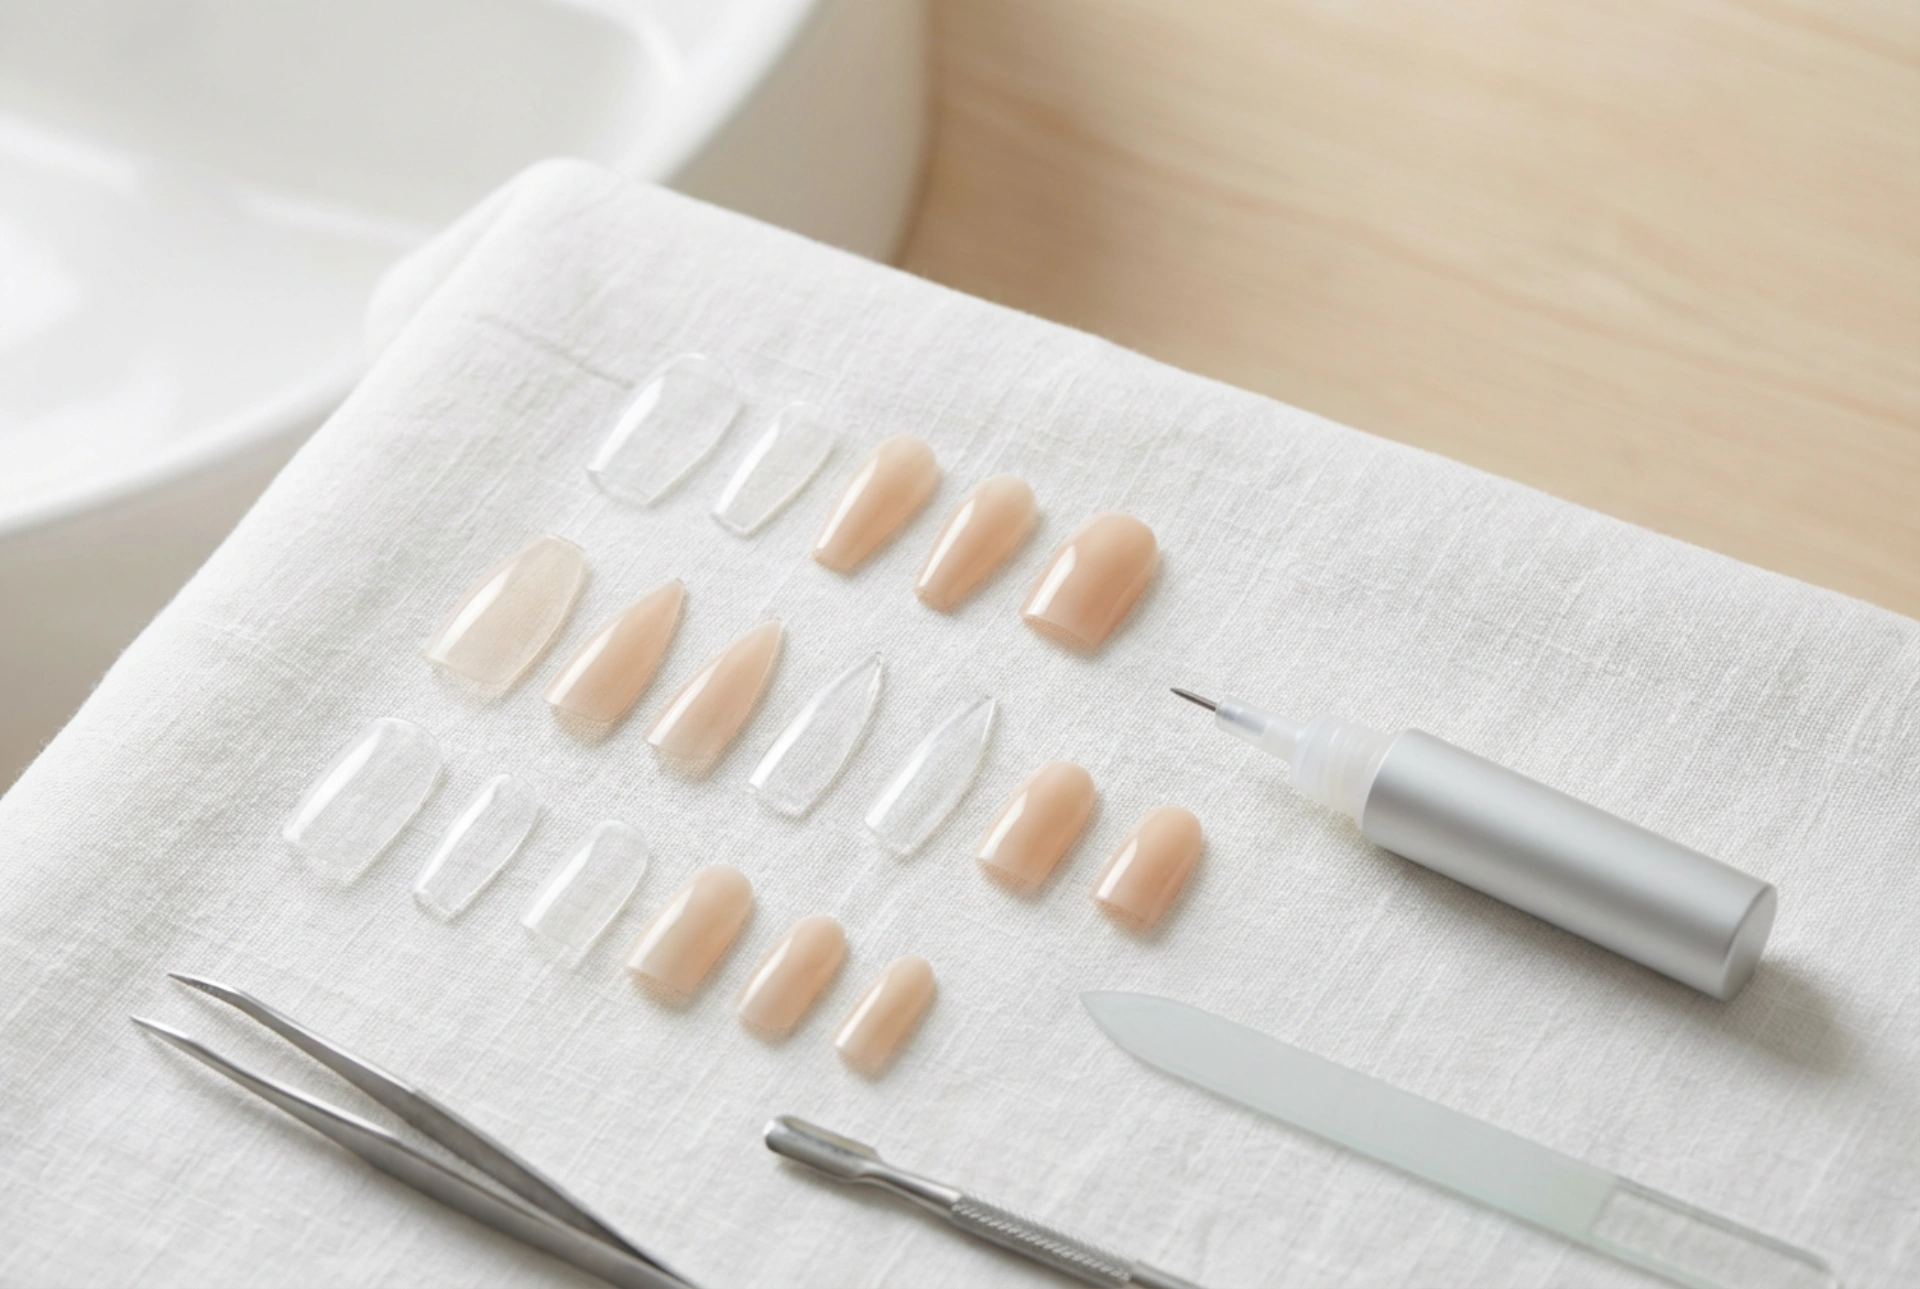


Creating a professional-looking manicure at home has never been easier, especially with the wide variety of modern artificial nail tips available today. When arranged neatly, as in a pristine flat lay with transparent and natural-toned options, these beauty tools promise a seamless transformation. Achieving a beautiful result depends heavily on understanding the different types of tips, finding the correct fit for each individual nail plate, and mastering a quick, safe application technique.
Understanding the Types of Artificial Nail Tips
Artificial nail tips come in an array of styles, shapes, and materials to suit different aesthetic preferences and nail bed structures. Choosing the right type is the foundation of a natural-looking manicure. The most common options include:
- Full-cover tips: These cover the entire natural nail plate from the cuticle to the free edge, offering an instant transformation with minimal blending required.
- Half-well tips: Designed to be applied only to the tip of the natural nail, these require blending at the transition point for a smooth, seamless finish.
- Clear versus natural tones: Transparent tips are ideal for creating glass-like designs or vibrant nail art, while natural-toned or nude-coloured tips offer a classic, clean base that mimics the natural nail structure.
Popular shapes range from classic square and oval to modern almond, stiletto, and coffin. Selecting the shape that complements the natural length and form of your fingers can visually elongate your hands and enhance the overall appearance of the manicure.
How to Choose the Perfect Fit
Proper sizing is the most critical step in ensuring longevity and preventing damage to the natural nail. Applying a tip that is too small or too large can lead to lifting, discomfort, and moisture trapping. To find the perfect match, it is essential to follow a careful fitting process:
- Measure side to side: The artificial tip must cover the natural nail plate from side wall to side wall without overlapping onto the surrounding skin or cuticles.
- Assess the arch: Natural nails have unique curvature. If the artificial tip is too flat, it will create tension; if it is too curved, it will leave air gaps. Choose tips that mimic your natural nail profile.
- Adjusting the size: If you are between sizes, always select the slightly larger tip and use a gentle nail file to trim the lateral edges until it fits perfectly against the nail walls.
Taking the time to dry-fit every single nail before opening any adhesive guarantees a smoother application and a much more comfortable wear.
Step-by-Step Quick Application at Home
A successful application relies on careful preparation and precise technique. With the right tools and a systematic approach, you can achieve a secure bond in minutes:
1. Prepare the Natural Nail
Start by pushing back the cuticles gently with a wooden stick. Lightly buff the surface of the natural nail to remove shine, which helps the adhesive grip better. Wipe the nails with a dehydrating solution or rubbing alcohol to remove any residual oils and dust.
2. Apply the Adhesive
Place a small drop of cosmetic adhesive onto the well of the artificial tip. Avoid using too much product, as excess glue can squeeze out onto the skin and ruin the clean finish.
3. Position and Press
Hold the tip at a 45-degree angle, align it with the base of the natural nail (or the free edge for half-well tips), and slowly lower it down. Press firmly for 10 to 15 seconds. This sliding motion prevents air bubbles from forming under the tip.
Caring for Your Artificial Nails
To enjoy your beautiful manicure for as long as possible, some basic aftercare is essential. Avoid exposing your hands to hot water or harsh household cleaning agents immediately after application, as the adhesive needs time to fully cure. Wearing protective gloves during chores will significantly extend the lifespan of your tips. Additionally, keep your hands and cuticles moisturised with a nourishing oil to maintain the health of your natural nails underneath.




