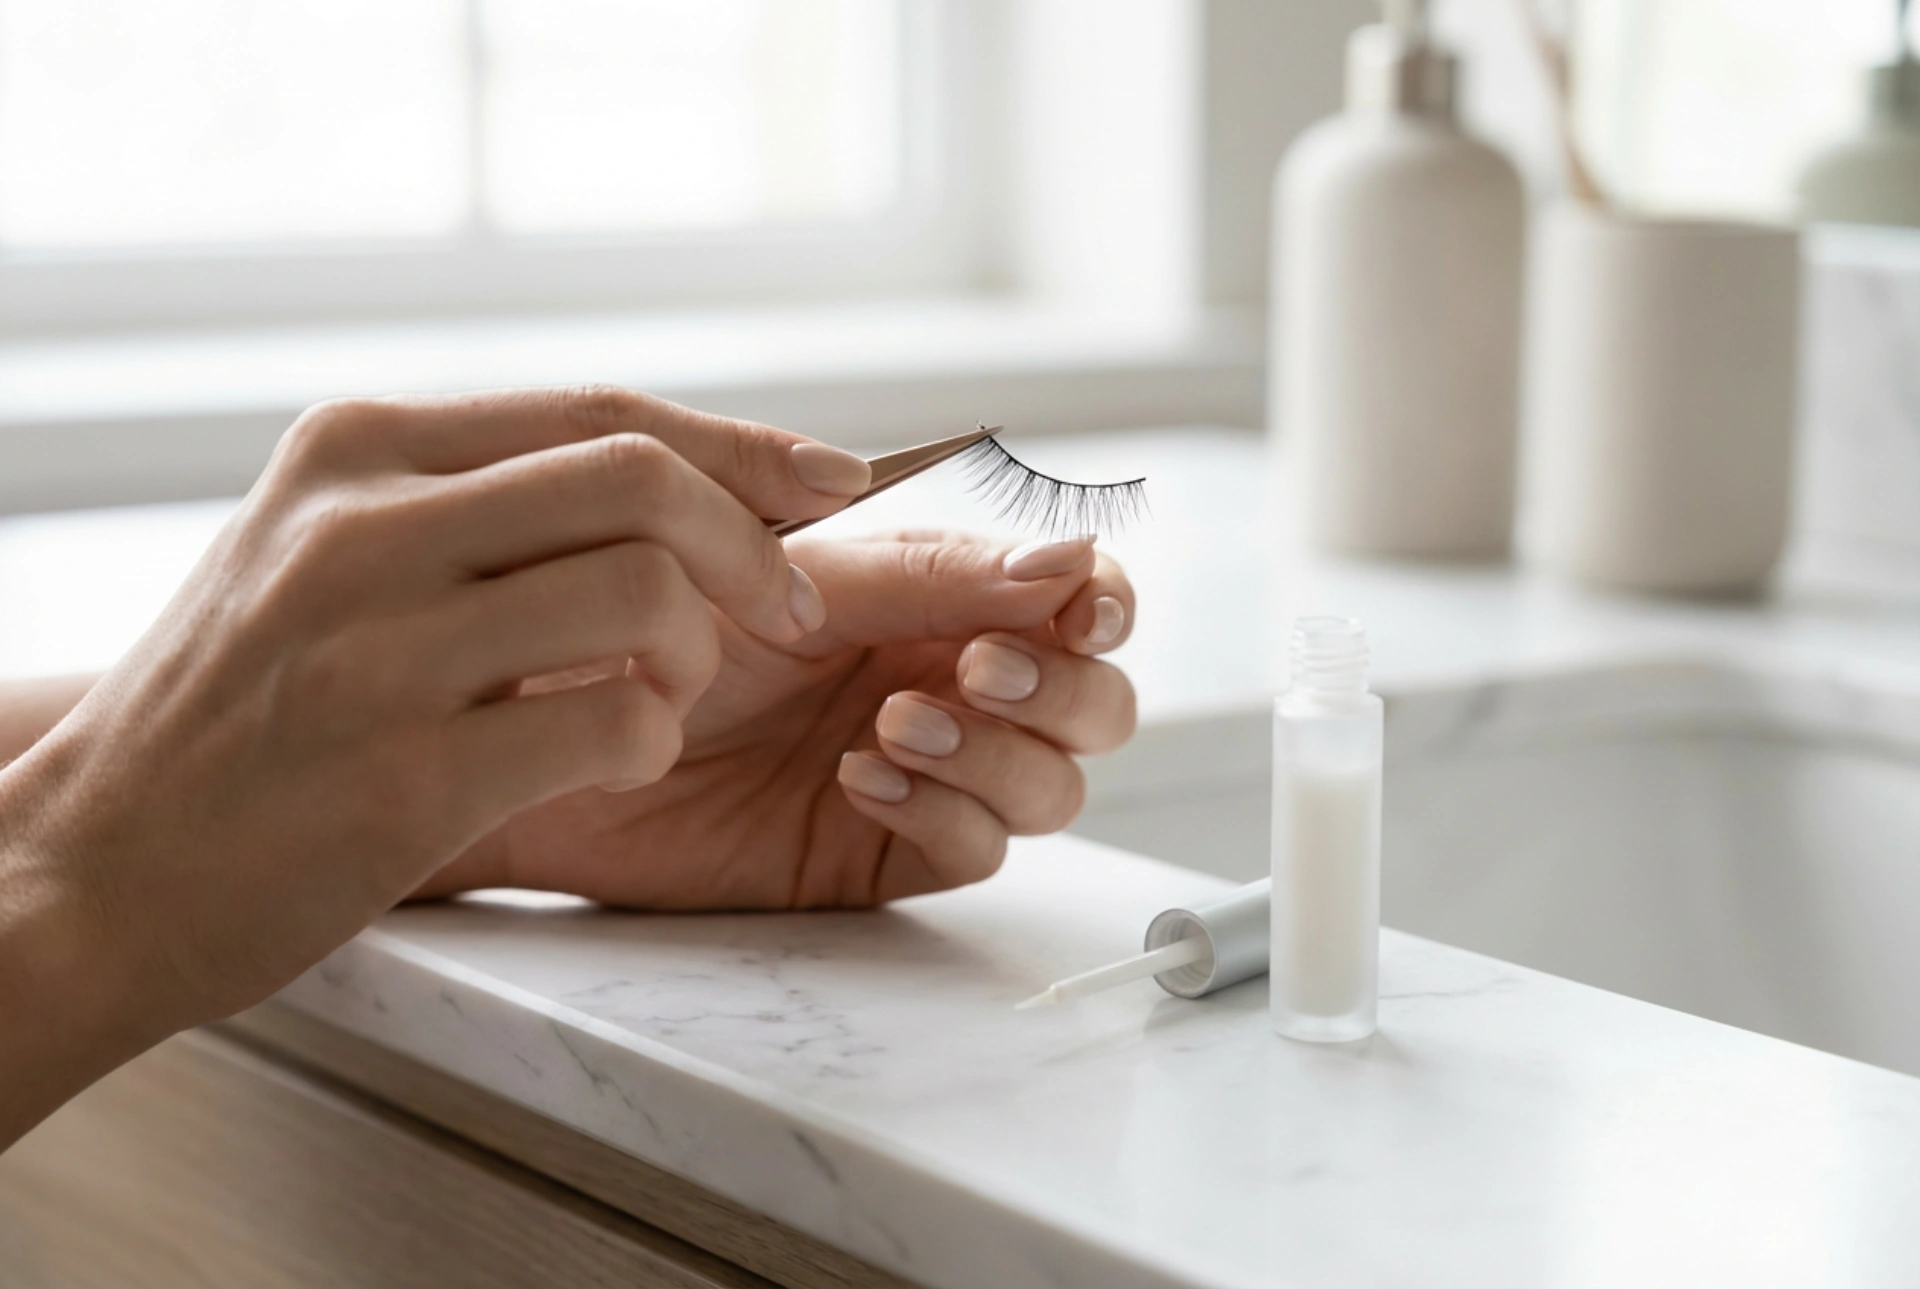


The ritual of enhancing one's eyes with false eyelashes remains a timeless standard in modern cosmetic styling. Set against a clean, light-filled vanity, the delicate act of aligning a strip of lashes transforms a simple makeup look into something truly captivating. While the process may seem daunting at first, mastering the application of strip lashes relies on patience, the right techniques, and proper preparation. By understanding the fundamentals of lash line readiness, adhesive application, and gentle removal, anyone can achieve a seamless and elegant finish from the comfort of their home.
Preparing the Natural Lash Line for Seamless Integration
Before attempting to apply false eyelashes, it is essential to prepare your natural lashes and the surrounding skin. This ensures that the adhesive bonds properly and that the final look appears natural and cohesive. Begin with a clean canvas. Any trace of oil, makeup remover, or heavy eye cream can compromise the adhesive, causing the strip to lift prematurely. Gently cleanse the eyelid area with an oil-free cleanser or a micellar water, and pat the skin completely dry.
Once the skin is prepped, focus on your natural lashes. Curling them with a clean lash curler provides a supportive shelf for the false strip to rest upon. This step is particularly crucial for those with straight or downward-pointing lashes, as it prevents a visible separation between the natural and synthetic fibres. Following this, apply a thin coat of mascara. Applying mascara before the false lashes, rather than after, keeps the delicate strip clean and reusable, while helping to blend the colour of your natural lashes with the deep hue of the synthetic ones.
Measuring and Tailoring the Lash Strip
One size rarely fits all when it comes to false eyelashes. Placing a full-length strip directly onto the eyelid without customising it can lead to discomfort, drooping outer corners, or lifting at the inner corners. To measure, gently lift the lash strip from its packaging using tweezers or your fingertips. Hold the strip against your natural lash line, starting a few millimetres away from the inner corner of the eye. The inner corner is highly sensitive, and placing the lash too close to the tear duct will cause irritation and watering, which will inevitably dissolve the adhesive.
Trimming with Precision
Identify where the lash strip extends past the outer corner of your natural lash line. Any excess must be trimmed to ensure a comfortable fit. Always trim from the outer edge of the lash strip rather than the inner edge, as the inner lashes are designed to be shorter and more delicate to mimic natural hair growth. Use small, clean beauty scissors to make precise cuts. It is always safer to trim a tiny amount at a time, re-measuring against your eye until the length is absolutely perfect.
The Art of Selecting and Applying Eyelash Adhesive
The adhesive is the foundation of a successful lash application. There are several types of cosmetic lash glues available, generally categorised by colour and formulation. Clear-drying adhesives are excellent for beginners because any minor slips or excess glue will dry completely invisibly, leaving a clean finish. Dark or black-tinted adhesives, on the other hand, blend seamlessly with dark eyeliner, offering a more defined and dramatic look along the lash line.
When applying the adhesive, moderation is key. Dispense a tiny drop of glue onto a clean surface or directly along the lash band. It is highly beneficial to apply a fractionally larger amount of glue to the very inner and outer tips of the band, as these are the areas most prone to lifting due to facial movement. The most crucial step in this process is patience: wait approximately thirty to forty seconds for the adhesive to become tacky. Applying a wet, runny adhesive directly to the eyelid will cause the strip to slide around, smudge your makeup, and fail to grip the skin effectively.
Step-by-Step Lash Application Technique
With the glue properly tacky, you are ready for the application. Using a dedicated lash applicator or a pair of tweezers, grip the lash strip firmly in the centre. Tilt your head slightly back while looking down into a mirror. This angle provides an unobstructed view of your entire lash line, making placement much easier than looking straight ahead.
- The Centre Placement: Gently place the centre of the lash strip onto the middle of your natural lash line, as close to the roots as possible without touching the actual lash hairs.
- Securing the Corners: Once the centre is anchored, use your tweezers to gently press the outer corner of the strip down onto the skin, followed by the inner corner.
- The Final Merge: Use your fingertips or a lash applicator to gently squeeze your natural lashes and the false strip together. This fuses them into a single, cohesive line and eliminates any visible gaps.
Safe Removal and Preservation of Your Lashes
Proper removal is just as important as application, ensuring that your natural lashes remain entirely undamaged and that the synthetic strip can be reused. Never pull or rip false eyelashes straight off the eyelid. Doing so can cause significant irritation to the delicate skin of the eye area and pull out your natural lashes.
To remove the lashes safely, saturate a cotton pad with a gentle, oil-free makeup remover or micellar water. Hold the damp pad over your closed eye for a few seconds to allow the solution to break down the adhesive. Gently slide the lash strip away from the outer corner toward the inner corner. Once removed, use tweezers to carefully peel away any remaining glue residue from the lash band. Store the cleaned lashes in their original packaging to maintain their curved shape, ready for your next beauty ritual.





