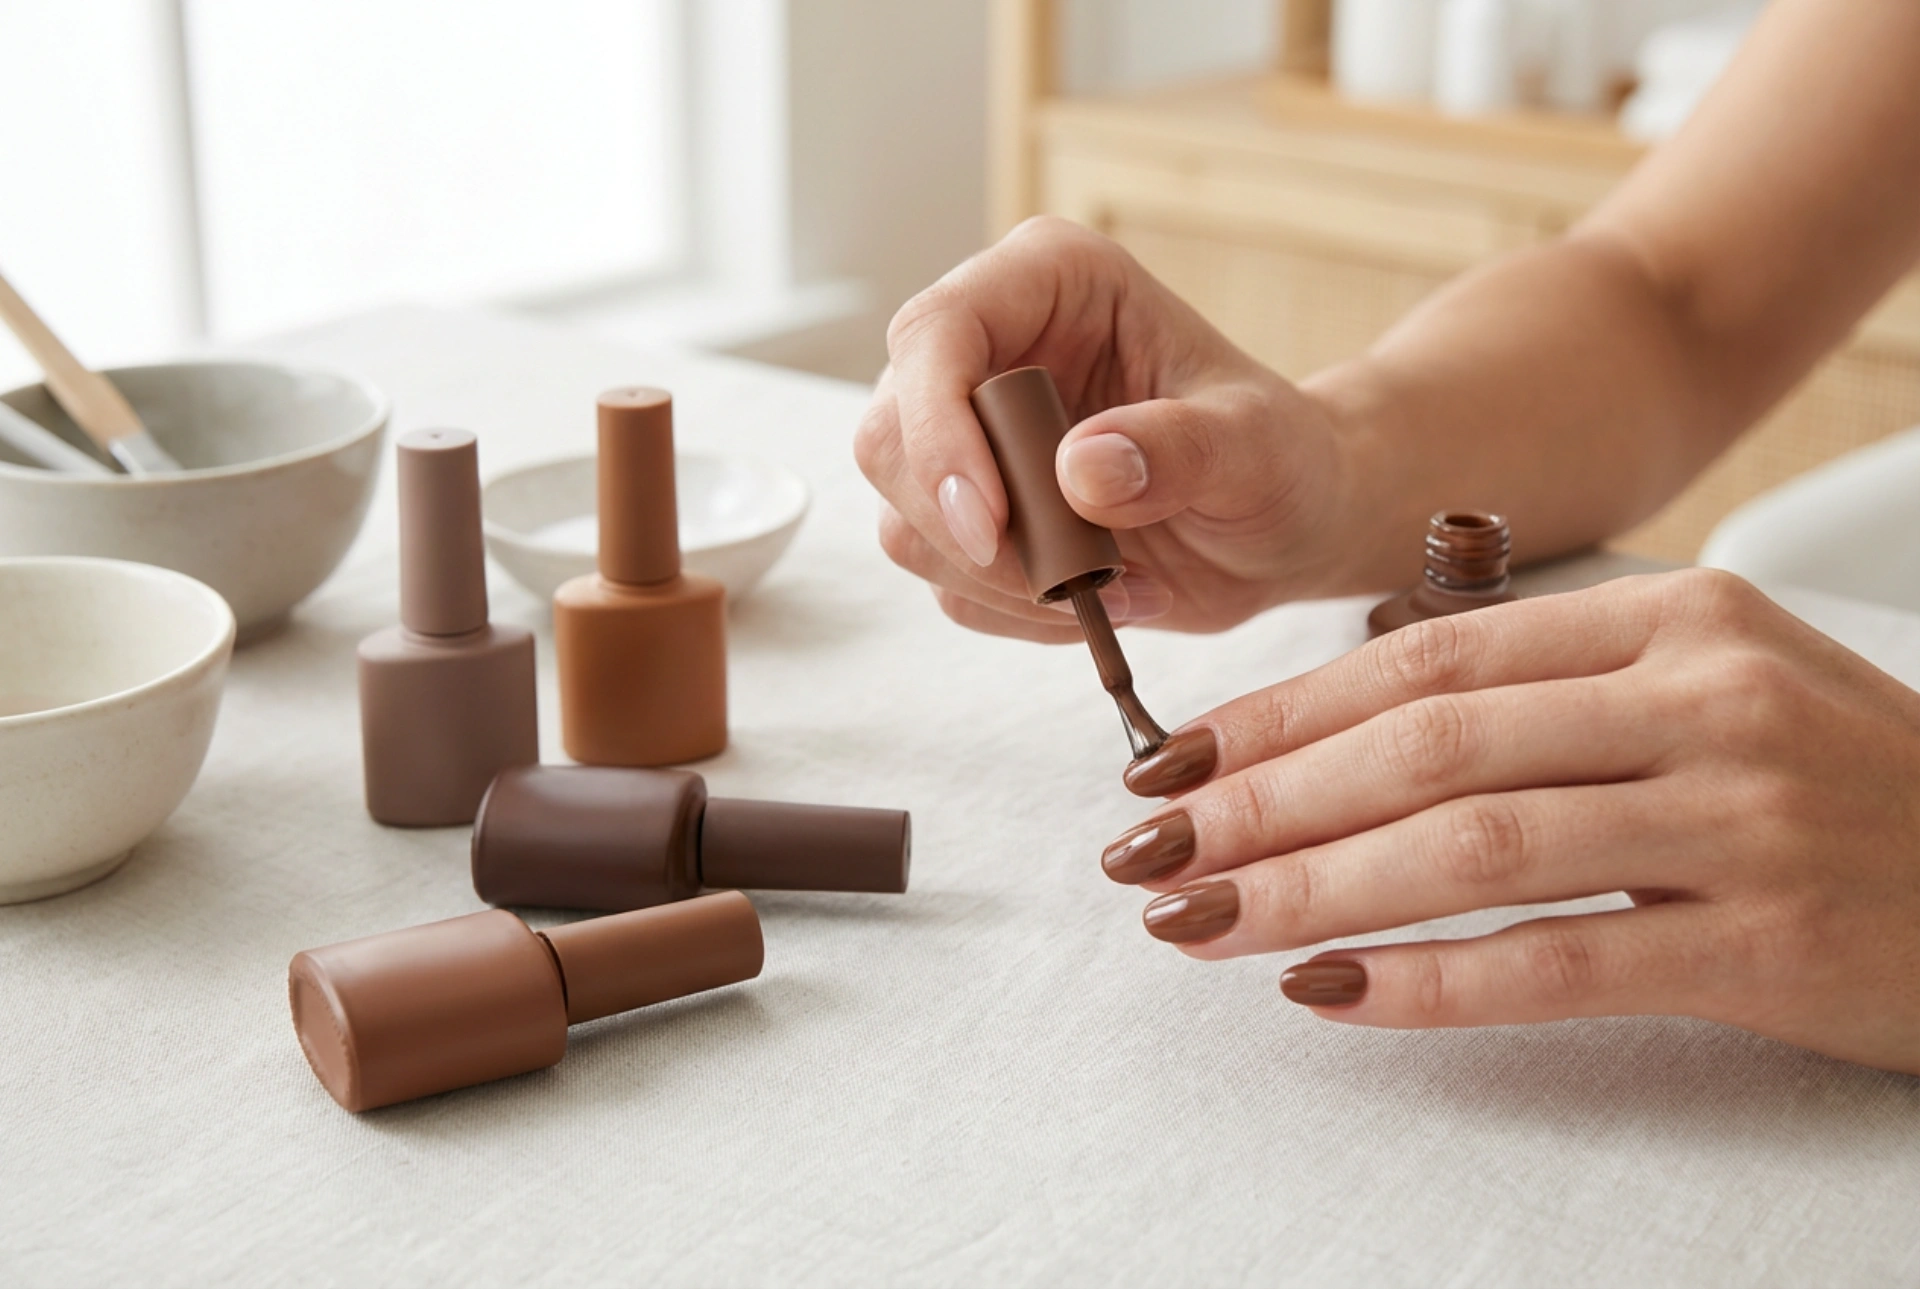


A beautifully curated flat lay of warm brown gel nail polish bottles, showcasing a spectrum of rich tones from creamy caramel to deep espresso, captures the essence of modern elegance. When applied with precision under soft, natural light, a glossy brown manicure exudes sophistication and warmth. Brown gel polish has transitioned from a seasonal autumn trend to a year-round staple, offering a chic, neutral alternative to traditional pinks and nudes. Achieving that flawless, salon-like finish at home requires a combination of choosing the right tone for your skin and mastering a smooth, bubble-free application technique.
How to Choose the Perfect Shade of Brown for Your Skin Tone
The beauty of brown gel polish lies in its incredible versatility. Because brown is a composite colour, it contains varying undertones that can either harmonise with or clash against your natural skin tone. To select the most flattering shade, it is helpful to look at the undertone of your skin.
- Fair Skin Tones: If you have cool, fair skin, light taupes, soft cocoa, and creamy mocha shades look exceptionally elegant. Avoid extremely dark, muddy browns, which can look overly harsh or wash out your hands.
- Medium and Olive Skin Tones: Warm caramels, rich milk chocolate, and terracotta-infused browns beautifully complement golden or olive undertones. These shades enhance the natural warmth of your skin, creating a cohesive and radiant look.
- Deep Skin Tones: Rich espresso, dark chocolate, and mahogany shades look stunningly dramatic and sophisticated on deeper skin tones. High-shine top coats further elevate these deep hues, making them appear incredibly luxurious.
Step-by-Step Preparation for a Long-Lasting Finish
The secret to a smooth gel polish application lies in the preparation of the natural nail plate. Without proper prep, even the most self-levelling gel formula can pool, lift, or appear uneven. To set up a perfect canvas, start by gently shaping the nails into your desired form. A soft glass file or a fine-grit board is ideal to prevent micro-shattering of the nail edge.
Clearing the Cuticles
Gently push back the cuticles using a wooden stick or a metal pusher. Carefully remove any dead skin from the nail plate, as gel polish will not adhere to the skin and will lead to premature lifting. Avoid cutting the cuticles excessively; a gentle approach keeps the nail frame neat and healthy.
Dehydrating the Nail Plate
Lightly buff the surface of the nail with a soft buffer to remove natural shine. Wipe the nails thoroughly with a lint-free wipe soaked in a gentle dehydrating solution. This step removes any remaining dust, oils, or moisture, ensuring the base coat bonds perfectly to the keratin layer.
The Art of Applying Brown Gel Polish Smoothly
Because brown contains dense pigments, applying it too thickly can prevent the UV/LED light from penetrating properly, leading to wrinkling or bubbling during curing. The golden rule of gel manicures is to work in thin, even layers.
Applying the Base Coat
Apply a thin, uniform layer of base coat, making sure not to touch the surrounding skin or cuticles. Use a clean brush to wipe away any excess before curing. Cure for the recommended time under your lamp.
Building the Colour Layer
When applying the brown gel polish, wipe one side of the brush against the bottle neck to control the amount of product. Place the brush near the centre of the nail, a millimetre away from the cuticle, and push it gently upward before sweeping down to the free edge. Use three smooth strokes: one down the centre, and one on each side. Always cap the free edge of the nail by running the brush lightly along the tip. This seals the colour and prevents chipping.
Curing with Care
Cure each thin layer fully. It is far better to apply three ultra-thin coats for full opacity than two thick ones. Thick layers tend to pool at the sidewalls and shrink during the curing process, ruining the clean, professional outline.
Sealing with a Mirror-Like Shine
To highlight the depth and richness of brown tones, the final step is a high-quality top coat. You can opt for a high-gloss finish, which reflects light beautifully and mimics a professional glass finish, or a velvety matte top coat for a modern, understated suede effect. Apply the top coat evenly, seal the free edge once more, and cure. If your top coat has a sticky residue layer, wait about sixty seconds after curing to let the surface cool down before wiping it with a gentle cleanser to ensure maximum shine and clarity.
Post-Manicure Care for Perfect Hands
Once your brown gel manicure is complete, maintaining the hydration of your hands and cuticles will keep the look pristine. Apply a nourishing cuticle oil daily to keep the surrounding skin soft and prevent hangnails. Wear protective gloves when performing household chores or using cleaning agents to preserve the glossy finish and extend the life of your gorgeous, earth-toned manicure.




