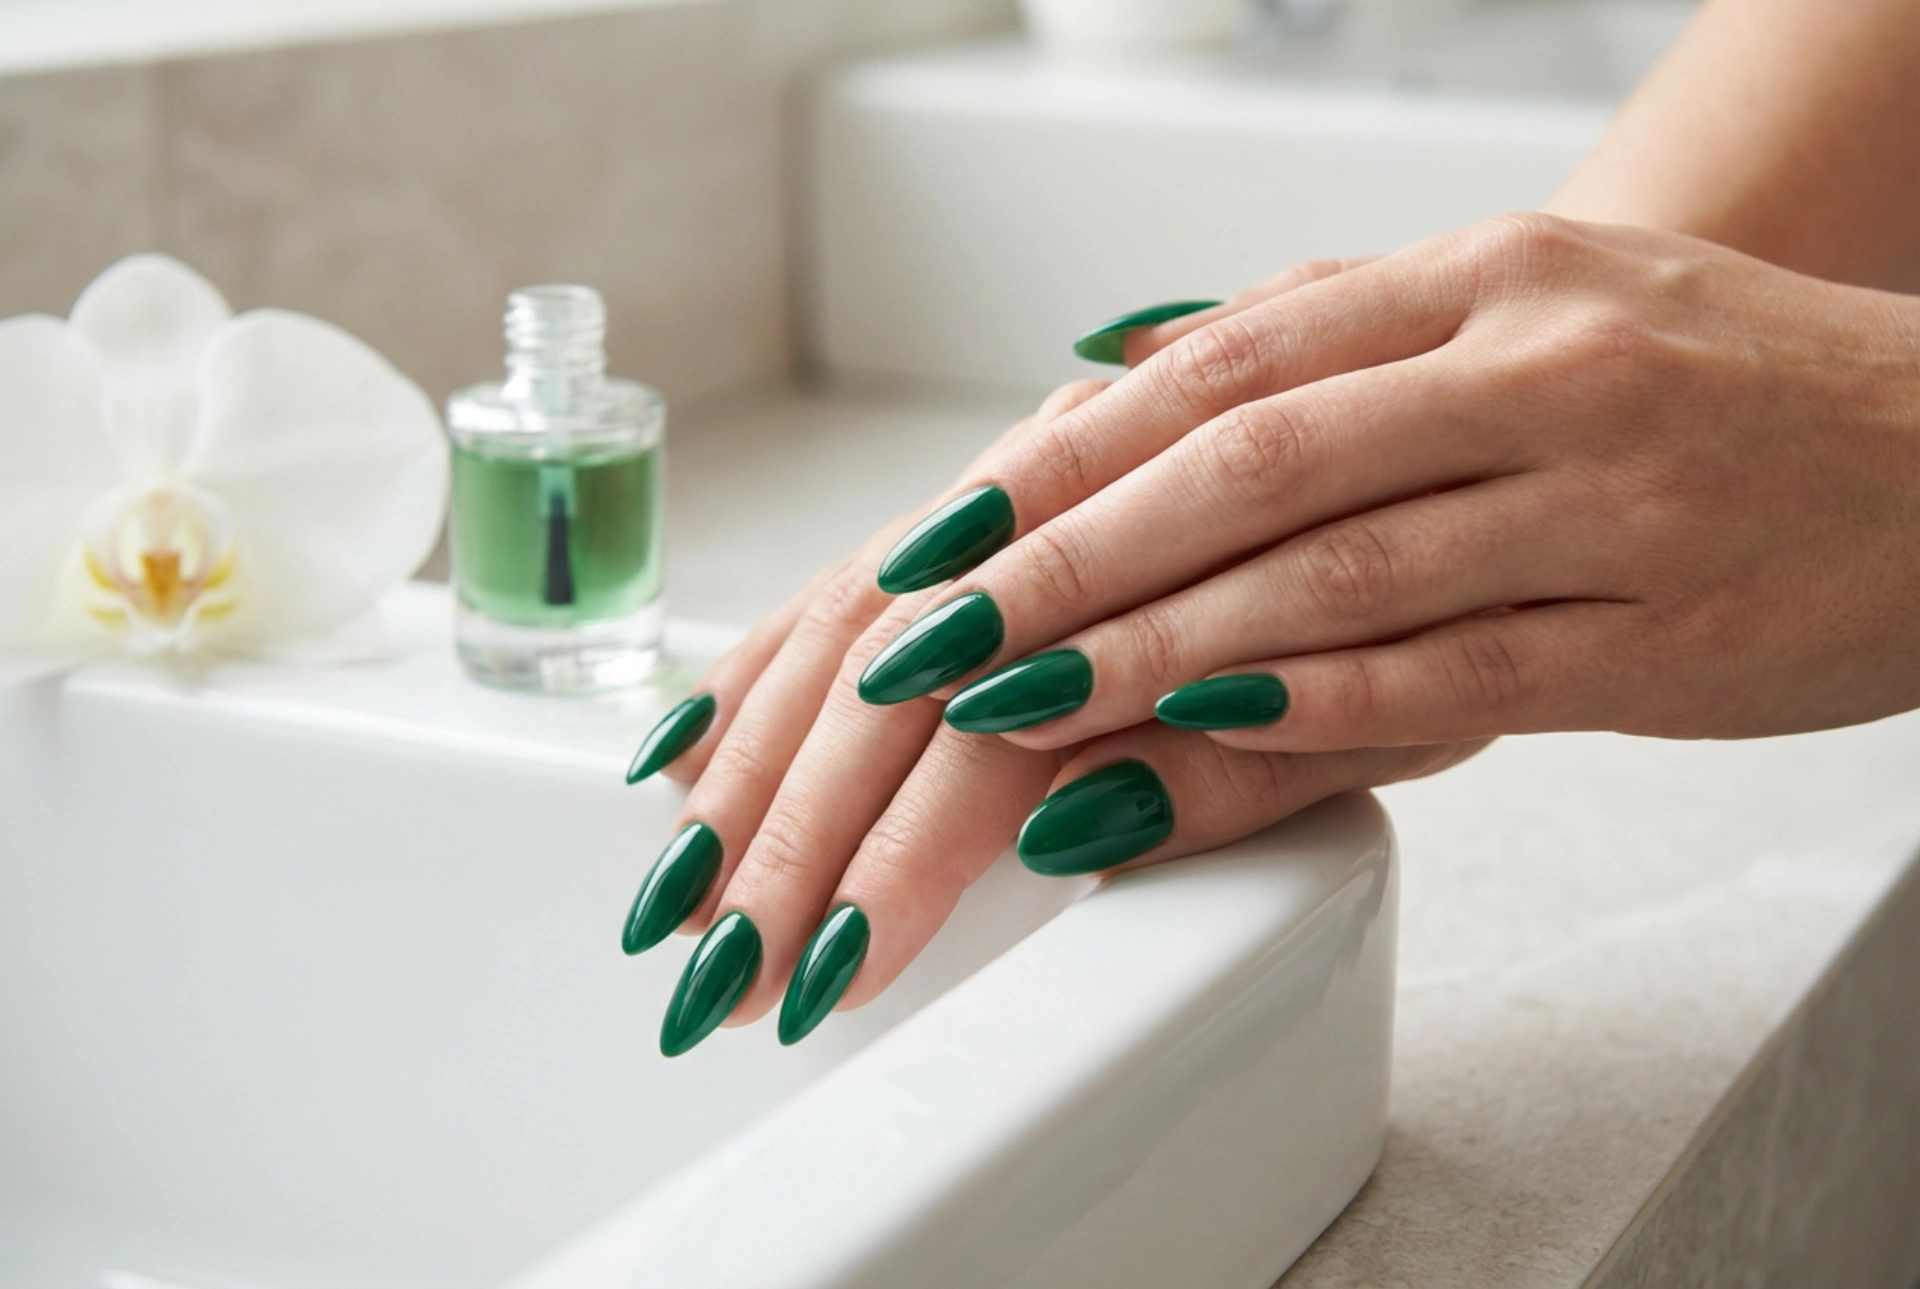


Green nail polish is a sophisticated and bold choice that exudes modern refinement. From deep forest hues to vibrant emerald shades, a beautifully executed green manicure can instantly elevate your overall style, especially when it catches the soft, natural light. However, highly pigmented shades like green are notorious for showing streaks, bubbles, and unevenness if not applied with absolute precision. To achieve a flawless, glossy finish that looks professional and clean, one must focus on meticulous plate preparation, controlled layering techniques, and the correct finishing steps. By understanding how the pigment interacts with the nail surface, you can enjoy a smooth, streak-free manicure at home.
The Crucial Step: Preparing the Nail Plate
The secret to a streak-free application of any rich, dark colour lies in the preparation of the canvas. Because deep green shades reflect light intensely, any imperfection, ridge, or residue on the nail plate will be magnified. To prevent this, begin by gently shaping your nails with a fine-grit file, moving in one direction to avoid splitting the edges. Carefully push back your cuticles using a wooden stick or a soft pusher; avoiding any aggressive cutting ensures the surrounding skin remains healthy and intact.
Next, focus on smoothing the surface of the nail. Use a gentle buffing block to lightly polish the plate. This removes any natural oils, dead skin cells, and minor ridges that might cause the green polish to pool or streak. Once buffed, it is vital to dehydrate the nail plate. Wipe each nail thoroughly with a lint-free pad soaked in a mild nail cleanser or rubbing alcohol. This step ensures that no dust, moisture, or oil remains, allowing the subsequent layers to adhere perfectly.
Applying the Base Coat
Never skip the base coat, especially when working with highly pigmented colours like emerald or olive green. A high-quality base coat serves two main functions: it fills in microscopic ridges to create a perfectly flat surface, and it acts as a barrier to prevent the green pigments from staining your natural nail plate. Apply a thin, even layer of base coat, making sure to cover the entire nail from the cuticle line to the very tip, and allow it to dry completely before moving on to the colour.
The Art of Layering: How to Apply Green Polish Without Streaks
When it comes to applying saturated green hues, the technique of layering is paramount. The most common mistake is applying a single thick layer in an attempt to get full opacity quickly. Thick layers trap solvents, leading to bubbles, prolonged drying times, and inevitable streaking as the brush drags through the semi-wet formula.
- Keep it thin: Always wipe the excess polish off the brush against the inside of the bottle neck. The brush should hold just enough product to cover one nail in thin, translucent strokes.
- The three-stroke technique: Place a small drop of polish near the cuticle line (leaving a tiny gap to prevent flooding), push it gently toward the cuticle, and then sweep straight down the centre of the nail. Next, repeat the motion along the left side, and finish with the right side. Three quick, fluid strokes are all it takes.
- Avoid over-working: Once the polish is on the nail, resist the urge to go over it repeatedly with the brush. This disturbs the self-levelling properties of the formula and creates prominent streaks.
Patience Between Coats
Allow the first thin coat of green polish to dry for at least two to three minutes before applying the second. The first coat does not need to look perfectly opaque; its primary job is to establish the colour boundary and provide a smooth foundation for the second layer. The second coat will deepen the colour, cover any sheer spots, and deliver the rich, uniform depth characteristic of premium green shades.
Achieving the Flawless Glossy Finish
Once your second coat of green polish has settled, the final step is to apply a high-shine top coat. This step is essential not only for extending the life of your manicure but also for erasing any microscopic application lines. A glossy top coat acts like a magnifying glass, smoothing out the surface and giving the green pigment a professional, glass-like depth.
When applying the top coat, use a generous but controlled amount of product. Let the brush glide over the nail surface almost without touching the wet polish underneath to prevent dragging the pigment. Be sure to cap the free edge—gently sweep the brush along the very tip of each nail. This seals the polish layers together, preventing water from getting underneath and causing premature chipping or lifting.
Post-Manicure Clean-Up and Care
Even with the most careful application, minor slips can happen. To clean up the edges, dip a fine, flat makeup brush into an acetone-free nail polish remover and carefully trace around the cuticle line. This creates a sharp, clean boundary that instantly gives your manicure a salon-quality look. Once the polish is dry to the touch, apply a drop of nourishing cuticle oil to the surrounding skin to restore moisture and frame your streak-free emerald nails beautifully.




