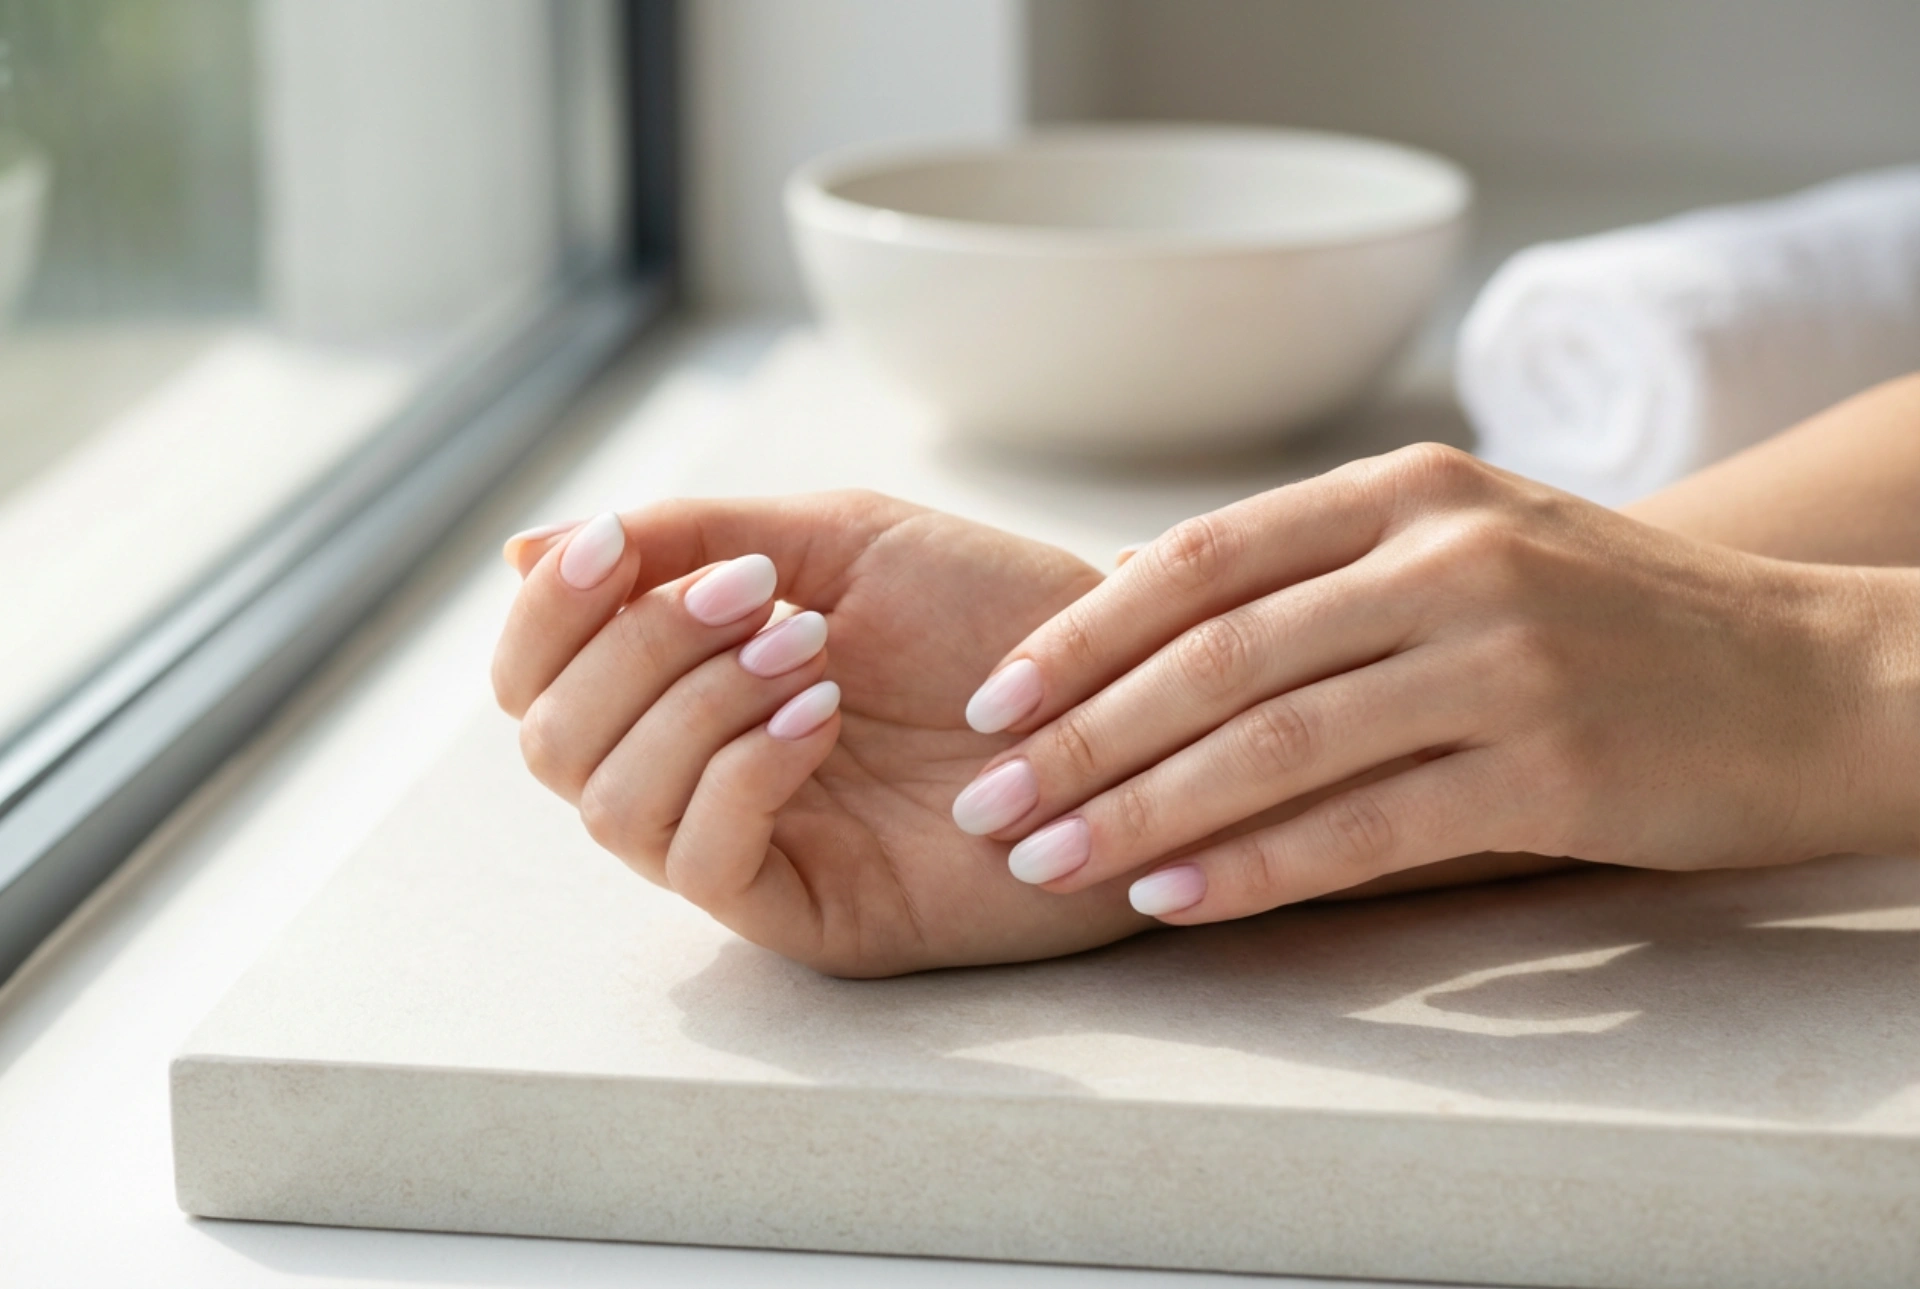


Elegant, well-manicured hands are always in style, and a delicate white-to-pink ombre gradient is one of the most sophisticated designs you can choose. This classic nail art seamlessly transitions from a soft, natural pink near the cuticle to a crisp, clean white at the tips, creating a fresh, modern aesthetic. Perfect for everyday wear or special occasions, this look mimics a natural, healthy glow with a touch of contemporary flair. Achieving this beautiful transition at home is surprisingly simple when you use the right sponge-blending technique and a quality top coat.
Preparing Your Nails for the Perfect Canvas
Before you begin the artistic process of blending colours, proper nail preparation is essential. The smooth transition of an ombre design looks best on well-shaped, healthy-looking nails. Start by gently filing your nails into your preferred shape—oval, almond, or square all work beautifully with this design. Next, pay attention to the cuticles. Gently push them back using a wooden stick to maximise the nail plate surface.
Once your nails are shaped, cleanse the surface to remove any natural oils or dust. Apply a thin layer of protective base coat. The base coat acts as a shield, preventing staining and ensuring that the subsequent layers of polish adhere smoothly. Let the base coat dry completely before moving on to the colour application.
Essential Tools for the Ombre Technique
To create a flawless, seamless gradient, you will need a few simple cosmetic tools that are easily accessible at home:
- Nail Polishes: You will need a soft, semi-sheer pastel pink and a crisp, opaque white polish.
- A Sponge: A high-density cosmetic sponge (like a makeup wedge) is ideal. Standard kitchen sponges are too porous and can create air bubbles in the polish.
- Liquid Latex or Tape: Applying a protective barrier around the skin surrounding the nail makes the clean-up process much faster.
- A Quality Top Coat: A glossy top coat is the secret weapon that smooths out the texture left by the sponge and merges the colours together.
Step-by-Step Guide to Sponge Blending
Once your preparation is complete, it is time to start the blending process. Follow these simple steps to achieve a smooth gradient without harsh lines:
Step 1: The Base Colour
Apply one or two thin coats of your chosen pink polish over the dried base coat. This serves as the background colour and ensures that the pink near the cuticle remains solid and vibrant. Allow this base colour to dry almost completely before starting the sponge application.
Step 2: Preparing the Sponge
Take your cosmetic wedge and cut it to a size that easily covers your nail. Lightly dampen the sponge with water and squeeze out any excess. A damp sponge prevents the polish from absorbing too quickly into the foam, allowing more product to transfer onto your nail. Paint a stripe of the pink polish and a stripe of the white polish directly onto the edge of the sponge, ensuring they slightly overlap in the middle. This overlap is where the magic gradient happens.
Step 3: Dabbing and Blending
Gently press the sponge onto your nail, aligning the pink side near your cuticle and the white side at the tip. Use light, bouncing motions. Avoid pressing too hard, as this can lift the polish off the nail. Gently bounce the sponge up and down slightly (about a millimetre) to blend the boundary line between the pink and white.
Step 4: Building the Intensity
Your first layer might look faint or slightly textured, which is completely normal. Allow it to dry for a minute, reapply the polishes onto the sponge, and repeat the dabbing process. Typically, two to three layers are needed to build a rich, opaque gradient. Let each layer dry briefly between applications.
The Role of the Top Coat in Smoothing the Texture
When you finish sponging, the surface of your nails may look slightly textured or matte. This is where a glossy top coat becomes indispensable. A generous layer of top coat acts as a self-levelling agent. It melts the tiny dots of polish together, erasing any graininess left by the sponge and creating a glass-like finish. Apply the top coat while the ombre layers are still slightly damp to help the colours blend even more seamlessly. Be sure to seal the free edge of your nails to prevent chipping.
Final Clean-Up and Cuticle Care
Once you are satisfied with the blend and have applied your top coat, peel away the liquid latex or tape from around your nails. If any polish remains on your skin, dip a small, flat brush into gentle nail polish remover and carefully clean around the edges. To complete your manicure, apply a drop of nourishing cuticle oil to the skin surrounding your nails. This restores moisture, enhances the healthy look of your hands, and beautifully highlights your fresh white-and-pink ombre nails.




