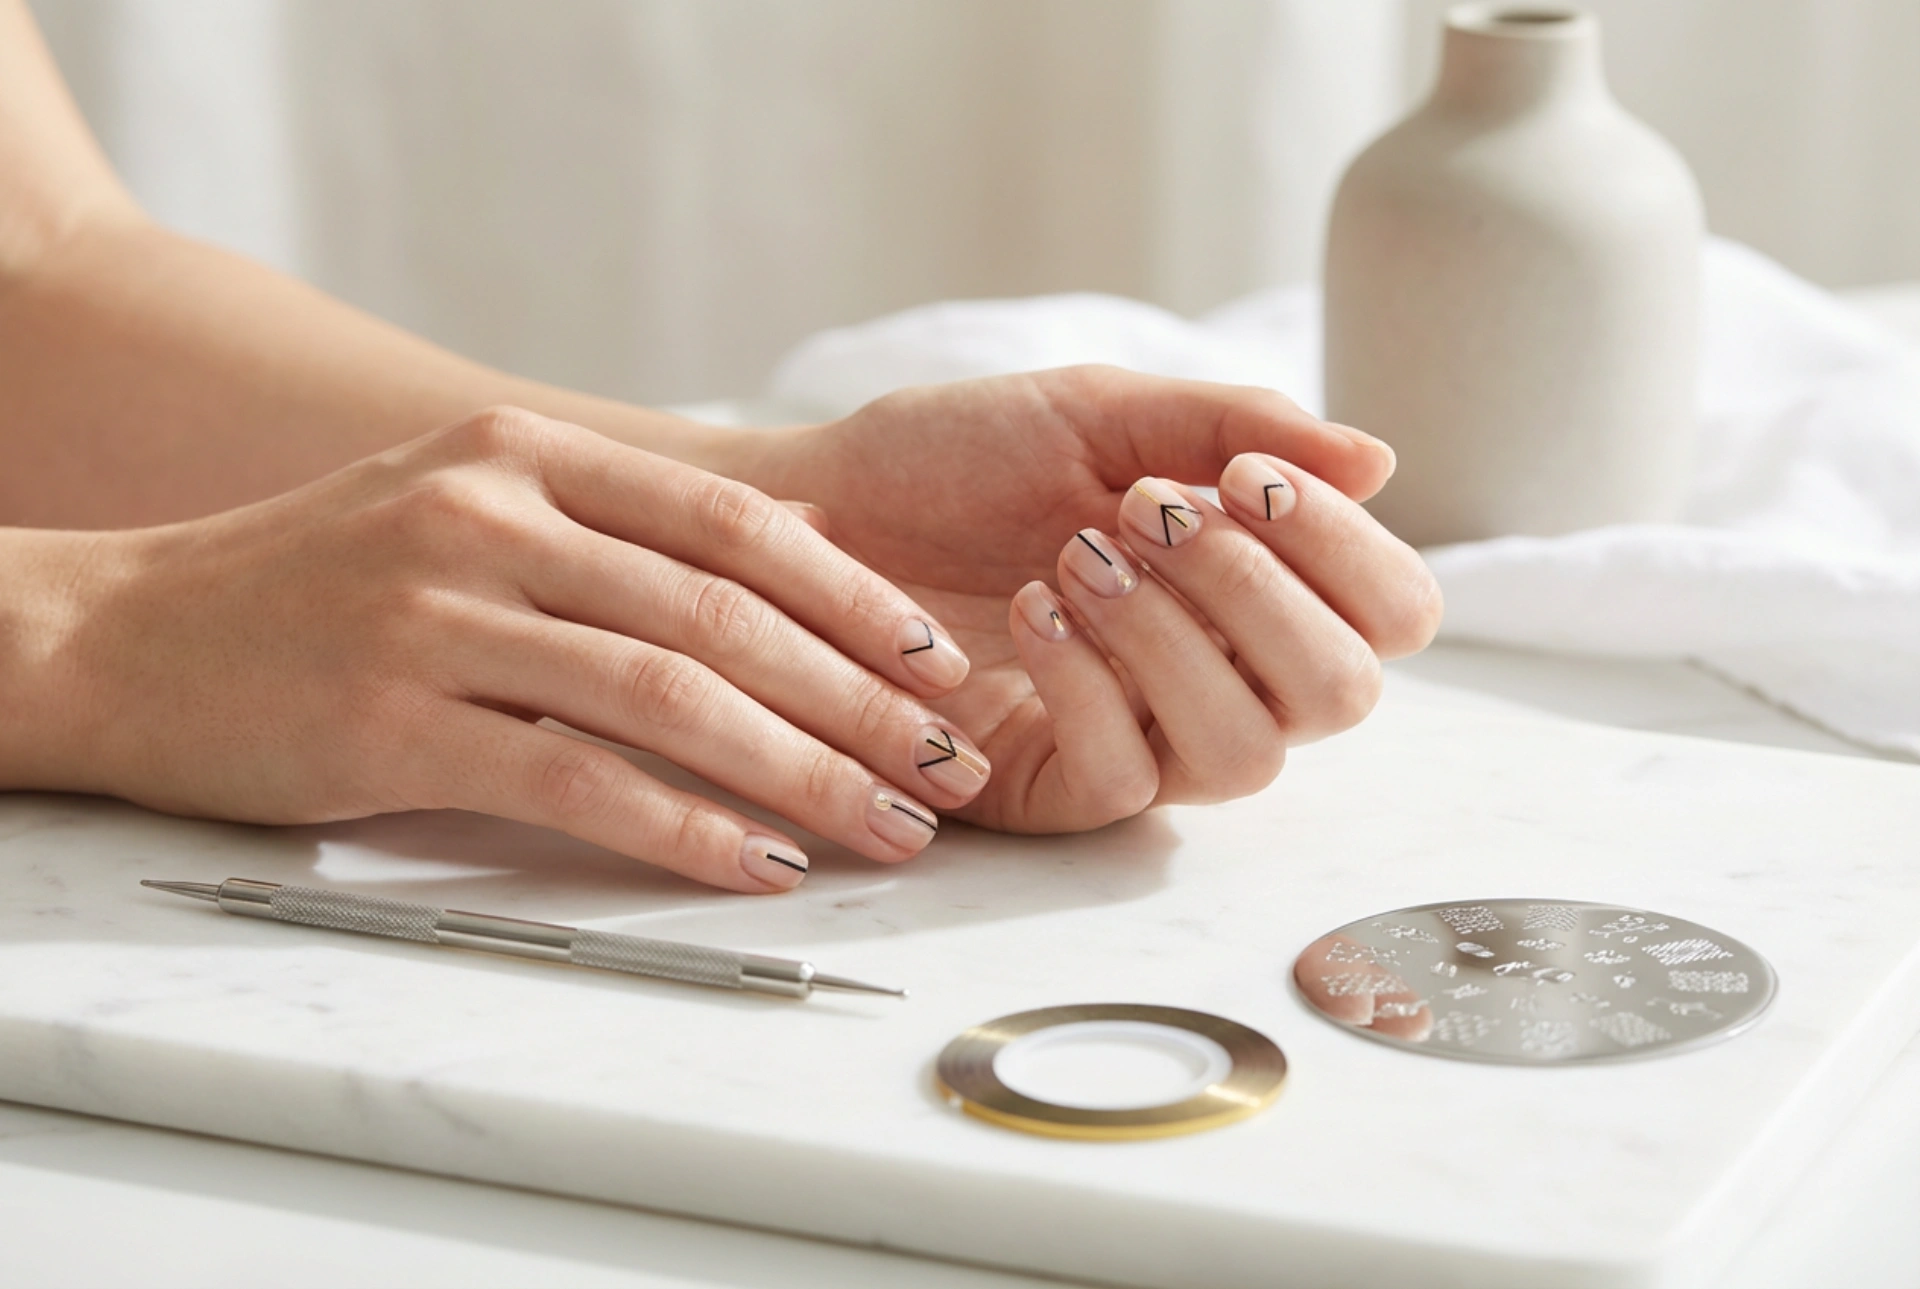


The elegance of modern manicure often lies in its precision and minimalism. Geometric nail art has become a staple of contemporary beauty, allowing for endless creativity using simple lines, shapes, and contrasts. Achieving a clean, artistic look on natural nails does not require professional salon skills. With basic tools like striping tape, a dotting tool, and a stamping plate, anyone can create sophisticated designs at home under soft, natural light.
Preparing the Canvas: Nail Prep for Geometric Art
Before diving into the creative process, proper preparation is key. Geometric patterns demand clean surfaces to truly stand out. Start by filing your nails into your preferred shape—oval or square shapes work exceptionally well with linear designs. Gently push back your cuticles and buff the nail plate to remove any natural oils. Applying a high-quality base coat is essential, as it protects the natural nail and provides a smooth, even surface for your geometric creations.
The Striping Tape Technique: Sharp and Clean Lines
Striping tape is the ultimate tool for achieving razor-sharp lines and block-colour designs. It acts as a stencil, allowing you to paint precise segments without shaky hand mistakes.
How to use striping tape:
- Apply your chosen base colour and let it dry completely. If the polish is even slightly wet, the tape will ruin the finish.
- Cut small pieces of striping tape and apply them to the nail in your desired pattern, such as diagonals, triangles, or parallel lines. Press the tape down firmly, especially at the edges.
- Paint over the taped nail with a contrasting colour. Keep the layer relatively thin.
- While the second colour is still wet, carefully peel off the tape using tweezers. Pulling it off while wet ensures a clean, crisp line.
- Allow the design to dry, then seal it with a glossy top coat.
The Dotting Tool: Creating Perfect Spheres and Accents
For softer geometric patterns, a dotting tool is indispensable. It allows you to create perfect circles, symmetrical lines of dots, and intricate patterns that contrast beautifully with sharp edges.
Step-by-step dotting technique:
- Apply a base colour and let it dry.
- Dispense a small drop of your contrasting nail polish onto a clean, non-porous surface like a plastic palette or a piece of foil.
- Dip the tip of the dotting tool vertically into the paint. Avoid overloading the tool to prevent smudging.
- Gently press the tool onto the nail surface to create a dot. For smaller dots, use a lighter touch or a smaller end of the tool; for larger dots, apply slightly more pressure.
- Create minimalist patterns, such as a single dot near the cuticle, or a linear sequence down the centre of the nail.
- Once dry, apply a top coat in one swift stroke to avoid dragging the dots.
Nail Stamping: Intricate Geometrics Made Simple
When you want highly complex geometric grids, mandalas, or repeating patterns, manual painting can be incredibly challenging. This is where nail stamping plates come in, offering professional-grade complexity in seconds.
How to stamp geometric designs:
- Choose a geometric design on your stamping plate. Clean the plate with acetone before starting.
- Apply a highly pigmented stamping polish over the selected pattern.
- Hold a scraper card at a 45-degree angle and quickly scrape excess polish off the plate, leaving paint only in the engraved grooves.
- Gently roll a silicone stamper over the design with a light, swift motion to pick up the pattern.
- Check the image on the stamper, then carefully roll it onto your prepped nail.
- Clean any excess polish from the surrounding skin using a small brush dipped in remover, then seal with a top coat.
Pro Tips for Longevity and Precision
To ensure your DIY geometric manicure looks professional and lasts for days, follow these essential tips:
- Patience is key. Always ensure the base layers are completely dry before using tape or stampers to prevent smudging.
- Use a floating top coat. When applying the top coat, float a generous drop of polish over the design rather than dragging the brush directly on the nail. This prevents the delicate lines and dots from smearing.
- Clean your tools immediately. Wipe your dotting tools, scrapers, and stamping plates with polish remover right after use to prevent paint build-up.
- Opt for contrasting finishes. Combining a matte base with glossy geometric lines creates an ultra-modern, sophisticated texture contrast.




