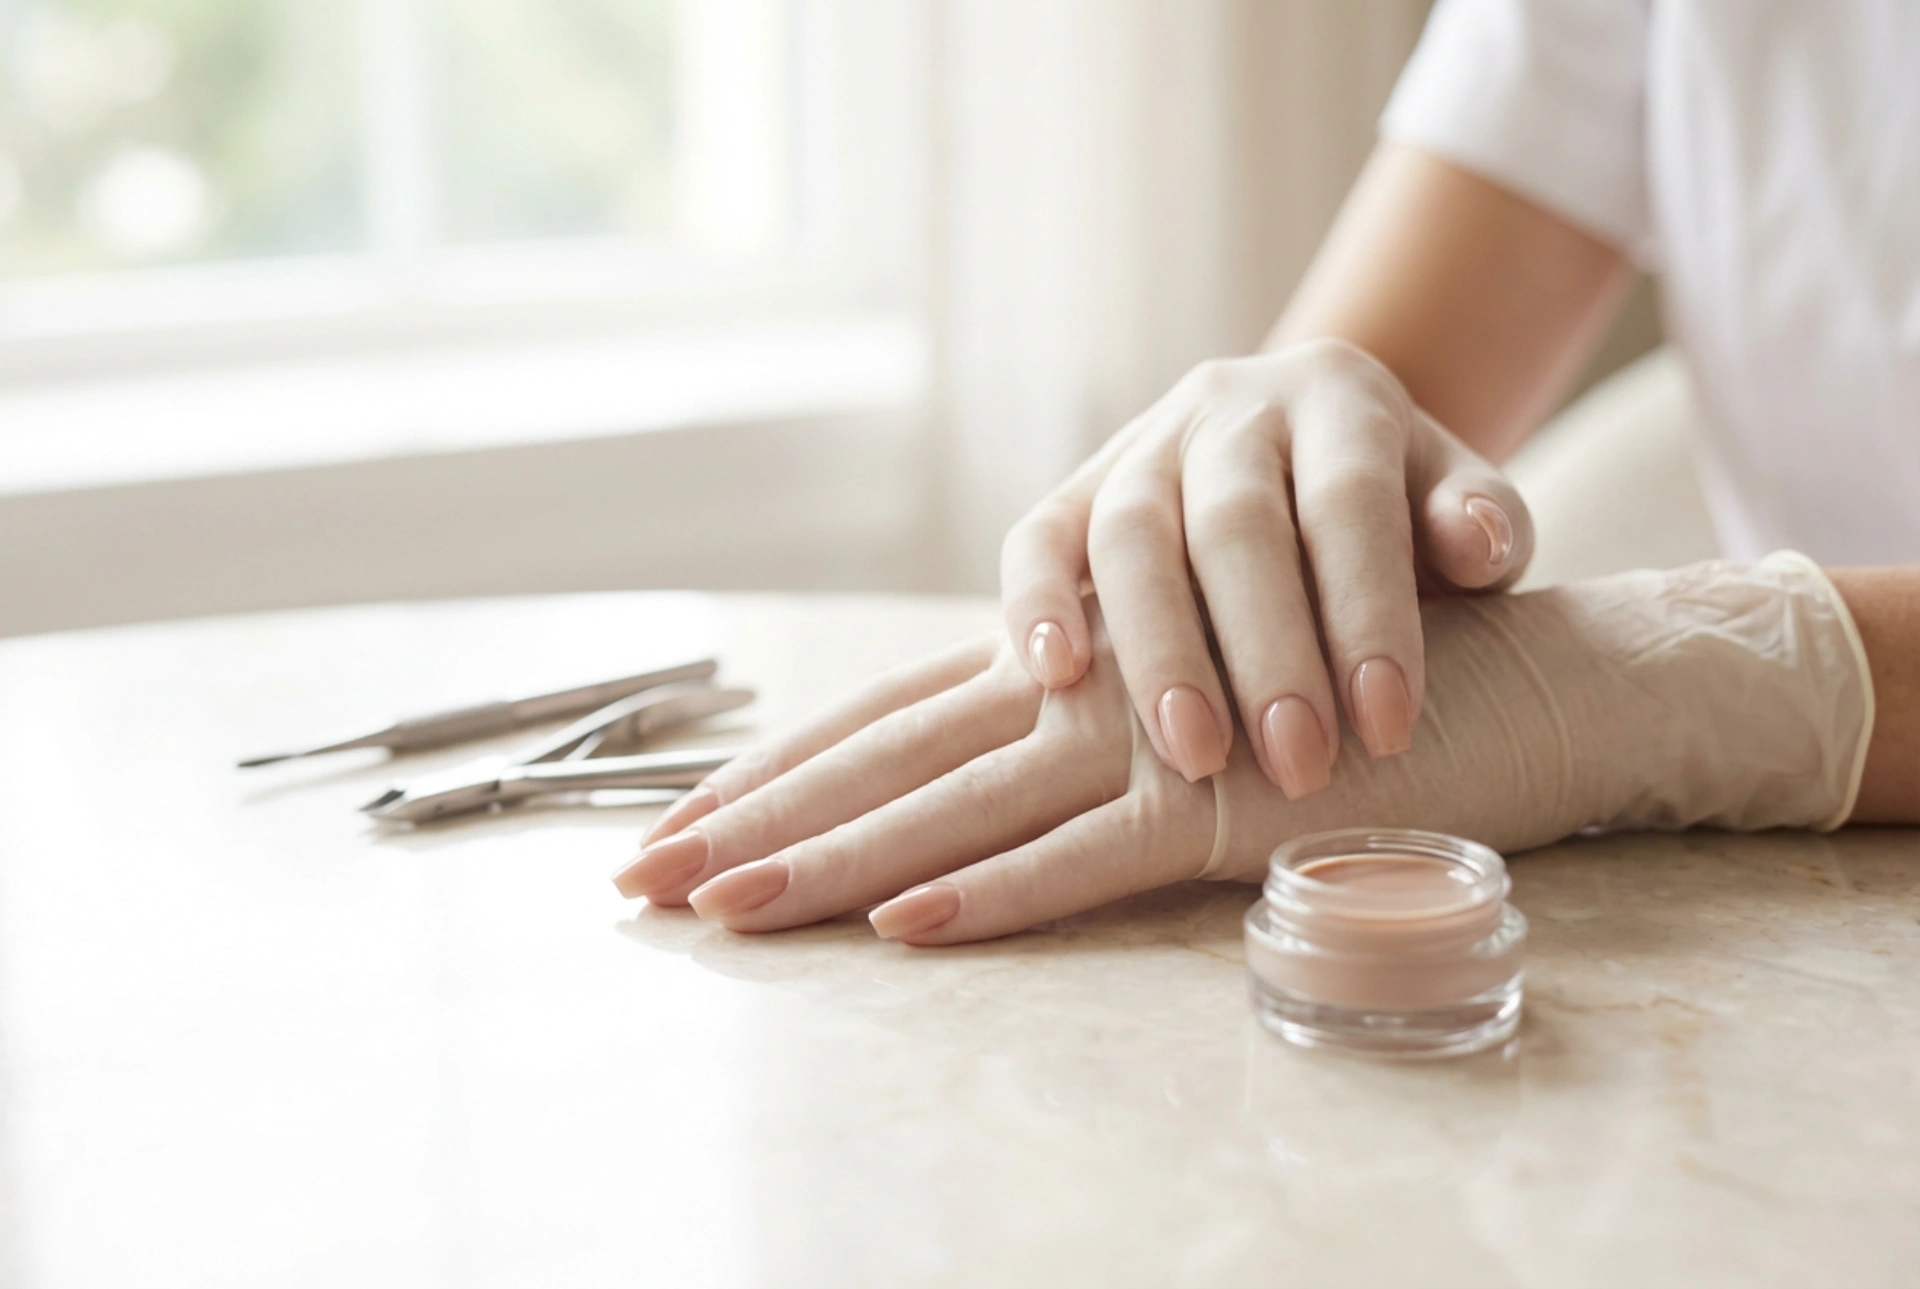


Achieving elegant, flawlessly sculpted gel nail extensions requires a blend of patience, precision, and the right technique. Beautiful hands with a glossy, immaculate manicure often owe their strength and length to classic gel extensions on tips. While modern nail artistry offers various techniques, using high-quality tips remains a reliable and highly effective method for transforming shorter nails into durable canvases. This process, when done correctly, ensures that the extensions look completely natural, feel comfortable, and last for several weeks without lifting. Understanding each phase of this meticulous beauty routine is the key to mastering the art of gel extensions.
Thorough Preparation of the Natural Nail Plate
The foundation of any long-lasting gel manicure lies in the meticulous preparation of the natural nail. Neglecting this initial step is the most common cause of premature lifting and chipping. To begin, always sanitise the hands and nails thoroughly. This ensures a clean workspace and minimises the risk of trapping moisture or impurities beneath the extension.
Next, gently push back the cuticles using a wooden stick or a metal pusher. It is crucial to remove any invisible dead skin from the nail plate, particularly around the proximal nail fold, as gel will not adhere to skin. Once the cuticles are tidy, use a high-quality buffer or a 180-grit file to gently remove the natural shine from the nail surface. This creates a micro-rough texture that allows the products to bond securely. Be careful not to over-file, as preserving the integrity of the natural nail is paramount. Finally, wipe away all dust with a lint-free pad soaked in a dehydrator or prep solution, and apply a thin layer of acid-free primer to maximise adhesion.
Selecting and Bonding the Nail Tips
Choosing the correct size of nail tips is a critical step that dictates both the aesthetic and the durability of the final extension. A tip must fit perfectly from sidewall to sidewall. If a tip is too narrow, it will pinch the nail and pop off quickly; if it is too wide, filing it down to fit after application can weaken the structure. When in doubt, it is always better to select a slightly larger tip and file its sides to match the natural nail shape before gluing.
To apply the tip, place a small drop of professional nail adhesive onto the well (the thin recessed area) of the tip. Hold the tip at a 45-degree angle to the free edge of the natural nail, rock it forward slowly to distribute the glue evenly without creating air bubbles, and press firmly. Hold it in position for approximately ten to fifteen seconds until the glue sets. Once secured, use a tip cutter to shorten the extensions to the desired length. Cutting them slightly longer than the final target allows room for precise shaping later.
Blending and Preparing the Tip Surface
Once the tips are securely attached, the transition line between the plastic tip and the natural nail must be blended to create a seamless surface. This step prevents a visible bump under the gel. Using a 150 or 180-grit file, carefully file down the step where the tip meets the natural nail. Keep the file flat and focus strictly on the plastic to avoid thinning the natural nail plate underneath.
File the tip until the boundary line becomes translucent and blends smoothly into the natural nail. Once the blending is complete, gently buff the entire surface of the plastic tip to remove its glossy finish, ensuring the gel will adhere to it. Wipe away all filing dust with a clean, dry brush and a prep wipe to leave a pristine surface ready for gel application.
Applying the Gel and Building the Structure
Building the structure with gel is where the artistry truly comes to life. To start, apply a thin, even layer of base gel over the entire nail, including the natural nail plate and the plastic tip. Cure this layer under a UV or LED lamp according to the manufacturer's recommended times. Next, it is time to build the apex—the thickest point of the nail extension, usually located in the middle, which provides the necessary strength to prevent snapping.
Take a medium bead of builder gel onto your brush and place it near the centre of the nail. Gently guide the gel towards the cuticles, sidewalls, and the free edge, ensuring you leave a slightly thicker layer in the stress area (where the natural nail meets the tip). Allow the gel to self-level for a few seconds by turning the hand upside down if necessary. Once satisfied with the distribution, cure immediately in the lamp. Depending on the gel's viscosity, this step may need to be repeated to build sufficient thickness and strength.
Shaping, Refining, and the Final Glossy Finish
After curing the builder gel, a sticky inhibition layer will remain on the surface. Wipe this away thoroughly using a lint-free pad saturated with a professional cleanser. Now, the nail is ready for its final shaping and refinement. Use a 100/180-grit file to perfect the shape of the free edge, whether you prefer a classic oval, a modern almond, or a crisp square. File the sidewalls so they run straight and parallel, and smooth out any unevenness on the nail surface.
Finish by using a soft buffer to eliminate any coarse file marks. Wipe away all dust one last time. To seal your hard work and achieve that coveted glossy, high-shine finish, apply a generous layer of top coat gel. Ensure you seal the free edge of the nail to prevent any lifting. Cure this final layer under the lamp. To complete this meticulous beauty routine, apply a drop of nourishing cuticle oil to the surrounding skin and massage it in gently, leaving the hands looking impeccably manicured, elegant, and beautifully styled.




