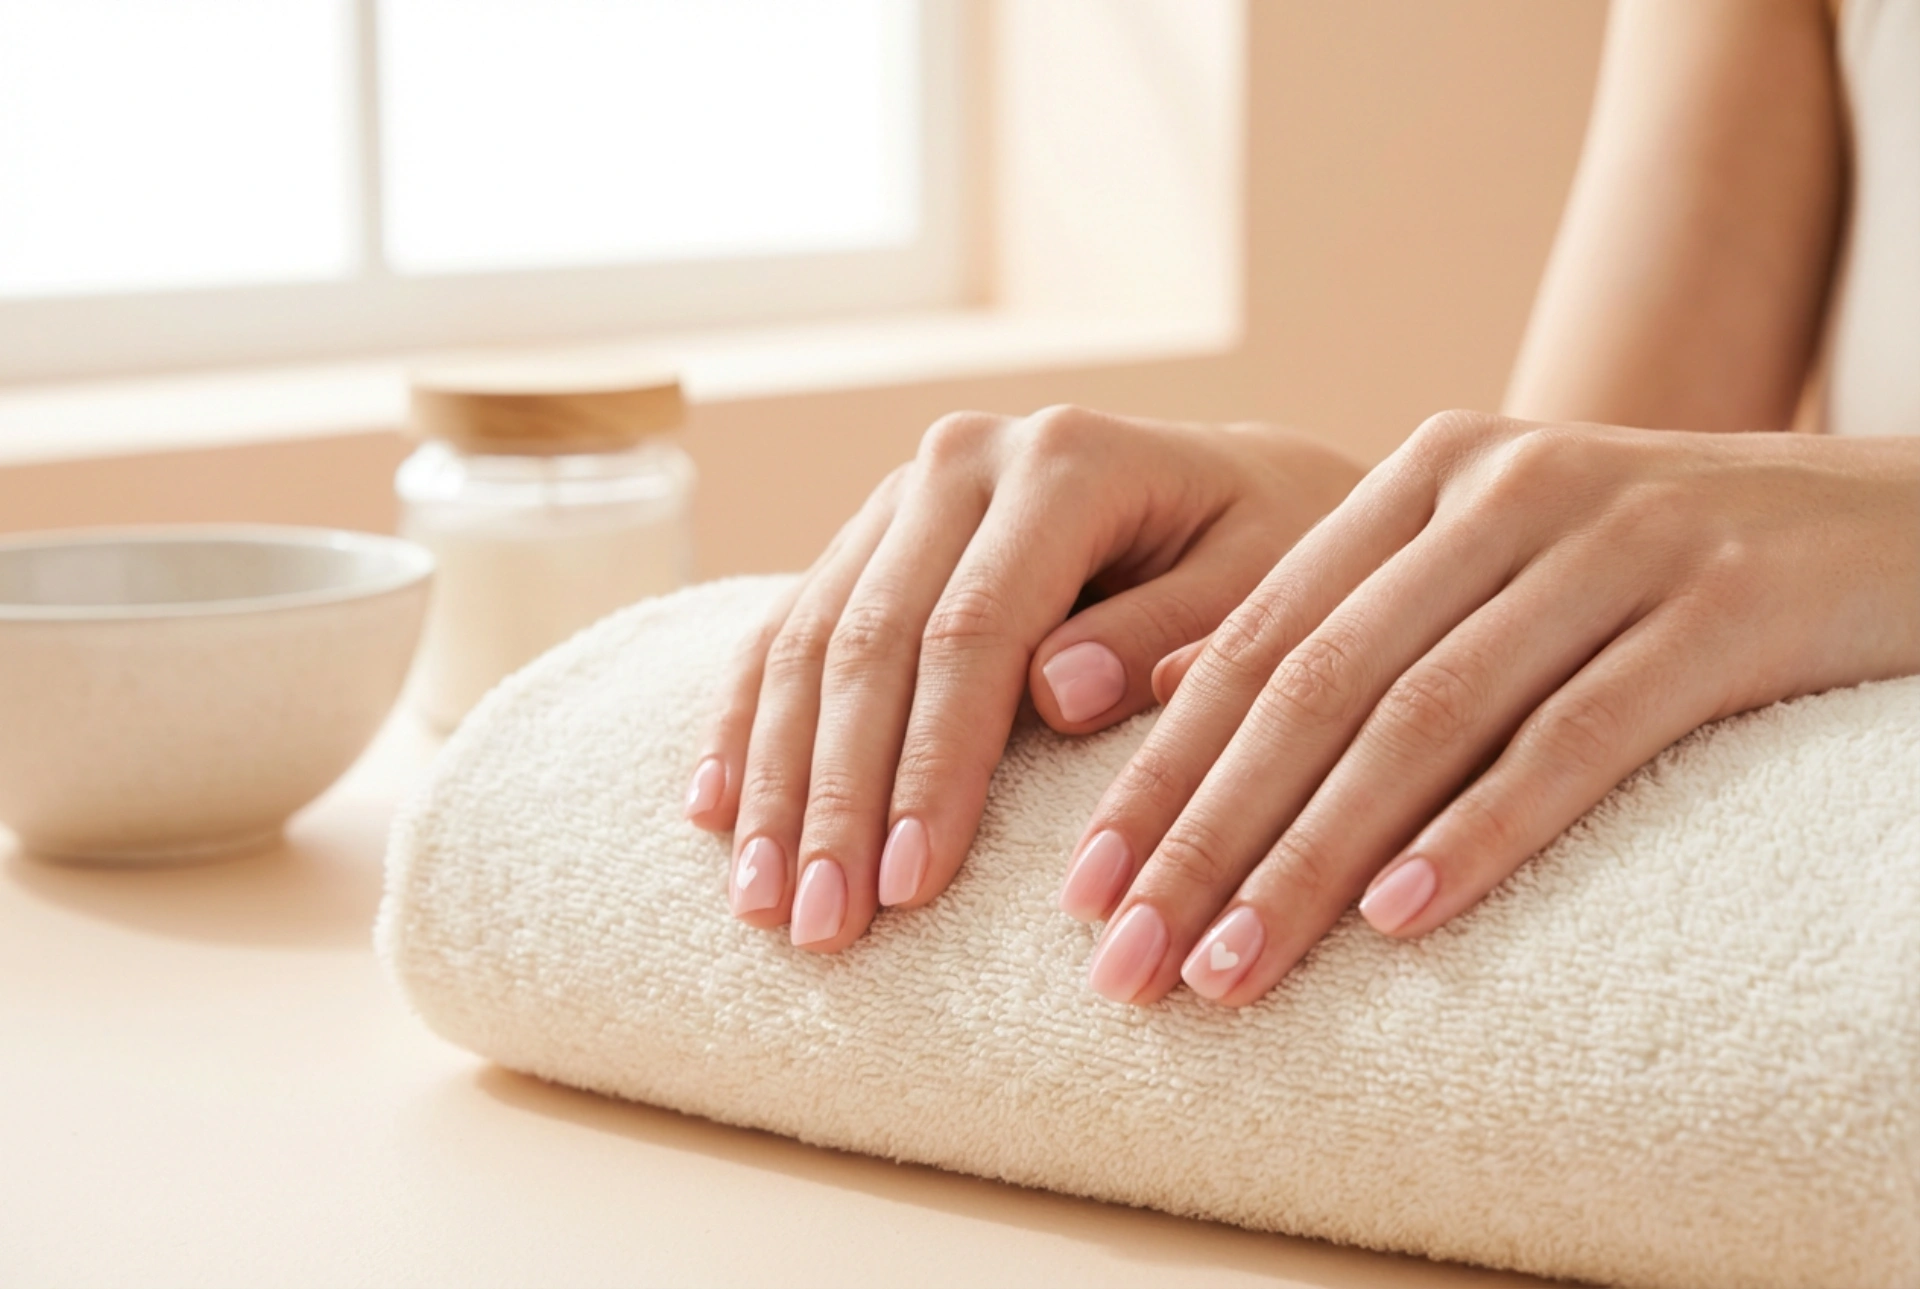


A close-up of elegantly manicured hands with soft pink nails and delicate, small heart designs beautifully highlights how a minimalist aesthetic can elevate everyday nail art. Bathed in gentle natural light, these simple designs offer a fresh, modern appeal that is perfect for anyone looking to try their hand at home-based manicure styling. Pink manicures have long been a symbol of classic elegance, but adding a subtle heart motif infuses a playful yet sophisticated charm into the overall look. Creating this style at home is surprisingly simple, requiring only a few basic tools and a bit of patience.
Preparing the Canvas for Your Pink Manicure
Before diving into the creative process of painting hearts, the foundation of your manicure must be properly prepared. A clean and well-groomed nail plate not only ensures that the nail polish adheres better but also significantly extends the lifespan of your nail design. Start by removing any old polish with a gentle, acetone-free remover to protect the natural nail structure.
Next, shape your nails using a fine-grit glass or emery file. Classic shapes such as oval, almond, or soft square work beautifully with delicate pink shades and heart patterns. Remember to file in one direction to prevent splitting. Gently push back the cuticles using a wooden manicure stick after applying a softening cuticle oil or cream. Avoid cutting the cuticles excessively, as they serve as a natural barrier against debris.
Once the nails are shaped and cleaned, dehydrate the nail plate with a quick wipe of rubbing alcohol or a dedicated nail prep solution. This removes natural oils that might prevent the polish from sticking. Finally, apply a thin layer of protective base coat. The base coat protects your natural nails from staining, fills in minor ridges, and provides a smooth surface for your pink polish.
Choosing the Perfect Shade of Pink
Pink is an incredibly versatile colour, ranging from barely-there sheer tones to vibrant fuchsias. For a modern, minimalist look featuring delicate heart art, softer shades are highly recommended. These tones create a clean background that allows the heart designs to stand out without looking cluttered.
- Soft Pastel Pink: A classic option that offers a clean, opaque finish. It provides a beautiful contrast if you decide to paint the hearts in a darker pink, red, or classic white.
- Sheer and Milky Pinks: These shades offer a highly elegant, natural appearance. They mimic the look of healthy nails and provide a subtle backdrop for very fine, detailed nail art.
- Dusty Rose: A slightly muted, deeper pink with cool undertones. It offers a more mature and sophisticated base that pairs beautifully with metallic or white heart details.
Apply two thin coats of your chosen pink polish, allowing each layer to dry completely. Applying thin coats is key to avoiding air bubbles and ensuring an even, streak-free finish.
Simple Techniques for Creating Heart Designs
You do not need to be a professional nail artist to create beautiful, symmetrical hearts. Several simple techniques can help you achieve a precise look using items you likely already have at home.
The Dotting Tool Method
A dotting tool is one of the easiest instruments for nail art. If you do not own one, the round end of a bobby pin or a map pin works just as well. To create a heart:
- Place a small drop of your chosen heart-colour polish onto a piece of foil or palette.
- Dip the tip of the dotting tool into the polish.
- Place two dots side-by-side on your nail, leaving a tiny space between them. These will form the rounded top of the heart.
- Using a clean toothpick or the edge of your dotting tool, gently drag the polish from the bottom of each dot downward to meet at a single point, forming a neat 'V' shape.
The Toothpick Technique
For very small, delicate hearts, a simple wooden toothpick is an excellent tool. Dip the very tip of the toothpick into the polish. Draw two tiny, short diagonal lines that intersect at the bottom to form a small 'V'. Fill in the top of each line slightly to round out the lobes of the heart. This technique requires a steady hand but offers great precision for micro-designs.
Using Nail Stencils
If you prefer absolute uniformity, vinyl stencils or stickers are a highly effective alternative. Place the stencil firmly onto the fully dried pink base polish, apply the contrasting colour over the cut-out heart shape, and carefully peel the stencil away while the polish is still wet to ensure clean edges.
Sealing and Protecting Your Nail Art
Once your heart designs are complete, it is essential to protect your hard work. Let the heart motifs dry for at least five minutes before applying a top coat. Applying it too quickly can smudge the wet design.
Choose a high-quality, clear top coat to seal the design. Gently float the top coat brush over the nail rather than pressing down hard, which helps prevent any accidental smearing of the art. Be sure to cap the free edge of the nail by running the brush along the very tip to prevent chipping. A glossy top coat will give your nails a professional, salon-like shine, while a matte top coat can offer a modern, velvety finish that looks incredibly chic with pastel shades.




